How to Use a Printable Jigsaw Puzzle Generator to Make Custom Classroom Puzzles
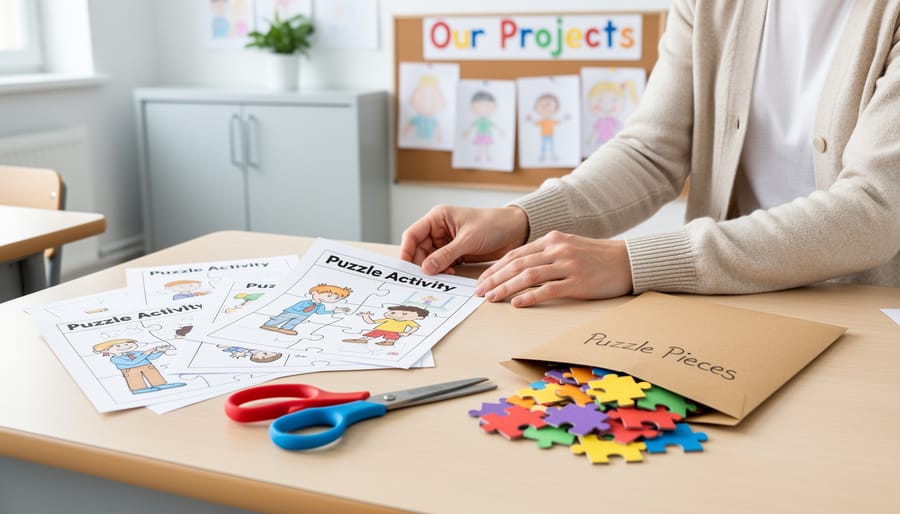
A printable jigsaw puzzle generator turns any image into a cut-and-play puzzle in about five minutes, and you don’t need design skills or special software to use one. Upload a photo, pick how many pieces you want, hit print, and grab the scissors. That’s the whole method.
Why does it work so well in a classroom? Because you control everything. Want a puzzle of your students’ artwork, a map for geography, or a diagram of the water cycle? Done. Need an easy 12-piece version for your youngest learners and a tougher 48-piece challenge for early finishers? Same image, two quick prints.
Plan on 5 to 10 minutes of prep plus a little cutting time, and the only prerequisite is an image and a printer. This guide covers the tools you’ll need, a few safety tips for cutting, the step-by-step process, and a quick check to make sure your puzzle actually fits together. Let’s make some puzzles!
What You’ll Need Before You Start: Tools and Materials
Choosing the Right Generator or Template
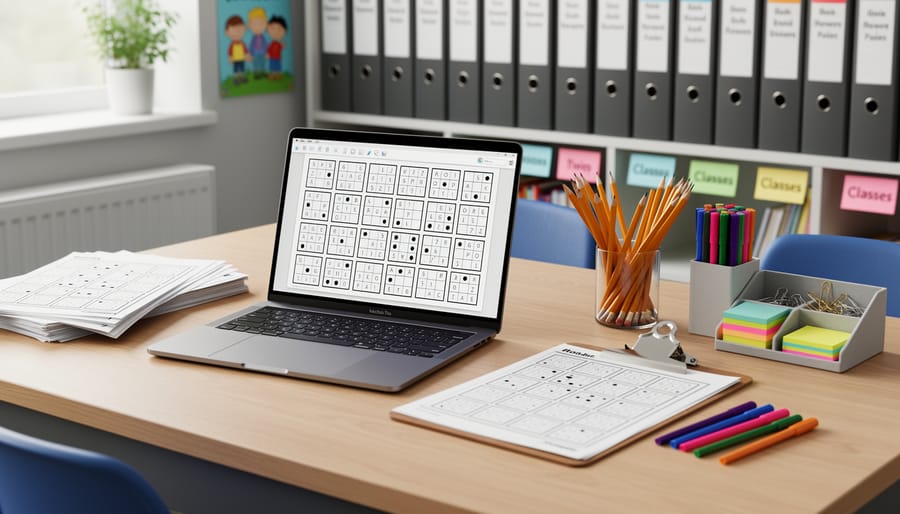
There are two main ways to get a puzzle onto paper, and the right one depends on how much control you want.
An online generator is the fastest route. You upload an image to start choose how many pieces you’d like, and the tool builds the cut lines for you. It’s perfect when you’ve got a photo or diagram ready and just want a puzzle in minutes.
Downloadable Printable Jigsaw Puzzle Templates and Cutouts work a little differently. These are blank piece outlines, so you fill in each piece yourself with words, numbers, or drawings. They take a few extra minutes, but they’re great when you want vocabulary terms or review questions on the pieces themselves.
Whichever you pick, look for a few things:
– Adjustable piece counts so you can match difficulty to your grade level.
– Print-friendly output with clean, dark cut lines that won’t waste a ton of ink.
– Room for customizationlike adding your own text, images, or a class theme.
If you’re short on time, go with a generator. If you want full creative control, grab a template.
Quick Safety Notes Before You Cut and Print
Before you cut and print, take a minute to talk through a few safety basics. Your students will have more fun when everyone knows the plan.
For cutting, scissors are the way to go. Younger students should use child-safe scissors, and it helps to show the class how to cut slowly along the lines with their fingers well away from the blade. Keep the cutting at tables where everyone has space, and have kids stay seated while they work.
If you’re working with little ones, think about piece size. Tiny pieces are easy to lose, and small parts can choke children who still put things in their mouths. Choose a lower piece count for younger learners, and keep an eye out during the activity.
Do a quick copyright check on your image before you print. Your own photos, student artwork, and images clearly marked as free to use are all safe choices.
Finally, know when to pause. If the print comes out blurry, the cut lines look crooked, or pieces are far too small for your group, stop and fix it before you cut anything else. A few minutes of adjusting now saves you from a frustrating puzzle later.
How to Make Your Printable Jigsaw Puzzle Step by Step
Make It Yours: Customizing for Your Lesson
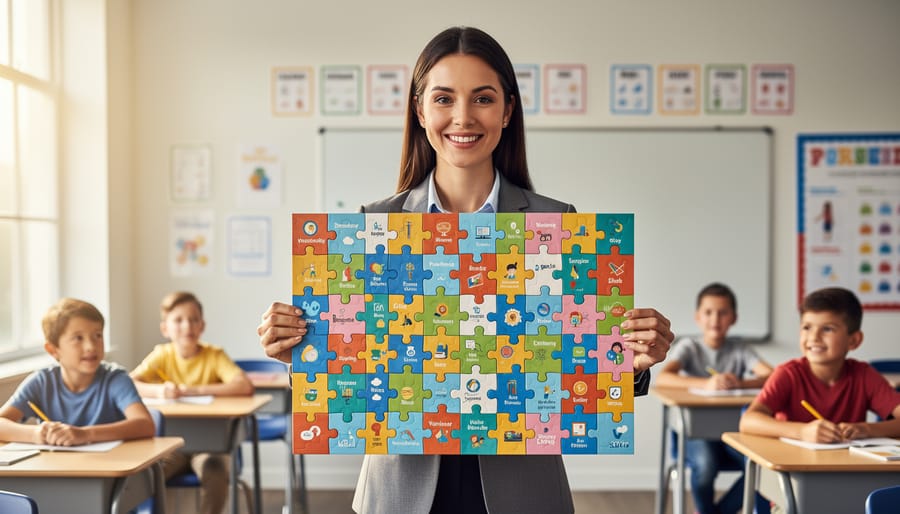
Customization is where a puzzle stops being a fun extra and becomes a real teaching tool. Once your generator or template is open, you can drop in nearly any content your students are working with.
Here are a few ideas to spark your planning:
– Vocabulary words: Write each word on its own piece, then have students match definitions as they assemble.
– Math problems: Put a problem on one side and the answer on the matching edge, so the pieces only fit when the math is right.
– Maps and science diagrams: Turn a labeled map, a plant cell, or the water cycle into a puzzle students rebuild while naming each part.
– Class photos: Great for icebreakers and the first week of school, and students love spotting themselves.
– Review questions: Print a question on each piece so the hidden picture only appears when students answer correctly.
If your class already enjoys word play, pair a puzzle with some printable word ladders for a double dose of vocabulary practice.
Matching difficulty to your grade level matters just as much as the content. For younger learners, keep the piece count low (around 6 to 12 large pieces) and use bold, simple images. Upper elementary students can handle 20 to 30 pieces, while middle and high schoolers can take on 40 or more, especially when each piece carries a question or term.
Start with your learning goal, then build the puzzle around it. A little tweaking goes a long way, and the result will fit your class perfectly.
Check Your Puzzle and Plan What Comes Next: Verification and Next Steps
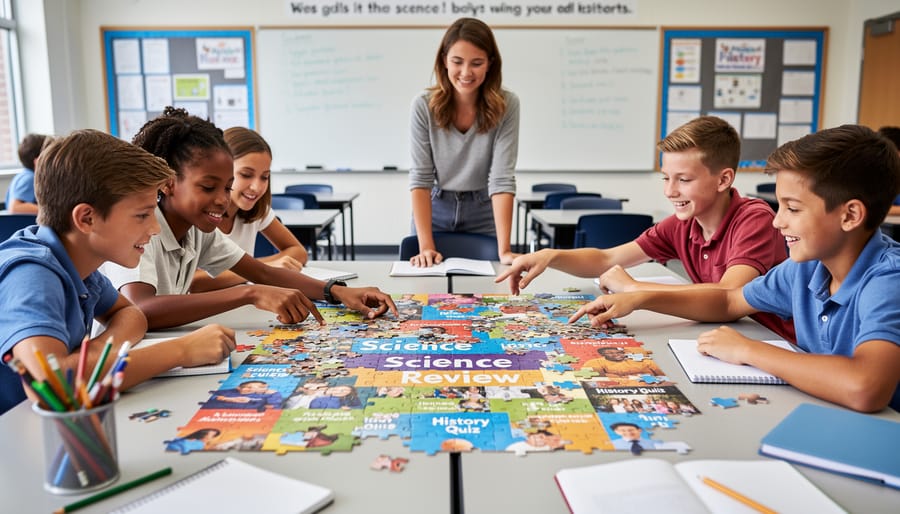
Before you hand out a single piece, do a quick test run. Assemble the puzzle yourself once. It takes five minutes and saves you from a classroom full of students holding pieces that don’t fit. While you build it, look for missing or mismatched pieces, cut lines that wandered off the printed edges, and anything that looks blurry. Hold the printed page at arm’s length too. If the image or vocabulary words are hard to read from there, reprint at a higher quality setting.
Once your puzzle passes the test, the fun part begins. Try these ideas:
– Team challenges: Give each group a puzzle and see who finishes first, with a bonus for correct answers.
– Review stations: Rotate small groups through a puzzle station alongside other activities.
– Icebreakers: Hand out pieces of a class photo and have students find the classmates holding the matching edges.
– Early finisher activities: Keep a labeled bag of puzzles ready for students who wrap up early.
Printable activities are also a lifesaver on days when the tech doesn’t cooperate. Pair a puzzle with a printable review Jeopardy round or an offline printable crossword for a full set of paper-based stations. Our list of no-wifi classroom games has even more options.
When you want a complete lesson, build the puzzle into your plan, then finish with an interactive PowerPoint review game. Students get hands-on time first and a lively whole-class wrap-up after.
Printable Jigsaw Puzzle Generator FAQs
How many pieces should I use for different grade levels?
Think 4 to 12 pieces for younger kids, 12 to 30 for upper elementary, and 30 or more for middle and high school. Start smaller than you think, since you can always make a trickier one next time.
Can I make puzzles from my own worksheets or photos?
Absolutely! Upload a clear scan, class photo, or diagram, and it becomes a custom puzzle in minutes.
What paper works best?
Cardstock holds up to repeated use, while regular printer paper works fine for one-time activities. Laminating is a nice bonus if you plan to reuse sets.
Can students make their own puzzles?
Yes, and they love it. Have them design a puzzle on a topic they just learned, then swap with a partner to solve.
Free generators are usually plenty for classroom use, as long as the printout is crisp and the piece count is adjustable.
Making your own jigsaw puzzles really is that simple. Pick an image or a set of review questions, choose a generator or a Printable Jigsaw Puzzle Template and Cutout, adjust the piece count to fit your students, then print and cut. Within minutes you have an activity tailored to exactly what your class is learning.
So why not try one this week? Start small with a single puzzle for a review station or an icebreaker, and watch how quickly students dive in. Once you see that spark, you’ll be hunting for other fun, interactive ways to bring review days to life. Happy puzzling!