How to Write Jeopardy Style Questions That Actually Work in Your Classroom
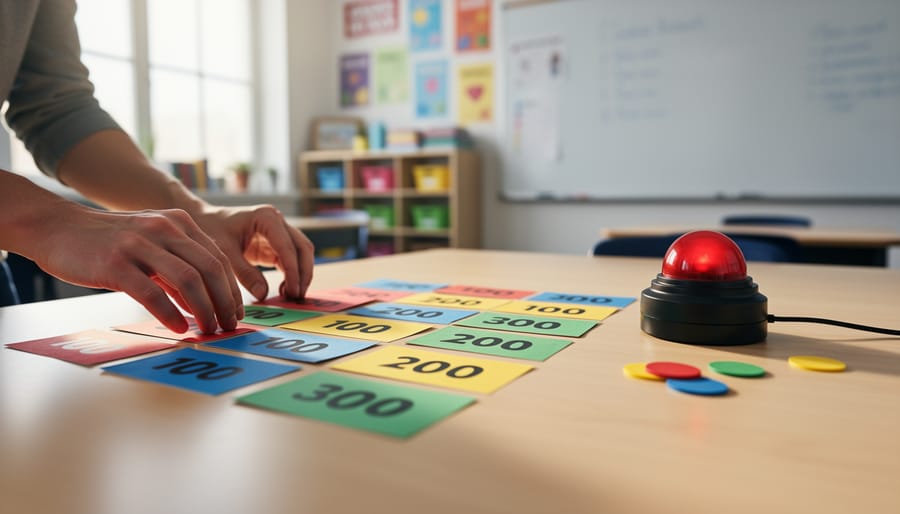
A jeopardy style question flips the traditional question-and-answer format by giving students the answer first and asking them to respond with the correct question. Instead of asking “What is photosynthesis?”, you’d present the clue “This process allows plants to convert sunlight into energy” and students would respond “What is photosynthesis?” This reverse structure transforms ordinary review questions into an engaging game format that sharpens critical thinking and keeps students on their toes.
The format might sound simple, but writing effective jeopardy style questions takes practice. The clue needs to be specific enough that only one question makes sense as the response, yet worded clearly so students understand what you’re asking for. Too vague and you’ll get a dozen different answers. Too obvious and the game loses its challenge.
Teachers love this format because it works across every subject and grade level. You can create questions for vocabulary terms, historical dates, math concepts, or science facts. The real power comes from building organized question banks you can reuse and adapt throughout the year, saving you prep time while giving students a familiar, exciting review activity.
Getting the structure right matters. Your clues should follow a consistent pattern, categories need clear themes, and point values should reflect actual difficulty. When you nail these elements, you create a classroom game that students genuinely look forward to, turning what could be a boring review session into the highlight of the week.
What Makes a Question ‘Jeopardy Style’?
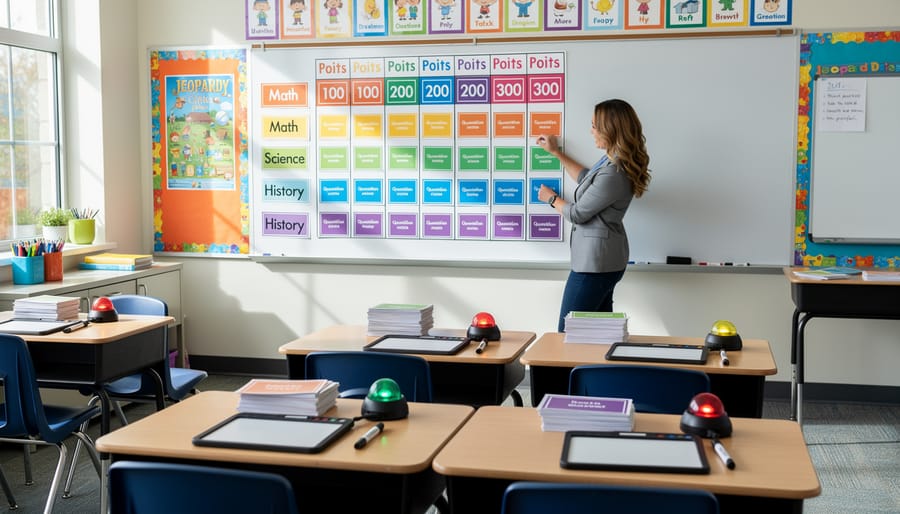
The flip is what makes a jeopardy style question different: you give students the answer, and they respond with the question. Instead of asking “What is the capital of France?” you present the clue “This city is the capital of France,” and students must phrase their response as “What is Paris?” It sounds simple, but this reversal changes how students engage with the material.
Traditional quiz questions test whether students can recall facts when prompted directly. Jeopardy format adds an extra layer, students must recognize the information AND formulate it as a question. That small cognitive shift keeps them more alert. Research shows team Jeopardy improves engagement compared to standard review activities because the format feels like a game rather than another test.
Here’s how the transformation works in practice. A regular question might be: “What element has the symbol H on the periodic table?” The jeopardy version becomes: “This element has the symbol H on the periodic table.” Student response: “What is hydrogen?”
Or take this history example. Traditional format: “Who signed the Emancipation Proclamation?” Jeopardy format: “This president signed the Emancipation Proclamation in 1863.” Student response: “Who is Abraham Lincoln?”
Notice the clues don’t need to be cryptic or tricky. They’re straightforward statements that point to one clear answer. The challenge comes from the reverse format and the time pressure of gameplay, not from confusing wording. When you’re writing clues for your classroom game, focus on creating clean, factual statements that students can confidently turn into questions. That clarity keeps the game moving and the learning focused.
Building Your Question Bank: Categories and Difficulty Levels
Creating Age-Appropriate Clues
The secret to writing questions that challenge without overwhelming is matching your clues to how students at each grade level actually process information.
For elementary students, keep clues short and concrete. Use simple vocabulary and focus on single, clear facts. “This animal has a long trunk and big ears” works better than “This pachyderm is known for its prehensile proboscis.” Aim for one to two sentences maximum, and stick to concepts they encounter regularly.
Middle schoolers can handle longer clues with more detail, but avoid cramming too much information into one question. They’re ready for basic inference and connections between ideas. You can introduce subject-specific vocabulary they’ve been learning, but define context through the clue itself rather than assuming they’ll remember technical terms.
High school students thrive on clues that require synthesis and critical thinking. You can write longer, more complex clues that combine multiple concepts or ask them to identify processes rather than isolated facts. Challenge them with nuanced questions that have clear answers but require deeper understanding to reach them.
The real test? Read your clue aloud. If you stumble over the wording or lose track of what you’re asking, your students definitely will. Trim unnecessary words and front-load the most important information so students know immediately what subject area they’re working in.
How Many Questions Do You Actually Need?
A standard 45-minute class period works best with 20-25 questions total. This gives you enough material for about 30 minutes of gameplay, leaving time for setup and wrap-up. If you’re running multiple rounds or have a longer period, aim for 30-35 questions.
For team-based games, multiply your categories by five questions each. A classic five-category board needs exactly 25 questions (five difficulty levels per category). Three categories? You’ll need 15 questions minimum.
Here’s the breakdown that works for most classrooms:
Short review (20 minutes): 15 questions across three categories
Full period game (40 minutes): 25-30 questions across five categories
Tournament style: 40-50 questions to allow for multiple rounds
Don’t stress about having extras. Build your bank with 5-10 bonus questions beyond your planned board. These backups save you when a question gets challenged, needs clarification, or doesn’t work as intended during gameplay.
Start small, one solid category with five questions gets you in the game. You can always add more categories as you build your collection. Teachers who begin with modest banks actually use their questions more consistently than those who create overwhelming 100-question databases they never touch again.
Writing Effective Clues: The Do’s and Don’ts

A good jeopardy clue delivers one clear path to the correct answer. The difference between a clue that sparks confident buzzing and one that creates confusion often comes down to precision and focus.
Start with specificity. Vague clues like “This person did important things in American history” could apply to hundreds of answers. Instead, include defining details: “This inventor’s 1879 light bulb used a carbonized bamboo filament.” The specific year and material point students toward Thomas Edison without ambiguity.
Keep your language direct. One common mistake is packing too much information into a single clue, which overloads working memory and slows processing. A 40-word clue about the water cycle with three subordinate clauses will frustrate students before they reach the actual question. Aim for one or two clear sentences that highlight the key fact.
Watch for unintentional multiple answers. If your clue says “This planet has rings,” students could correctly respond with Saturn, Jupiter, Uranus, or Neptune. Test every clue by asking yourself: could a knowledgeable student reasonably argue for a different answer? If yes, add distinguishing details. Educational research confirms the need to avoid ambiguous test items that undermine assessment validity.
| Weak Clue | Strong Clue |
|---|---|
| “This war happened a long time ago”, too vague, no identifying features | “This 1861-1865 conflict between Northern and Southern states”, specific dates and parties |
| “The formula for this includes numbers”, meaningless descriptor | “In this formula, area equals length times width”, defines the specific relationship |
| “This author wrote books”, applies to thousands | “This author created Hogwarts School in her 1997 debut novel”, unique identifying details |
Avoid trick wording. Jeopardy-style questions should test knowledge, not reading comprehension skills. Double negatives, convoluted syntax, and intentionally misleading phrasing frustrate students without measuring what they’ve learned.
Read your clues aloud before game day. If you stumble over the wording or need to reread for clarity, your students will struggle too. The best clues sound natural when spoken and lead students directly to the content you taught.
Time-Saving Prompt Lists and Reusable Templates
The real time-saver isn’t writing better questions, it’s writing them once and reusing them everywhere. Create a master document organized by question type rather than specific content. For example, your template might include prompts like “This term describes [process/concept]” or “These are the three main causes of [event/historical period].” Leave the bracketed parts blank or use generic placeholders you can quickly swap out.
When you’re teaching the water cycle next week and photosynthesis next month, you’ll use the same “This process involves [number] main steps” prompt for both. Just fill in the specifics. Your “[Historical figure] is known for this achievement” template works equally well for scientists, explorers, or authors across different units.
Keep a separate section for straightforward factual prompts: “This is the capital of [location],” “This number represents [mathematical concept],” or “This part of [system] performs this function.” These work across subjects with minimal tweaking.
Store everything in a simple spreadsheet or document with columns for the prompt template, subject areas where it works, and difficulty level. When game day approaches, scan your master list, pick eight to ten templates that fit your current unit, and fill in the blanks. You’ve just created a full game in fifteen minutes instead of an hour.
Start with twenty versatile templates. You’ll naturally add more as you teach, and within a semester you’ll have a comprehensive library that makes every future game faster to prep.
Customizing Questions for Your PowerPoint Game Templates
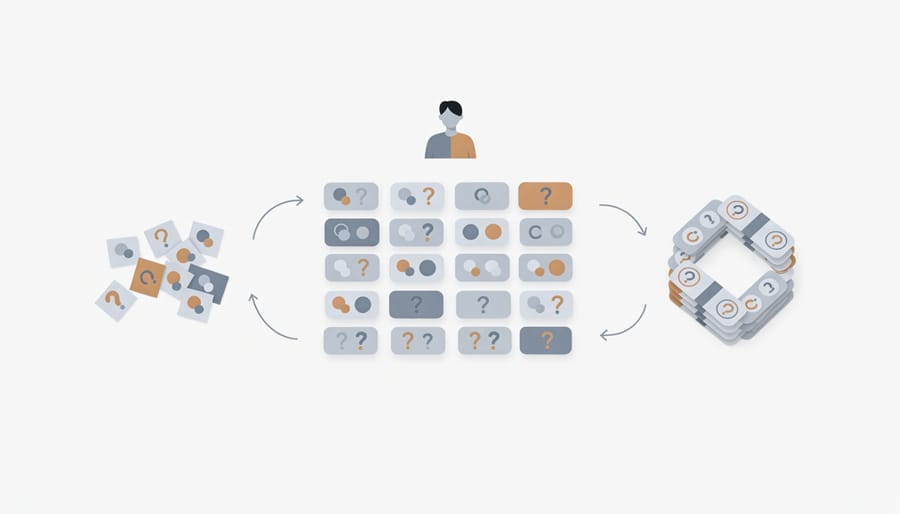
Your PowerPoint game template works best when your questions fit smoothly into the slides without forcing students to squint at tiny text or wait while you fiddle with formatting mid-game. Think of your template as a delivery system that needs properly sized content to function well.
For on-screen readability, keep clues between 15-25 words. Anything longer gets cramped on a standard slide, especially if you’re projecting in a large classroom. If you’ve written a clue that runs three lines or more when pasted into your template, trim unnecessary words or split it into two separate questions. Your students should be able to read the entire clue in 3-5 seconds.
Before adding questions to your template, run through this quick prep checklist:
- Confirm each clue fits within your template’s character limit (usually 120-150 characters including spaces)
- Format all answers consistently (capitalize proper nouns, use “What is…” format if your template expects it)
- Assign point values that match your template’s difficulty tiers (100-500 or similar scale)
- Remove any special characters or formatting that might break when pasted (curly quotes, em-dashes, tabs)
- Double-check category names match across your question bank and template slides
Images transform standard questions into visual challenges that wake up the room. Add product logos for brand identification, historical photos for timeline questions, or diagrams for science concepts. Keep image files under 500KB so your presentation doesn’t slow down, and place them where they don’t cover the clue text.
Audio clips work great for language classes (pronunciation questions), music identification, or sound effects in science. Record them as short MP3 files (under 10 seconds) and test playback before game day to avoid technical hiccups.
Organize your question bank as a simple spreadsheet with columns for category, difficulty, clue, answer, and media file names. This setup lets you sort by any criteria and copy-paste entire rows into your template in seconds rather than hunting through documents.
Quick Ideas to Refresh Your Question Bank
Running low on fresh material? You don’t need to reinvent the wheel every time you run a game. Here are practical ways to keep your jeopardy question collection growing without the heavy lifting.
Start with what you already have. Those chapter review sections at the end of textbook units are goldmine material. Each summary point becomes a clue, just flip the statement around. “Photosynthesis converts light energy into chemical energy” transforms into “This process converts light energy into chemical energy.”
Previous tests and quizzes deserve a second life. Pull questions from last month’s assessment, rework them into jeopardy format, and suddenly that material gets another review round. Your students won’t recognize the recycled content when it’s presented as a game clue instead of test question number seven.
Let students do some work. Assign pairs to create five clues from today’s lesson as an exit ticket. You’ll get a stack of questions written in language that resonates with their peers, and they’ll reinforce their own understanding by writing them. Quick quality check, add them to your bank, done.
Current events tie classroom content to real-world happenings. Teaching government? This week’s news cycle probably handed you three new clues. Science class? Recent discoveries make excellent high-difficulty questions that challenge your advanced students.
Mix up your difficulty levels by tweaking existing questions. Take a straightforward clue and make it trickier by removing the most obvious hint, or simplify a tough one by adding context. One base question becomes three variations for different skill tiers.
Creating your first set of jeopardy style questions might feel like extra work upfront, but you’re building something that’ll make your life easier for years. Start with just 15-20 questions for a single unit, enough for one game session. See what works with your students, notice which clues get them thinking versus which ones confuse them, and adjust as you go.
The beauty of maintaining a question bank is that it grows with you. Each semester, you’ll add new clues, refine old ones, and swap out questions that didn’t quite land. Before you know it, you’ve got ready-made review games for every major topic you teach. No scrambling the night before a test review. No reinventing the wheel every marking period.
Your students will notice the difference too. They’ll actually look forward to review days instead of groaning through them. They’ll retain more because they’re actively engaged rather than passively listening. And you’ll have the satisfaction of watching them compete, collaborate, and demonstrate what they’ve learned, all because you took the time to craft questions that actually work in your classroom.