
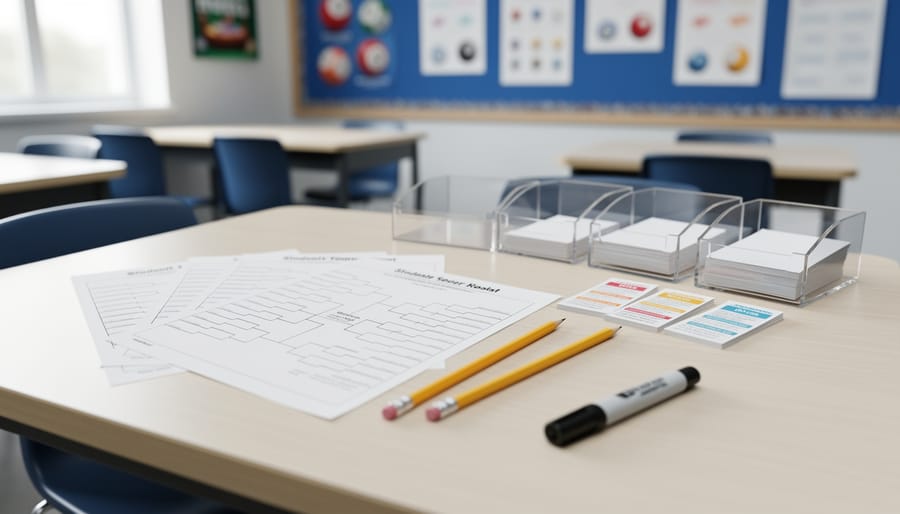
How to Set Up Pool Tournament Brackets for School Competitions
Running a pool tournament in your classroom takes just three decisions: choosing your bracket type (single-elimination, double-elimination, or round-robin), printing or drawing your bracket, and explaining the rules to your students. Most teachers complete the setup in 15 minutes or less, and the payoff is huge. Students stay engaged, practice healthy competition, and get excited about participating whether you’re organizing a math facts challenge, spelling bee, or literature trivia contest.
Pool tournaments work beautifully in classrooms because they give every student a clear path forward and a visual way to track progress. The bracket itself becomes a motivational tool hanging on your wall, sparking conversations during transitions and building anticipation for the next round. You don’t need fancy software or expensive materials. A simple printed template, some tape, and a marker will get the job done.
The key is matching your bracket style to your classroom goals. Single-elimination moves fast and works perfectly for quick competitions or when you’re short on time. Double-elimination gives students a second chance, which reduces tears and keeps more kids in the game longer. Round-robin ensures everyone plays multiple times, ideal for skill-building activities where practice matters more than crowning a single champion.
This guide walks you through every detail: the exact materials you’ll need, how to set up each bracket type step-by-step, common mistakes to avoid (like mismatched player counts), and how to customize the tournament for different grade levels and class sizes.
What You’ll Need to Set Up Your Pool Tournament Bracket
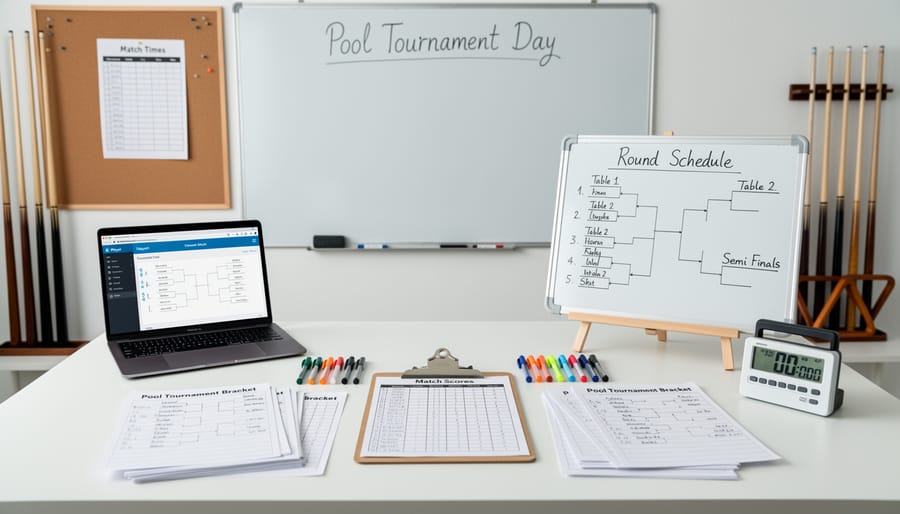
Setting up a pool tournament bracket doesn’t require fancy equipment or a big budget. You probably have most of what you need already in your classroom. The key is choosing between physical and digital methods based on your comfort level and classroom setup.
Here’s your essential materials checklist:
- Bracket template (printed or digital) matching your chosen format
- Student roster with names or team names clearly listed
- Markers or pens for updating physical brackets
- Whiteboard, poster board, or projector for displaying the bracket
- Scoring sheets or a simple notepad for tracking match results
- Timer or stopwatch for managing match length
- Prize slips or certificates for winners (optional but fun)
For smaller classes with 8-16 students, a printed bracket template works beautifully. You can draw one by hand on poster board or download free templates online, then tape it to your wall where everyone can see their progress. Students love watching their names advance through the rounds, and physical brackets create tangible excitement in the room.
Digital tools shine with larger groups or if you’re running multiple tournaments simultaneously. Free bracket generators let you input names, randomize seeding, and update results with a few clicks. Projecting the bracket onto your board means instant updates and no eraser marks. Google Slides templates offer a middle ground, giving you digital flexibility with a familiar interface.
The timer is your secret weapon regardless of format. Set realistic time limits per match to keep things moving and prevent one slow game from derailing your whole schedule. Most classroom tournaments work well with 5-10 minute matches depending on the activity type.
Important Things to Know Before You Start
Before diving into your tournament setup, let’s address a few crucial considerations that will help your competition run smoothly and keep all students engaged.
Time Management Is Critical
Pool tournaments take longer than you might expect. A single-elimination bracket with 16 students typically requires at least 15 matches, and even quick rounds can consume an entire class period or more. Plan backwards from your available time and be realistic about how many matches you can actually complete. Having students wait too long between turns kills momentum and invites classroom management issues.
Fair Play Requires Clear Rules
Establish your competition rules before the tournament starts, not during it. Whether you’re running math challenges, vocabulary battles, or trivia contests, students need to know exactly how winners are determined, what happens in a tie, and what constitutes acceptable behavior. Write these rules on the board or display them prominently. Nothing derails a tournament faster than disputes over unclear expectations.
Accommodate Different Skill Levels
Not every student enters your tournament on equal footing. Consider whether you want purely competitive brackets or whether you’ll build in modifications to level the playing field. For example, you might give struggling students slightly easier questions, allow partners for support, or create separate brackets by skill level. The goal is engagement and learning, not crushing anyone’s confidence. Think about what makes sense for your specific class dynamics and academic objectives.
Understanding Pool Tournament Bracket Types
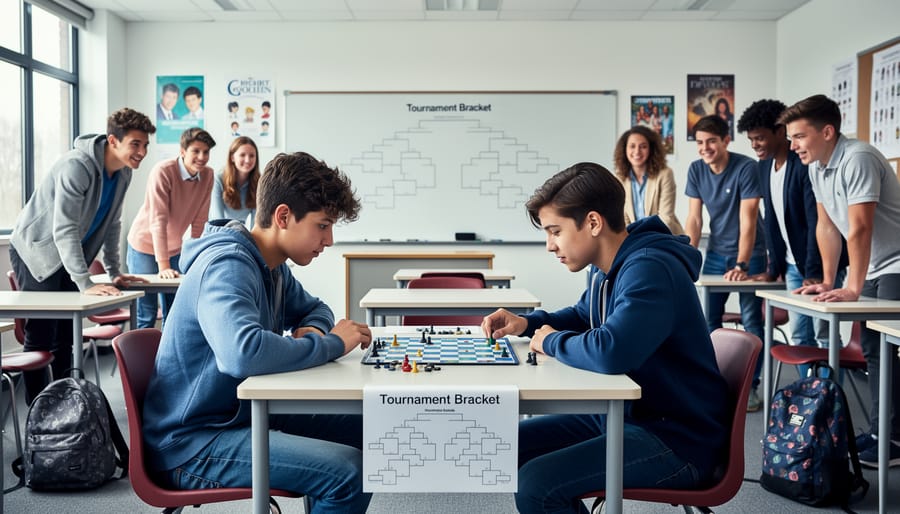
Single Elimination Brackets
Single elimination is the fastest, most straightforward bracket format, perfect when you’re short on time or working with a large class. In this format, each match produces one winner who advances and one player who’s out of the tournament. It’s a clean, dramatic setup that naturally builds excitement as students progress toward a champion.
This format works especially well when you need to scale it up for bigger groups because it cuts your total match count roughly in half compared to other formats. A 16-student tournament needs only 15 matches to crown a winner, making it manageable even within a single class period.
The tradeoff? Students who lose their first match are eliminated immediately, which means less playing time for some kids. Consider pairing single elimination with a separate consolation activity or rotation station so eliminated students stay engaged while the tournament continues.
Double Elimination Brackets
Double elimination gives every student a safety net, they stay in the competition even after losing once. This format runs two brackets side by side: the winners’ bracket and the losers’ bracket. When a student loses their first match, they drop into the losers’ bracket instead of going home. Only after a second loss are they eliminated.
This setup keeps more students actively playing for longer, which means higher engagement and less disappointment. It works beautifully when you want to balance competition with inclusivity, though it does require more matches and time than single elimination. The trade-off? Students get more practice, build resilience, and stay invested throughout the tournament.
Round-Robin Pool Play
Round-robin is the fairest format for small groups because every student competes against every other student at least once. Instead of elimination, this setup gives everyone equal playing time and multiple chances to succeed. It works beautifully for 4-8 participants or teams, beyond that, you’ll have too many matches to fit in a reasonable time block. The structure creates a points-based leaderboard where wins accumulate across all matches, similar to how the impact of tennis seeding reveals patterns over multiple rounds. This format keeps engagement high since no one sits out after a loss, making it perfect for skill-building activities where practice matters more than crowning a single champion. You’ll need a simple grid to track who plays whom and a scoring sheet to record results after each round.
Step-by-Step: Creating Your Pool Tournament Bracket
Step 1: Determine Your Tournament Size and Format
Start by counting your students. Write down the exact number who’ll participate, then round up to the nearest power of two (4, 8, 16, 32) since brackets work best with these sizes. If you have twelve students, for instance, you’ll create a sixteen-person bracket with four “byes” in the first round.
Next, match your format to available time. A 4 team bracket takes one class period, while sixteen participants need multiple sessions. Single elimination moves fastest but cuts half your students each round. Double elimination keeps everyone engaged longer but requires twice the matches.
Finally, decide whether students compete individually or in teams. Individual play works for quick trivia, while teams suit collaborative subjects and let you accommodate more participants without expanding the bracket size.
Step 2: Seed Your Students or Teams
Seeding determines where each student or team starts in your bracket, and it matters more than you might think. Good seeding prevents all your strongest students from meeting in early rounds, keeping the competition exciting until the end.
For most classroom settings, a random draw works perfectly, just pull names from a hat and fill in the bracket top to bottom. It’s fast, feels fair to everyone, and eliminates any appearance of favoritism.
If you know your students’ skill levels well, skill-based seeding creates better matchups. Place your strongest players at opposite ends of the bracket (positions 1 and 16 in a 16-player bracket, for example), with mid-level students filling the middle positions.
A hybrid approach splits the difference: divide students into “strong,” “medium,” and “developing” groups, then randomly draw within each group to assign bracket positions. This balances fairness with competitive excitement while keeping the process simple and transparent for your class.
Step 3: Create and Display Your Bracket
Now it’s time to bring your bracket to life. If you’re going digital, open your chosen platform and input all participant names into the designated slots. Most tools auto-generate the visual bracket once you enter names and hit create. Print multiple copies so you have backups, and consider laminating one version for reusability.
For paper brackets, use a large poster board or chart paper that everyone can see from their seats. Draw clean lines with a ruler and thick markers to create the bracket structure. Write participant names clearly in each starting position using dry-erase markers if you want to update winners easily.
Here’s the secret sauce: display your bracket prominently at the front of the classroom where students naturally look. This creates buzz and anticipation. Students love checking the bracket between rounds to see their progress or cheer for classmates. Some teachers even create a “Tournament Corner” with the bracket as the centerpiece. The visibility turns your competition into a shared classroom experience rather than just another activity.
Step 4: Schedule Matches and Set Time Limits
Once you’ve filled in your bracket, it’s time to map out when each match will actually happen. Start by looking at your available class time, a 45-minute period might allow for two or three quick rounds, while a full hour gives you more flexibility.
Set realistic time limits for each match based on your activity. A quick math challenge might need only 3-5 minutes per round, while a more involved science quiz could require 10-15 minutes. Write these time limits directly on your bracket so students know what to expect.
Build in 2-3 minute transitions between rounds. Students need time to move, settle in, and get ready for their next match. If you’re running multiple rounds in one class period, add a longer 5-minute break halfway through to maintain energy and focus.
Consider spreading your tournament across multiple days if you have many participants. Running quarterfinals on Monday and semifinals on Wednesday keeps excitement building without eating up entire class periods.
Step 5: Run the Tournament and Update the Bracket
Once your bracket is set and students know their first matchups, it’s time to bring the tournament to life. Call the first round of matches clearly and enthusiastically, your energy sets the tone. As matches finish, immediately record winners on your displayed bracket so everyone can track progress. This visible updating creates anticipation and keeps students engaged between their turns.
Move through rounds at a steady pace, but don’t rush. Give students a minute to transition between matches and celebrate their effort, whether they won or lost. If you’re managing multiple simultaneous matches, walk the room to monitor fair play and answer questions quickly. Keep eliminated students involved by assigning them roles like scorekeepers, timekeepers, or cheerleaders for remaining competitors.
Check your facilitation tips to balance structure with flexibility, pause briefly between rounds to acknowledge great plays and maintain momentum. As you advance winners through each round, double-check you’re following your bracket correctly. The final match deserves extra fanfare, so announce it clearly and let the class gather to watch if possible, creating a genuine championship moment.
Making Sure Your Tournament Works: Testing and Next Steps
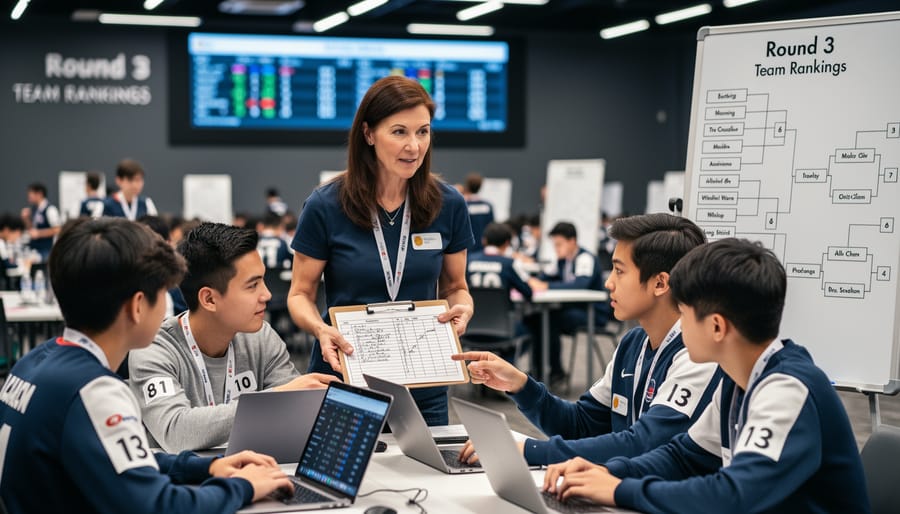
Once your bracket is set up and the tournament begins, take a moment to verify everything is running smoothly. Walk around during the first few matches and check that students understand where to go, who they’re competing against, and what happens if they win or lose. If confusion pops up, pause briefly to re-explain the bracket flow, it’s better to clarify early than deal with disputes later.
Watch for fair play throughout. Keep an eye on scoring accuracy, time limits, and student behavior. If you notice issues, like students rushing through matches or disagreements over outcomes, address them immediately with a friendly reminder of the rules. Adjust on the fly if needed; flexibility keeps the energy positive.
After the tournament wraps up, celebrate the winners and acknowledge everyone’s effort. Then gather quick feedback while it’s fresh. Ask students what they enjoyed, what confused them, and whether the format felt fair. You can use informal discussions or simple exit ticket PDFs to collect their thoughts.
Save your bracket and notes for next time. What worked? What would you change? Jot down timing issues, any format tweaks you’d make, and ideas for future tournaments. This reflection helps you refine the process and makes planning your next bracket even easier. With each tournament, you’ll get faster at setup and better at spotting potential hiccups before they happen.
Customizing Your Pool Tournament for Different Subjects
Pool tournament brackets aren’t just for game competitions, they’re incredibly versatile tools you can adapt to almost any subject area. In math class, pit students against each other in problem-solving showdowns where they race to solve equations or word problems, advancing winners through the bracket. For language arts, create vocabulary face-offs where students define words, use them in sentences, or identify synonyms and antonyms. You could even run spelling bee-style tournaments using the bracket format.
Science teachers can organize trivia tournaments covering units on ecosystems, the periodic table, or scientific methods. Try Jeopardy-style questions where students answer increasingly difficult queries to advance. History brackets work beautifully for date matching, identifying historical figures, or connecting causes and effects.
Get creative with your content. Foreign language classes can use translation challenges or conversation rounds. Geography tournaments might feature map identification or capital city matches. Even PE teachers can track actual game tournaments using these brackets for basketball, kickball, or team relays.
The beauty of bracket tournaments is their flexibility, the structure stays the same while the content changes completely. Customize difficulty levels to match your students’ abilities, adjust time limits per subject, and theme your brackets to current units. This adaptability means you’ll use the same organizational tool all year across different topics, and students will love the familiar competitive format.
Common Questions About Pool Tournament Brackets
Let’s tackle the questions teachers ask most when they’re planning their first pool tournament. These scenarios pop up in almost every classroom competition, so here’s how to handle them smoothly.
What do I do if I have an odd number of students?
Give one student a “bye” in the first round, meaning they automatically advance without playing. Rotate byes fairly if you run multiple tournaments so the same student doesn’t always skip ahead.
How should I handle ties during matches?
Decide your tie-breaker rule before starting: either add a quick overtime round, use a sudden-death question, or award the win to whoever scored first. Post this rule clearly so students know what to expect.
How can I keep eliminated students engaged?
Assign them roles like scorekeeper, timekeeper, referee, or cheerleader for ongoing matches. You can also create a consolation bracket where eliminated players compete for third place, keeping everyone active throughout.
Can I adapt this format for younger elementary students?
Absolutely! Use shorter rounds, simpler rules, and consider team-based play where students support each other. Round-robin formats work especially well with younger kids since no one gets eliminated early.
Time management worries many teachers, but remember that you control the pace. If your tournament runs longer than expected, pause between rounds and resume the next day. Your bracket tracks progress perfectly, so picking up where you left off is simple. Some teachers even spread tournaments across a full week, building anticipation as students check the bracket each day.
For mixed skill levels, consider handicapping matches where stronger students face slightly harder challenges or answer bonus questions. This keeps competition fair without making anyone feel singled out. You might also group students into skill-based pools initially, then have pool winners compete in a championship round. The goal is engagement and learning, not creating classroom champions, so adjust rules that aren’t working mid-tournament if needed.
Pool tournament brackets transform ordinary classroom activities into exciting, structured competitions that students remember long after the lesson ends. You’ve now got all the tools to set up your first tournament, from choosing the right format to managing matches smoothly. Don’t worry if your first attempt isn’t flawless; even experienced teachers refine their approach with each tournament. Start small, experiment with customizations that fit your teaching style, and watch how the competitive format energizes your students. The beauty of pool tournament brackets lies in their flexibility, you can adapt them to any subject, any grade level, and any classroom size. Give it a try this week and see the difference structured competition makes in student engagement.