

Why Your Best Classroom Game Fails When You Scale It Up (And How to Fix It)
Test your new classroom activity with just one class period before rolling it out to all your students. This approach, called pilot-scale, lets you spot problems early, adjust rules on the fly, and build confidence that your game will actually work.
Start small by choosing one class as your pilot group—ideally students who give honest feedback and can handle minor hiccups. Run the activity exactly as planned, but keep a notebook handy to jot down what confuses students, where they lose interest, or which instructions need clarification.
Gather feedback immediately after the pilot session while observations are fresh. Ask students directly what worked, what felt confusing, and what would make the game more engaging. Their insights will reveal issues you never anticipated, like unclear instructions or timing problems that seemed perfect on paper.
Refine your activity based on what you learned, then test the improved version with a second class if major changes were needed. This iterative process saves you from the nightmare of launching a complicated game to 150 students only to realize the rules don’t make sense or the timing is completely off.
Scale up gradually once you’ve worked out the kinks. The time you invest in pilot-scale testing pays off exponentially when your full implementation runs smoothly, students stay engaged, and you’re not scrambling mid-lesson to fix preventable problems. This systematic approach transforms risky experiments into reliable teaching tools that deliver consistent results across all your classes.
What ‘Pilot-Scale’ Really Means in Your Classroom
If you’ve ever heard the phrase “pilot-scale” and thought it sounded like something out of an engineering textbook, you’re not alone! But here’s the good news: it’s actually a really simple concept that you probably already use in your teaching without realizing it.
Think of pilot-scale as your classroom dress rehearsal. It’s the smart approach of testing out a new game, activity, or learning strategy with just one class or small group before you introduce it to all your students. Instead of jumping in with both feet and discovering mid-lesson that your brilliant idea needs some tweaking, you’re giving yourself permission to experiment safely.
Imagine you found an exciting new review game that promises to get students engaged. Rather than introducing it to all five of your class periods on Monday, you’d try it with your second-period class first. You watch how students respond, notice which instructions confused them, and figure out if you need more materials or different group sizes. By the time fourth period rolls around on Tuesday, you’ve already refined the activity based on real feedback from real students.
This testing phase is what pilot-scale is all about. It’s your opportunity to work out the kinks, adjust the rules, and make sure the activity actually delivers the learning outcomes you’re hoping for. You’re not committing to something that might flop spectacularly across six classes. Instead, you’re being strategic and thoughtful about implementation.
The beauty of this approach is that it saves you time, reduces stress, and increases your chances of success when you do roll out the activity more widely. It’s teaching smarter, not harder.

The Three Stages Every Classroom Game Goes Through
Stage 1: The Trial Run (Your Pilot)
Ready to launch? Start small with just one class—your “pilot group.” This is where the magic happens! Pick a class you’re comfortable with, one where you can easily observe what’s working and what needs tweaking.
During this trial run, pay attention to timing. Does the activity fit your class period? Are students engaged throughout, or do they lose steam halfway through? Notice how students respond to instructions. Is anything confusing? Take mental notes or jot down quick observations right after class.
Track student participation levels and see if the facilitation approach you’re using resonates with different learners. Which parts generate excitement? Where do students struggle?
Don’t worry about perfection! This stage is all about learning what works in your unique classroom environment. Gather quick feedback from students—a simple thumbs up/down or exit ticket works great. Ask what they enjoyed and what confused them.
The goal isn’t a flawless performance; it’s gathering real-world data that helps you customize the activity before rolling it out to more classes. Your pilot students become your co-creators, helping shape something truly engaging for everyone.
Stage 2: The Adjustment Phase
Now comes the fun part—making the activity truly yours! After your pilot test, you’ve gathered valuable insights. It’s time to customize and refine based on what actually happened in your classroom.
Start by reviewing your observations. Did students finish too quickly? Add an extra challenge layer or bonus questions. Were they confused about the rules? Simplify your instructions or create a visual reference chart they can access during gameplay. Did certain groups dominate while others disengaged? Adjust team sizes or introduce rotating roles to facilitate student engagement more evenly.
Common adjustments include tweaking time limits—maybe your 15-minute activity needs 20 minutes or just 10. You might also modify difficulty levels by creating tiered questions or offering choice boards. If materials were an issue, consider digital alternatives or simpler supplies.
Remember, small changes make big differences! One teacher discovered that simply adding background music transformed her review game from chaotic to focused. Another found that switching from competitive scoring to collaborative goals completely changed classroom dynamics. Trust what you learned during your pilot, and don’t be afraid to experiment with creative solutions that match your students’ needs.
Stage 3: Full-Scale Implementation
You’ve tested, tweaked, and gathered feedback—now it’s time to celebrate and go big! Full-scale implementation means confidently rolling out your game across all classes, grade levels, or even sharing it with teacher colleagues who are eager to try something new.
Start by creating a simple resource kit that makes implementation easy for everyone. Include your finalized game rules, materials list, timing suggestions, and any modifications you discovered during your pilot. Think of it as your game’s instruction manual that anyone can pick up and use successfully.
Share your success story during team meetings or through your school’s communication channels. Teachers love hearing what actually works in real classrooms, so don’t be shy about your wins! Consider hosting a quick demo session where colleagues can see the game in action or even participate themselves.
As you expand, maintain that spirit of flexibility. Different classes will still have unique needs, so encourage teachers to customize elements while keeping the core structure intact. Create a feedback loop where educators can share their own modifications and tips—this builds a collaborative community around your game.
Remember, full-scale doesn’t mean rigid. Stay open to ongoing improvements and seasonal refreshes that keep the game exciting for everyone involved.
The Most Common Mistakes Teachers Make When Scaling Up
We’ve all been there—you find an amazing activity that works like magic with a small group, and you think, “This is it! Let’s do this with everyone!” But then… it doesn’t quite go as planned. Here are the most common stumbling blocks teachers encounter when scaling up, so you can sidestep them entirely.
One of the biggest mistakes? Skipping the pilot phase altogether. It’s tempting to jump straight to using a game or activity with your entire grade level or multiple classes, especially when you’re excited about something new. But without that initial test run, you miss the chance to catch problems when they’re still easy to fix. Think of your pilot as your safety net—it gives you permission to experiment without high stakes.
Another common pitfall is forgetting to adjust for different class sizes and abilities. What works beautifully with 15 students might create chaos with 30. Similarly, an activity that engages your advanced learners might leave struggling students feeling lost. When you scale up, take time to consider how the activity needs to adapt. Can you add different difficulty levels? Do you need extra materials or additional adult support for larger groups?
Many teachers also forget to document what actually worked during the pilot. You might think you’ll remember all the little tweaks you made, but trust me—those details fade quickly! Keep simple notes about timing, student reactions, what materials you needed, and any on-the-spot adjustments you made. These notes become your roadmap for successful scaling.
Finally, there’s the enthusiasm trap: assuming that because you love an activity, everyone will implement it the same way. When sharing with colleagues, provide clear guidance while leaving room for their own teaching style. Include the “why” behind your choices so others can make informed adjustments for their unique classroom situations.
Your Simple Pilot-to-Scale Checklist
Ready to test drive your next classroom activity? This checklist will walk you through the pilot-to-scale process step by step, so you can confidently grow what works and save time on what doesn’t.
Before You Pilot: The Planning Stage
Ask yourself these essential questions before introducing any new game or activity. What specific learning goal am I targeting? How much time will this realistically take? What materials do I need, and are they accessible? Start small by choosing just one class period or a small group of students for your initial test run.
During Your Pilot: What to Watch For
Pay close attention while your activity is in action. Are students engaged and on task, or do they seem confused? Notice which instructions need clarification and where students get stuck. Watch the clock to see if your timing estimates were accurate. Take quick notes on your phone or keep a simple observation sheet nearby. Don’t aim for perfection here—the whole point is to learn what needs tweaking.
After Your Pilot: Reflection Time
Gather feedback from your students right away while the experience is fresh. Ask simple questions like “What was confusing?” or “What made this fun?” Review your observations honestly. Did the activity achieve your learning goal? What surprised you? Identify two or three specific changes you’ll make before trying again.
Ready to Scale? Check These Signs
You’re ready to expand when most students understood the instructions without repeated explanation, the activity fit comfortably within your time frame, student engagement remained high throughout, and you achieved your intended learning outcome. If you’re checking at least three of these boxes, you’re good to go.
When scaling up, introduce the improved version to another class or expand the activity’s scope. Keep making small adjustments based on what you observe. Remember, even successful activities can always be refined. The goal isn’t perfection on the first try—it’s continuous improvement that makes your teaching life easier and your students’ learning more effective. Trust the process, celebrate what works, and don’t be afraid to abandon what doesn’t.
Real Classroom Example: From One Class to the Whole Grade
Meet Sarah, a middle school science teacher who was excited to try a new vocabulary review game she’d created for her earth science unit. Instead of launching it across all four of her classes on the same day, she decided to pilot it with her second-period class first.
Good thing she did! Within the first ten minutes, Sarah noticed students were confused about the scoring system, and two groups finished way earlier than expected. She paused the game, made quick notes, and let the class finish with some improvised adjustments.
That afternoon, Sarah tweaked the rules to clarify scoring and added bonus challenge questions for teams that finished early. The next day, she ran the revised version with her third-period class, and it went so much smoother. Students were engaged, the pacing worked perfectly, and effective facilitation felt natural.
By Friday, Sarah felt confident enough to share her game with two colleagues teaching the same unit. She emailed them her materials along with a short note about what worked best and which parts to watch out for. Both teachers used it successfully the following week.
What made this work? Sarah gave herself permission to test small first. That one pilot class saved her from repeating the same mistakes four times over. Plus, when she shared the game with colleagues, she could offer them a truly tested activity rather than just a hopeful idea. The result was a win for everyone: less stress for Sarah, better engagement for students, and a ready-to-use resource for her team.
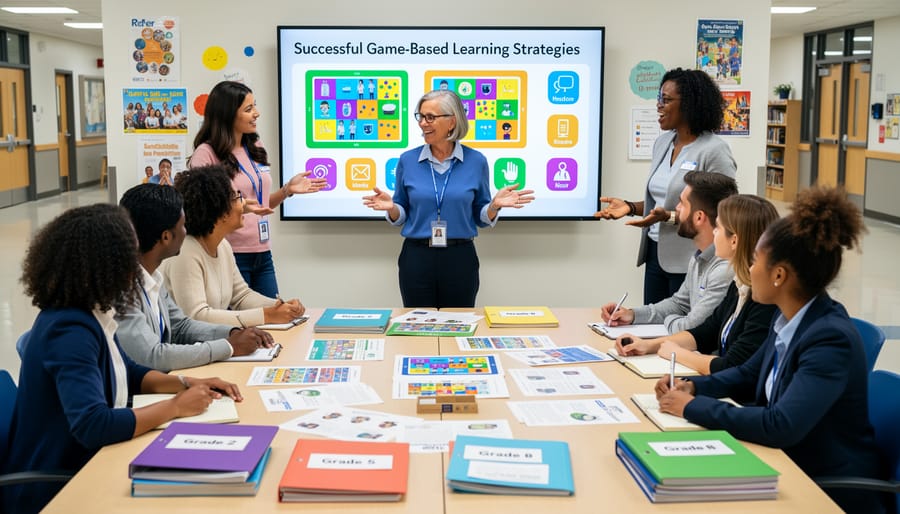
Here’s the truth: piloting isn’t extra work—it’s the shortcut you’ve been looking for. When you test small before going big, you’re actually saving yourself time, stress, and those moments of classroom chaos that make you question why you tried something new in the first place.
Think of every pilot run as your safety net. It lets you spot what works, tweak what doesn’t, and build the confidence you need before rolling out an activity to all your classes or sharing it with colleagues. Those 15 minutes you spend testing a game with five students? They’re preventing an entire class period of confusion later.
The beauty of the pilot approach is that it makes innovation manageable. You don’t need to be perfect on day one. You just need to be willing to start small, observe honestly, and adjust as you go. Each small test brings you closer to those big classroom wins—the ones where students are engaged, learning is happening, and you’re facilitating classroom activities with ease instead of scrambling to manage problems.
So grab that game you’ve been curious about, choose a small group, and give it a try. Your future self—and your students—will thank you for testing the waters first. Small steps lead to confident, successful classrooms where games become your go-to teaching tool, not your backup plan.