
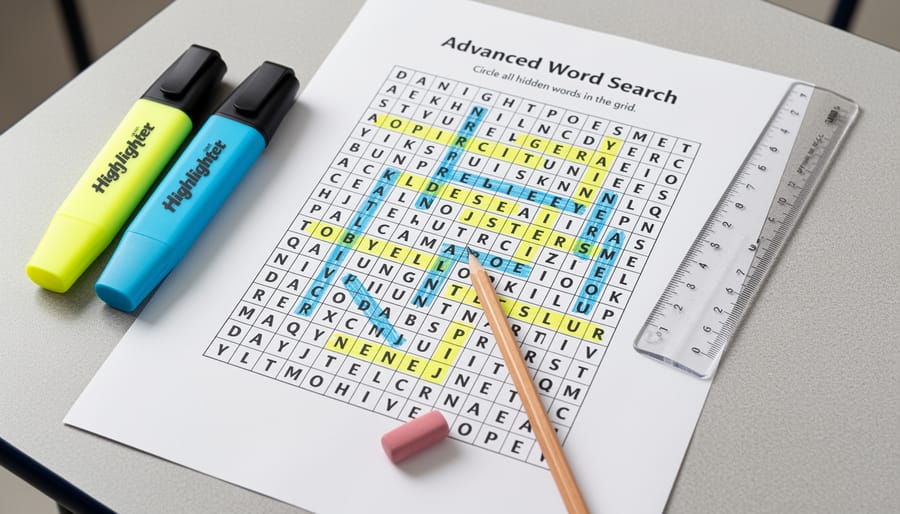
How to Solve Difficult Advanced Word Search Printables: Expert Strategies That Work
Difficult advanced word search printables transform ordinary puzzle-solving into a legitimate cognitive workout, and mastering them requires a strategic approach that goes far beyond casual scanning. These high-difficulty puzzles feature longer words, diagonal and backward patterns, overlapping terms, and minimal white space that challenges even experienced solvers. The key to conquering them lies in systematic grid analysis, strategic marking techniques, and pattern recognition skills you can teach and practice.
Your students (and let’s be honest, you too) have probably hit that frustrating wall where a puzzle sits half-finished, and the remaining words seem impossible to locate. That’s exactly what makes these advanced puzzles so valuable for classroom learning. They build perseverance, sharpen visual scanning abilities, and develop the kind of methodical problem-solving approach that transfers to other academic challenges.
The beauty of printable versions is the freedom to mark them up without limits. Students can highlight, circle, use multiple colors, and develop their own notation systems. This tactile engagement strengthens memory retention and keeps minds active in ways that digital versions simply can’t match. Whether you’re challenging gifted students who breeze through standard puzzles or creating enrichment activities for early finishers, these advanced word searches offer the perfect balance of difficulty and achievable success when approached with the right techniques.
What You’ll Need to Get Started
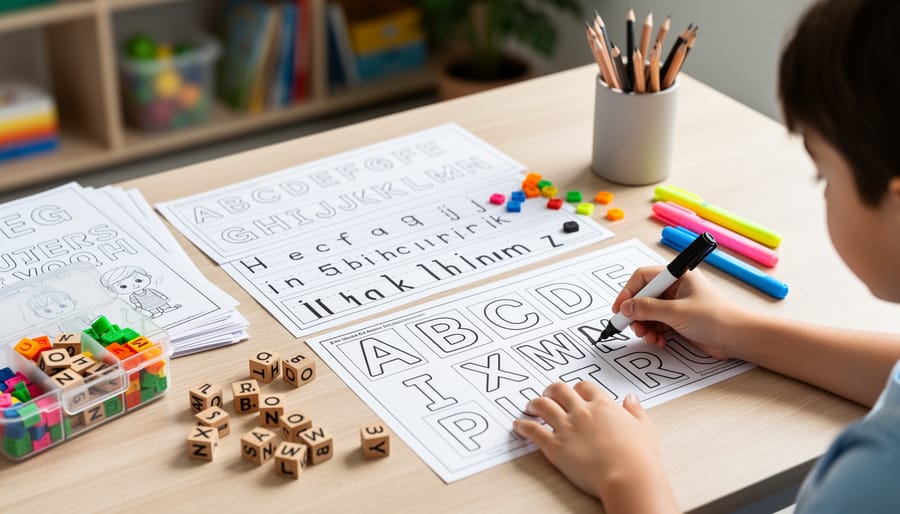
You don’t need fancy equipment to tackle advanced word search printables. Most of these tools are sitting in your classroom supply cabinet right now, ready to help you and your students work through even the trickiest puzzles.
Here’s what works best:
- The printable puzzle itself – print on bright white paper for maximum contrast and easier letter recognition
- Quality pencils with good erasers – you’ll change your mind about letter patterns as you search
- Highlighters in multiple colors – assign different colors to horizontal, vertical, and diagonal directions to track your progress
- A ruler or straight edge – helps you scan rows and columns without your eyes wandering off track
- Colored pens or markers – useful for marking off found words on your word list
- A clipboard or hard surface – keeps your puzzle flat and prevents shadows that hide letters
- Scratch paper – jot down letter patterns or fragments you notice but haven’t matched yet
The highlighters deserve special mention. When you’re working through a grid with 20+ words going in eight different directions, color-coding prevents that awful moment when you mark the same word twice or lose track of which sections you’ve already covered. Some teachers prefer transparency markers that let you see through to the letters underneath, while others like bold colors that clearly show completed finds.
Keep everything within arm’s reach before you start. Breaking your focus to hunt for a highlighter means losing the pattern you just spotted in the grid. Set up your workspace like you’re settling in for serious puzzle-solving work, because these advanced printables demand your full attention.
Important: Know When to Take a Break

Even the most engaging puzzle can become counterproductive when mental fatigue sets in. Advanced word searches demand sustained concentration, and pushing through exhaustion leads to mistakes, frustration, and a negative association with what should be an enjoyable challenge.
Watch for clear warning signs that it’s time to step away. If you find yourself rereading the same word list repeatedly without progress, squinting at the grid, or feeling irritated rather than engaged, your brain needs a reset. Students rubbing their eyes, slumping in their chairs, or making random guesses instead of systematic searches are showing physical signals of overload.
For classroom settings, build these breaks directly into your lesson plan rather than waiting for students to ask. Set a timer for 15 minutes of puzzle time, then transition to a different activity before returning to the word search. This approach maintains enthusiasm and often leads to breakthroughs when students come back with fresh eyes.
The breaks don’t need to be long. A quick stretch, a few deep breaths, looking out a window to refocus distant vision, or switching to a collaborative discussion about strategies all work well. What matters is giving the visual cortex and concentration muscles a genuine rest, not just shifting to a different screen or written task.
Step-by-Step Strategy for Solving Advanced Word Searches
Step 1: Scan and Categorize Your Word List
Before you search for a single word, grab a highlighter and spend two minutes organizing your list, it’s the difference between random hunting and strategic solving.
Start by grouping words by length. Circle all words with eight or more letters in one color; these become your priority targets since they’re harder to hide in the grid. Next, mark the shortest words (three to four letters) separately, you’ll save these for last when the grid has fewer unmarked letters.
Now categorize by first letter. Write “Q,” “X,” or “Z” next to any words starting with these uncommon letters. These stand out immediately in the grid and give you quick wins that build momentum. If your puzzle has a theme (like “ocean life” or “historical figures”), group related words together mentally, themed puzzles often cluster similar words in the same grid region.
This upfront organization mirrors the preparation you’d do for other classroom activities like a printable Jeopardy game: a little structure at the start saves tons of time later. You’ll avoid re-reading the entire word list after each find, and you’ll know exactly which words to tackle first. Two minutes of sorting typically cuts your total solving time by ten or more.
Step 2: Start with Uncommon Letters and Long Words
Once you’ve organized your word list, your next move is to hunt down the easiest targets first. Rare letters like Q, X, and Z jump off the page because they show up so infrequently in English text. Analysis of letter frequency confirms that these letters appear less than 1% of the time in typical writing, making them fantastic anchors for spotting difficult words quickly.
Start by scanning your word list for any terms containing Q, X, Z, or J. Circle these words, then scan the entire grid specifically for those letters. When you find one, check the surrounding letters in all directions. You’ll often discover the whole word right there, saving you minutes of searching later.
Long words (eight letters or more) work the same way. They occupy more grid space and create distinctive patterns that catch your eye faster than three or four-letter words. Tackle “JAVASCRIPT” or “THUNDERSTORM” before hunting for “CAT” or “RUN.” These longer sequences stand out visually and give you quick wins that build momentum.
This strategy transforms what seems overwhelming into manageable chunks. You’re clearing the hardest finds first while your focus is sharpest.
Step 3: Master the Eight-Direction Sweep
The eight-direction sweep prevents the most common mistake in advanced puzzles, missing words because you checked horizontally but forgot to check the same spot backwards. Here’s how to make it systematic.
Pick a starting point in the grid, top left corner works best. For each letter, check all eight directions before moving on: right, left, down, up, then the four diagonals (down-right, down-left, up-right, up-left). Most solvers check only three or four directions and wonder why they can’t find words.
Use your finger or pencil tip to trace each direction from the letter you’re examining. This physical connection keeps you from jumping around randomly. With printables, you have a huge advantage over online puzzles, you can tilt the page to follow diagonal lines more naturally. Turn the paper 45 degrees when checking diagonals so you’re reading horizontally instead of at an angle.
Mark tiny dots at grid edges when you’ve completed a full eight-direction check on that row or column. This visual tracking system ensures you actually cover every letter systematically rather than scanning the same comfortable areas repeatedly while neglecting others.

Step 4: Use Pattern Recognition for Hidden Words
Advanced word searches hide words in ways that defeat casual scanning. Your brain naturally reads left-to-right and top-to-bottom, so start training yourself to spot backwards patterns. Look at the grid upside-down occasionally, this simple trick reveals words you’ve walked past ten times.
Focus on common letter pairings that catch your eye: TH, CH, QU, -ING, -TION. These clusters act as anchors. When you spot “ING” in the grid, trace backwards to find the complete word. Similarly, seeing “TH” might revealTHER, THEM, or THROUGH depending on surrounding letters.
Break long words into recognizable chunks. PHOTOSYNTHESIS becomes PHOTO-SYN-THESIS in your mind. Scan for these fragments rather than the entire word, you’ll spot partial matches faster, then verify the complete sequence.
Watch for unusual letter combinations that don’t form common English patterns. A string like XYZ or QWE stands out precisely because it looks wrong, often indicating a backwards or diagonal word passing through that space.
The key insight: don’t search for whole words. Train your eyes to catch distinctive fragments, then expand outward to confirm the match. This pattern-recognition approach mirrors how experienced solvers tackle digital puzzles but works even better on paper where you can physically rotate the page.
Step 5: Grid Division and Quadrant Method
Large advanced word search printables can overwhelm even experienced solvers because your eyes naturally skip sections. The grid division method prevents this by transforming one intimidating puzzle into four manageable mini-searches.
Fold your printable into quarters or use a ruler to draw light pencil lines dividing the grid into four equal quadrants. Label them A, B, C, and D in the corners. This physical division creates natural stopping points and helps you track your progress.
Work through one quadrant completely before moving to the next. Start with quadrant A in the upper left, search for all remaining words, then move clockwise. Check off each word as you find it, noting which quadrant contained it. This prevents the common mistake of repeatedly searching the same areas while neglecting others.
For puzzles larger than 20×20, divide each quadrant into smaller sections. Treat each section as its own mini-puzzle, maintaining the same eight-direction sweep you used earlier.
The quadrant method also works brilliantly in classroom settings. Assign different students to different quadrants, then have them compare findings. This collaborative approach teaches systematic problem-solving while keeping advanced puzzles engaging rather than frustrating. Students who struggle with focus find the smaller sections less daunting and experience more frequent success moments.
How to Verify Your Solution and What to Do Next
Once you’ve worked through all your strategies, it’s time to confirm you’ve actually solved the puzzle. Start by counting the words you’ve circled or highlighted against the total list. If the numbers match, compare each found word to the original list, checking off items as you verify them. This double-check catches surprisingly common errors like marking the wrong word or accidentally crossing off a list item you haven’t actually located.
For any missing words, resist the urge to give up immediately. Return to your quadrant method and search the unchecked sections again, this time looking specifically for those elusive terms. Try searching backwards or scanning from bottom to top, sometimes changing your visual approach reveals words your brain filtered out during the first pass. If a word remains stubbornly hidden after two focused attempts, set the puzzle aside for 10 minutes. Fresh eyes often spot what fatigued ones missed.
Follow this verification checklist to ensure accuracy:
- Count your highlighted words and compare to the total word list number
- Read each list word aloud while visually confirming its location in the grid
- Check that your highlighting follows the word’s actual path without gaps or extra letters
- Verify diagonal words run in consistent directions without zigzagging
- Confirm no single grid letter is highlighted as part of two different words (unless the puzzle explicitly allows overlaps)
Once verified, challenge yourself with harder puzzles or time yourself on similar difficulty levels to build speed. In classroom settings, pair students to peer-review each other’s solutions, this collaborative verification teaches attention to detail while building community. Consider creating themed puzzle sets where solving techniques transfer between related topics, similar to how keyword localization adapts content across subjects. You might even integrate word search completion as warm-up activities before Blooket alternatives or other interactive games, using the focused problem-solving mindset as transition preparation.
Common Questions About Advanced Word Search Solving
How long should students spend on one advanced word search?
Set a 15-20 minute time limit for middle school students and 20-30 minutes for high schoolers. If students haven’t made significant progress after that time, encourage them to take a break and return with fresh eyes rather than pushing through frustration.
What if a student insists they can’t find the last few words?
Have them highlight every word they’ve found in one color, then use a different color to mark all unused letters in the grid. The remaining words will often pop out from the unhighlighted sections. This technique also helps identify if they’ve accidentally marked a word incorrectly.
How can I differentiate advanced word searches for mixed-ability classrooms?
Provide the same printable but adjust expectations: struggling students find 10-12 words, average students find all words with the list provided, and advanced students solve it without the word list or find words in a specific direction only. You can also vary the time limits or allow some students to work in pairs.
Should students work individually or can they collaborate?
Both approaches work depending on your goal. Individual work builds independent problem-solving and persistence, while partner work encourages communication and strategy sharing. Consider starting with pairs for the first few puzzles, then transitioning to individual challenges as confidence builds.
Can these strategies transfer to other puzzle types?
Absolutely. The systematic scanning, pattern recognition, and grid division techniques apply directly to crosswords, sudoku, and logic puzzles. Many teachers who implement these methods find students become better problem-solvers across subjects, similar to how structured escape room design teaches sequential thinking.
What’s the best way to introduce these strategies without overwhelming students?
Teach one strategy per week using a moderately difficult puzzle. Week one covers scanning for uncommon letters, week two introduces the eight-direction sweep, and so on. Students master each technique individually before combining them for truly advanced puzzles.
These questions come up repeatedly in classrooms where teachers introduce difficult word searches. The key is remembering that advanced puzzles should challenge students without creating defeat, so adjust your expectations and scaffolding based on what you observe. Some classes might need two weeks on each strategy, while others combine techniques faster.
With the right systematic approach, even the most difficult advanced word search printables transform from overwhelming puzzles into manageable challenges. The strategies you’ve learned, categorizing words, targeting uncommon letters, mastering directional sweeps, recognizing patterns, and dividing grids, work together to build confidence and efficiency.
These aren’t just puzzle-solving tricks. When you teach these methods to your students, you’re equipping them with transferable problem-solving skills: breaking complex tasks into steps, staying organized under pressure, and persisting through frustration. Students who learn to tackle challenging word searches systematically carry that mindset into math problems, reading comprehension, and real-world challenges.
Start with one strategy at a time in your classroom. Let students discover how a methodical approach beats random searching every time. You’ll see the difference in their persistence and their results.