
Make Your Educational Games Pop: Design Principles That Captivate Students
Transform your teaching materials into engaging visual experiences by mastering these seven fundamental graphic design skills. Whether you’re creating educational games, classroom presentations, or learning materials, these principles will help you capture students’ attention and enhance information retention. From establishing clear visual hierarchies to selecting the perfect color combinations, these time-tested guidelines make the difference between confusing layouts and crystal-clear communication. Even if you’ve never designed anything before, you’ll discover how simple adjustments in contrast, alignment, and spacing can dramatically improve your educational materials. Best of all, these principles work across all grade levels and subjects, making them perfect for every educator’s toolkit.
Balance: Creating Harmony in Educational Game Design
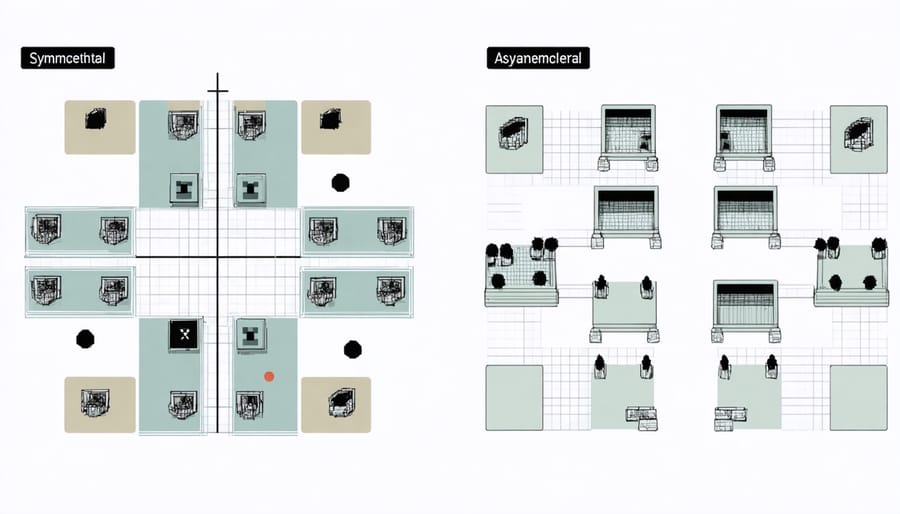
Symmetrical vs. Asymmetrical Balance
Balance in game design can transform a chaotic layout into an engaging learning experience. Symmetrical balance creates a mirror effect, perfect for matching games or vocabulary drills where items are evenly distributed on both sides. Think of a memory card game where cards are arranged in perfect rows on each side. Asymmetrical balance, on the other hand, offers more creative freedom while maintaining visual harmony. For example, you might place a large question box on one side of your quiz template, balanced by several smaller answer boxes on the other side. Both approaches work well in educational games – symmetrical balance creates a sense of order that’s great for younger students, while asymmetrical layouts can add excitement and visual interest for more complex learning activities.
Contrast: Making Important Elements Stand Out
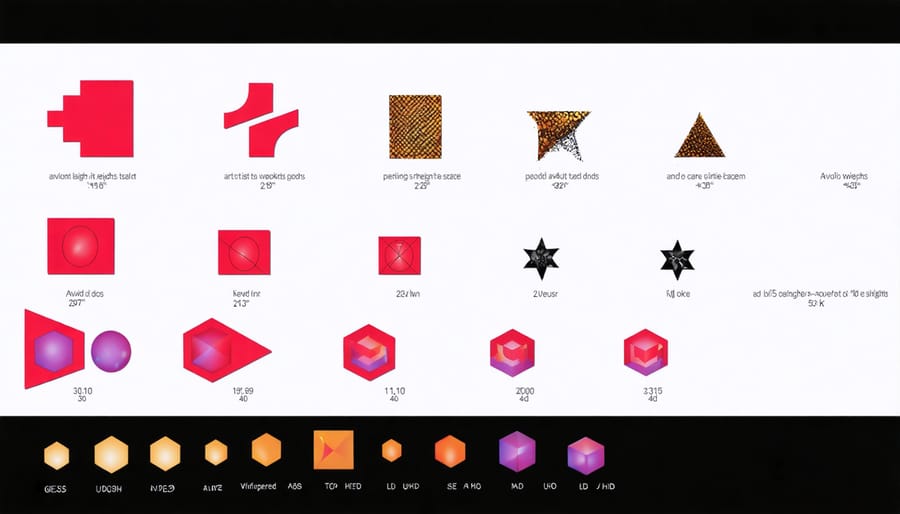
Color and Size Contrast for Better Learning
When designing educational games, using contrasting colors and sizes can significantly boost student engagement and improve learning outcomes. Try pairing bright elements against darker backgrounds to make important information pop, like using yellow text on deep blue for key vocabulary words. Make crucial game elements larger than surrounding content – think bigger buttons for primary actions and smaller ones for secondary features. For younger learners, use bold color contrasts like purple and yellow, while older students might benefit from more subtle variations like navy and light blue. Remember to maintain consistency with your contrast choices throughout the game to avoid confusion and create a cohesive learning experience.
Hierarchy: Organizing Information Effectively
Question Hierarchy in Review Games
When designing review games, structure your questions like a pyramid, starting with easier concepts at the base and building up to more challenging ones. Place important information prominently at the top of the screen, with supporting details flowing naturally below. Use clear visual cues like numbers or icons to indicate question difficulty levels. Keep related questions grouped together using consistent colors or shapes, and ensure there’s enough white space between different question sets to avoid overwhelming students. This hierarchy helps learners progress smoothly through the material while maintaining engagement and confidence throughout the game.
Repetition: Building Recognition and Consistency
Think of repetition as your classroom’s visual rhythm! When designing educational games, repeating elements like colors, shapes, or buttons creates a familiar pattern that helps students navigate and learn more effectively. Just as you might use consistent routines in your lesson plans, visual repetition builds recognition and makes your game designs more intuitive.
For example, if you use a blue star icon for bonus points, keep using that same blue star throughout the game. This consistency helps students quickly understand what to look for and what it means. You can also apply repetition through consistent button styles, font choices, or background patterns across different game levels.
Remember, repetition doesn’t mean being boring! Mix it up by using your repeated elements in different sizes or arrangements while maintaining their core features. This creates both unity and visual interest. When students see familiar design elements, they’ll feel more confident navigating the game, allowing them to focus on learning rather than figuring out how things work.
Think of repetition as your visual teaching assistant – it reinforces learning through consistent, recognizable patterns!
Alignment: Creating Order and Structure
Alignment brings harmony to your educational game designs by ensuring all elements are purposefully positioned. Think of alignment like organizing students’ desks in your classroom – everything should have a clear relationship with other elements. When designing game interfaces, use invisible lines to create order, making content easier for students to process and understand.
Try grouping related items along the same edge or center line. For example, align your game’s menu buttons consistently on the left side, or center all level titles. This predictable structure helps students navigate more confidently through the game. Avoid randomly placing elements, as this can make your design feel chaotic and distract from the learning experience.
Remember that strong alignment doesn’t mean everything must follow rigid rules. You can create visual interest by breaking alignment intentionally, like highlighting an important instruction or reward. The key is ensuring these exceptions serve a clear purpose in enhancing student engagement.
Proximity: Grouping Related Elements
Think of proximity as the digital equivalent of organizing your classroom materials – it’s all about keeping related elements close together! When designing educational games, group similar buttons, instructions, or game elements near each other to create clear visual relationships. For example, place scoring information in one corner and game controls in another, rather than scattering them across the screen.
Good proximity helps students naturally understand where to focus their attention. Consider how you might cluster vocabulary words with their definitions, or keep math problem components together. This simple technique reduces cognitive load and makes your educational games more intuitive to navigate.
Remember to use white space effectively between different groups of elements. This creates visual “breathing room” that helps students distinguish between different game sections while maintaining a clean, organized layout that supports learning objectives.
White Space: Letting Your Design Breathe
Just like a classroom needs breathing room for students to move and think, your educational game designs need white space to be effective. Think of white space as the peaceful gaps between elements – it’s not just empty space, but a powerful tool that helps students focus on what matters.
When designing educational games, resist the urge to fill every corner with content. Instead, give your design elements room to shine. For example, when creating a vocabulary matching game, space out the word cards generously. This makes it easier for students to process information and reduces cognitive overload.
Consider how white space can guide attention. In a math puzzle interface, use ample padding around problem sets to create clear visual sections. This helps students navigate the content more easily and reduces confusion. Remember, younger learners especially benefit from clean, uncluttered designs.
Start by keeping at least 50% of your screen as white space. This might feel like a lot at first, but you’ll notice how it makes your educational content more approachable and less overwhelming for students. Your design will feel more professional and polished, and your students will thank you for it!
By incorporating these seven graphic design principles into your educational games, you’ll create more engaging and effective learning experiences for your students. Remember that balance, contrast, alignment, repetition, proximity, color theory, and hierarchy work together to enhance visual communication and student engagement. As you develop your classroom gaming fundamentals, experiment with these principles to find what resonates best with your students. Start small by implementing one or two principles at a time, then gradually incorporate more as you become comfortable. With practice, you’ll naturally combine these elements to create games that not only look professional but also support your educational objectives and keep students excited about learning.