How These 8 Design Types Could Transform Your Teaching Materials (And Your Freelance Income)
Discover which graphic design specialization matches your teaching style and transforms your classroom materials from basic to brilliant. Whether you’re creating eye-catching posters, engaging digital worksheets, or interactive presentations, understanding these eight design types helps you communicate more effectively with students while opening doors to boost your freelance income.
Visual identity design creates memorable classroom branding that students recognize instantly. Marketing design captures attention for newsletters and school events. Publication design transforms curriculum guides into professional-looking resources. Packaging design applies to student reward systems and classroom materials. Motion graphics bring lessons to life through animated explanations. Environmental design optimizes your physical and virtual classroom spaces. Art and illustration adds personality to worksheets and activities. User interface design makes your digital learning tools intuitive and engaging.
Each specialization connects directly to materials you already create daily. Learning even two or three of these design types dramatically improves student engagement while building valuable skills for additional income opportunities. Ready to transform your teaching materials and expand your professional toolkit?
Why Teachers Make Amazing Graphic Designers
Here’s some exciting news: you’re already halfway to becoming a skilled graphic designer! Think about what you do every single day in the classroom. You take complex concepts and make them crystal clear. You capture and hold attention in a room full of diverse learners. You constantly think about what your audience needs and adjust your approach accordingly. Sound familiar? That’s exactly what graphic designers do.
Every time you create a worksheet, plan a bulletin board, or put together a presentation, you’re making design decisions. You’re choosing which information matters most, organizing it logically, and presenting it in a way that helps others learn. These are the core skills of graphic design, and you’ve been practicing them for years.
The beautiful connection between teaching and design is all about communication. Both require you to understand your audience deeply—whether that’s a classroom of third graders or parents reading a newsletter. You already know how to break down information into digestible pieces, use visuals to support understanding, and create materials that engage and inspire.
What’s more, you have an advantage many designers don’t: you understand learning styles, age-appropriate content, and educational goals. You know what works because you see the results every day. All you need now is to learn some technical skills and design principles to take what you already do naturally and elevate it to the next level. And who better than a teacher to learn something new?
Visual Identity Design: Creating Your Classroom Brand
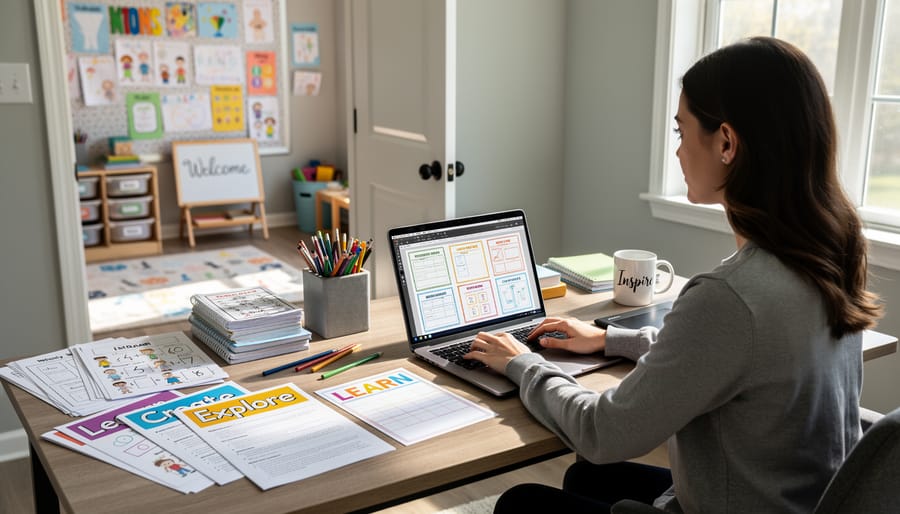
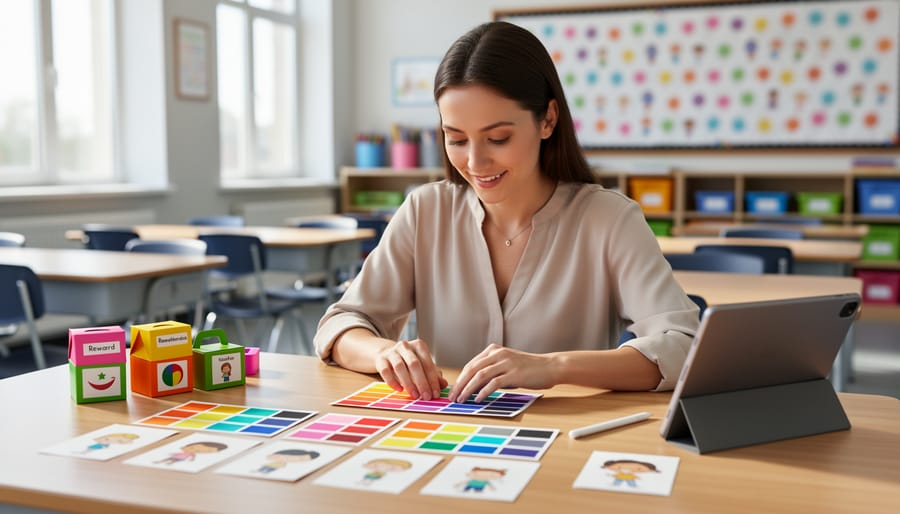
Think of visual identity design as creating your classroom’s signature look—the colors, fonts, and style that make your materials instantly recognizable. Whether you’re building a Teachers Pay Teachers store or just want cohesive classroom resources, this type of graphic design helps everything feel connected and professional.
Start with the basics: choose 2-3 main colors that reflect your teaching style. Love a calm, organized vibe? Try blues and grays. Prefer energetic and fun? Bright oranges and teals might be perfect. Pick fonts that are easy to read—typically one playful font for titles and one clean font for body text. Consistency is your secret weapon here.
Your logo doesn’t need to be complicated. Many successful teacher-sellers use simple text-based logos with a small icon or their initials in a fun shape. The goal is creating something memorable that you can place on worksheets, presentations, and resource covers. Free tools like Canva make this totally doable, even without design experience.
Create a simple brand guide for yourself—just a one-page reference showing your colors (with their hex codes), fonts, and logo variations. This saves you from reinventing the wheel every time you create something new. Your students will start recognizing your materials immediately, and parents will notice the professionalism.
The best part? Once you establish your visual identity, creating new materials becomes faster because you’re working within your proven system. Plus, if you decide to sell resources on TPT, that consistent branding helps you stand out in a crowded marketplace. Your classroom brand becomes your teaching signature.
Marketing Design: Making Your Resources Stand Out
Marketing design is where you get to make your teaching materials irresistible! Think about those eye-catching book covers or YouTube thumbnails that make you click – that’s marketing design at work, and it’s perfect for promoting your classroom resources.
When you create educational products like printable games, activity packs, or digital resources, strong marketing design helps them stand out in a crowded marketplace. Your cover image is often the first thing teachers see, so it needs to communicate what’s inside quickly and clearly. Use bright, contrasting colors that pop on screen, clear typography that’s easy to read even as a small thumbnail, and include preview images of what buyers will actually get.
Pinterest is a goldmine for teachers seeking classroom resources, making it essential to master Pinterest pin design. Create vertical graphics (1000 x 1500 pixels works great) with bold titles, appealing fonts, and lifestyle images showing your games in action. Real classroom photos build trust and help other educators visualize using your resources.
Social media posts showcasing your classroom games need quick visual impact. Apply design principles that captivate students to your promotional graphics too! Include before-and-after shots, student engagement photos (with permission), or flat-lay arrangements of your materials.
Pro tip: Create templates for consistent branding across all your marketing materials. Use the same color palette, fonts, and style so teachers recognize your resources instantly. This professional consistency builds credibility and makes you memorable in the educational marketplace, whether you’re sharing free resources or building a side business selling teaching materials.
Publication Design: Worksheets, Workbooks, and Handouts That Students Love
Remember those worksheets you spent hours creating, only to have students glance at them once and toss them aside? Publication design is your secret weapon for changing that! This type of graphic design focuses on making printed and digital materials that students actually want to read and use.
Think about the handouts, workbooks, and study guides you create regularly. Publication design transforms these everyday materials from boring black-and-white pages into visually appealing resources that grab attention and keep students engaged. The magic lies in three key elements: layout, typography, and visual hierarchy.
Layout is all about organizing information in a way that makes sense. Instead of cramming everything onto a page, publication design helps you create breathing room with white space, strategic placement of images, and logical flow. Your students should be able to scan the page and instantly know where to start and what’s most important.
Typography goes beyond just picking a pretty font. It’s about choosing readable typefaces and sizes that work for your grade level. Younger students need larger, clearer fonts, while older learners can handle more variety. Mixing font styles strategically helps differentiate headings from body text and makes content easier to navigate.
Visual hierarchy guides students through your materials like a roadmap. Use size, color, and placement to show what matters most. Important vocabulary words might be slightly larger, key instructions could sit in colored boxes, and practice problems might follow a consistent pattern that students recognize immediately.
The best part? You can customize these principles for any subject or grade level. Whether you’re designing math worksheets with clear problem spaces, reading comprehension handouts with engaging graphics, or science workbooks with labeled diagrams, strong publication design keeps students focused on learning instead of struggling to understand the format. Plus, these skills are incredibly marketable if you decide to create and sell educational resources!
Packaging Design: Presenting Digital Products Professionally
Think of packaging design as creating the “cover” for your digital teaching resources. Just like a book needs an eye-catching cover, your PowerPoint templates, digital games, and classroom materials need professional presentation to stand out and attract downloads.
When you create amazing classroom review games or lesson templates, packaging design helps you showcase them beautifully. This means creating preview images that show your resources in action, designing mockups that make digital files look polished and professional, and crafting thumbnails that catch teachers’ eyes when browsing online marketplaces.
Start with simple tools like Canva to create preview images showing your materials on tablets, laptops, or classroom screens. Add colorful backgrounds that match your teaching style and include text overlays highlighting key features like “Editable,” “Print-Ready,” or “Standards-Aligned.” These visual elements help other educators quickly understand what makes your resource special.
For game bundles or template collections, create a cohesive look with consistent colors and fonts across all preview images. Show actual screenshots of your materials being used, include sample slides, and demonstrate the customization options available. Think of it as giving potential users a “sneak peek” that makes them excited to download.
Good packaging design transforms your hard work into professional-looking products that build trust and encourage downloads, whether you’re sharing resources for free with colleagues or selling them on educational marketplaces.
Motion Graphics: Adding Animation to Your PowerPoint Games
Motion graphics might sound intimidating, but here’s the exciting truth: you already have everything you need right in PowerPoint! Adding simple animations to your classroom review games transforms them from static slides into dynamic experiences that capture attention and boost student engagement.
Start with entrance animations to reveal game elements one at a time. When students answer correctly, have a congratulations message fly in from the side or bounce onto the screen. PowerPoint’s built-in animations like Fade, Fly In, and Grow & Turn are perfect for this. You can find these under the Animations tab, and they require just one click to apply.
Transitions between slides create smooth movement that makes your game flow naturally. Try Morph for seamless element movement or Push for a dynamic shift between questions. These small touches make your games feel professionally designed without any extra software.
Here’s a game-changer: use the Appear and Disappear animations with timing delays to create suspense. Reveal multiple-choice options one by one, or add a countdown timer that animates across the screen. Students love the anticipation!
Motion paths let you move objects along custom routes. Create a game board where player tokens actually travel from space to space, or have answer cards slide into position. Find this feature in the Animation Pane under Add Animation.
Remember, less is often more. Choose two or three consistent animation styles for your game rather than using every effect available. This creates a polished, professional look and prevents overwhelming your students. With just a few minutes of practice, you’ll be creating engaging, animated review games that students actually get excited about.
Environmental Design: Classroom Posters and Display Materials
Your classroom walls are prime real estate for environmental design! This type focuses on creating visual materials that transform your learning space into an engaging, educational environment. Think of those colorful anchor charts displaying vocabulary words, the inspiring growth mindset posters near your reading corner, or the interactive bulletin boards that celebrate student work.
When you design these materials yourself, you control the colors, fonts, and content to match your teaching style and classroom theme perfectly. Plus, you can create exactly what you need rather than settling for generic store-bought options. Simple tools let you design number lines, alphabet charts, classroom rules displays, and subject-specific reference posters that your students will actually use and refer to throughout the day.
Here’s where it gets exciting: once you’ve created amazing classroom displays for your own space, other teachers want them too! Many educators build side businesses selling their printable classroom decor on teacher marketplaces. That birthday display board you designed? Package it as a printable PDF, and suddenly you’re helping teachers nationwide while earning extra income.
The customization possibilities are endless. Design materials that match seasonal themes, create motivational quote posters that resonate with your students, or develop visual learning aids for specific units. Your environmental design skills help you build both a visually rich classroom and a potential revenue stream by sharing your creativity with the teaching community.
Illustration: Making Custom Graphics for Your Games
Custom illustrations can transform ordinary worksheets into engaging learning experiences that capture your students’ attention! While stock images work great for general concepts, creating your own graphics lets you tailor visuals exactly to your lesson content and student needs.
Start simple with basic shapes and characters. Free tools like Canva and Google Drawings offer user-friendly drawing features perfect for beginners. You can create simple diagrams, cartoon characters for story problems, or visual representations of abstract concepts. Think step-by-step instructions with custom arrows, labeled science diagrams that match your textbook, or friendly mascots that appear throughout your unit materials.
When should you create custom illustrations? Choose custom graphics when you need subject-specific content that doesn’t exist in stock libraries, like a diagram showing your school’s recycling process or characters representing your class reading groups. Custom illustrations also shine when maintaining visual consistency across multiple materials or adding personalized touches that reflect your classroom culture.
For quicker projects, stock images work wonderfully for general concepts like seasonal themes or common objects. Save your illustration time for graphics that truly make a difference in student understanding.
The beauty of illustration skills is they grow with practice. Start by modifying existing templates, then gradually build confidence creating original artwork. Your students will love seeing custom graphics made just for them, and you’ll develop valuable skills that set your teaching materials apart.
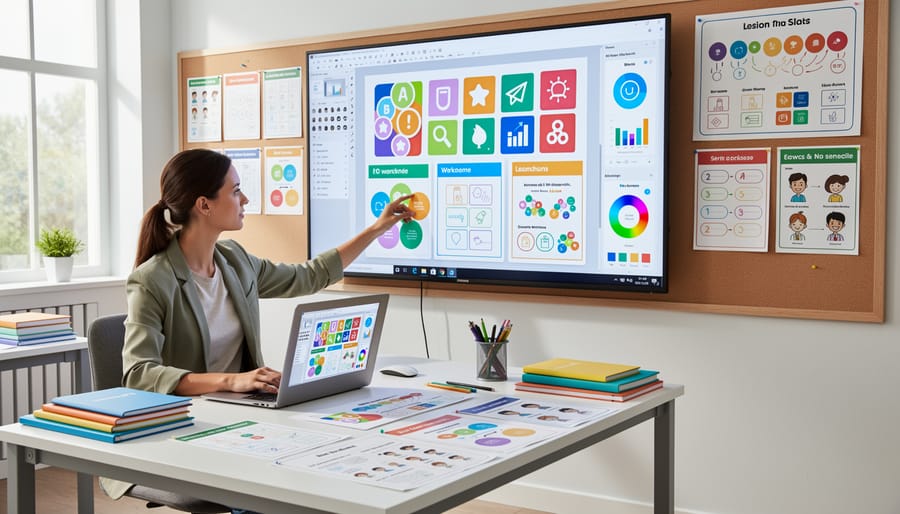
User Interface (UI) Design: Making Your PowerPoint Games Easy to Navigate
Think of UI design as creating the roadmap for your classroom games. When you design intuitive navigation, you’re making sure everyone can jump right in without raising their hand for help!
Start with clear, consistent buttons throughout your PowerPoint game. Use the same shape, size, and color for similar actions. For example, all “Next” buttons should look identical, and “Home” buttons should always appear in the same spot on each slide. This predictability helps students navigate confidently without second-guessing their clicks.
Make your buttons obvious and easy to target. Small, faint buttons frustrate users, especially younger students or those using touchscreens. Aim for buttons that are large enough to click easily and use contrasting colors that stand out from your background. Add simple text labels like “Start,” “Try Again,” or “Main Menu” so there’s no confusion about where each button leads.
Create a logical flow through your game. Students should naturally understand what to do next without hunting for hidden navigation. Consider adding a visual progress indicator so they know how far they’ve come and what’s ahead. A simple numbered path or progress bar works wonders for keeping everyone oriented.
Test your design with actual students before rolling it out to the whole class. Watch where they click, notice where they get stuck, and adjust accordingly. This user testing is invaluable and mirrors what professional designers do when creating commercial products.
As you develop these UI skills, you’re building expertise that’s valuable beyond the classroom. Understanding user-friendly design principles can open doors to freelance opportunities, and knowing techniques for pricing your time becomes essential if you decide to create resources for other educators.
Start Small: Your First Freelance Design Project as an Educator
Ready to turn your design skills into extra income? Let’s start where you’re already comfortable—your classroom!
Begin by giving your own teaching materials a makeover. Choose one resource you use frequently, maybe a worksheet or presentation, and apply what you’ve learned about design principles. Notice how much better it looks? Your students will too!
Next, offer to help a colleague redesign their materials. This no-pressure practice builds your confidence and portfolio. Ask for their honest feedback—it’s gold for improving your skills.
Once you’ve refined a few resources, consider selling them on teacher resource platforms. Start with just one or two items to test the waters. Price them reasonably at first while you build reviews and reputation.
Time management is crucial for busy educators. Dedicate just 30 minutes during planning periods or weekend mornings to design work. Batch similar tasks together—create multiple worksheets in one sitting rather than jumping between different design types.
Remember, freelancing doesn’t mean burning out. Set realistic goals like completing one sellable resource per month. Small, consistent steps lead to big results. Your teaching experience already gives you a unique advantage—you know exactly what educators need and what works in real classrooms!