
Why Interactive Modeling Transforms Your Classroom Management (And How to Start Today)
**Transform your classroom management by showing, not telling.** Interactive Modeling is Responsive Classroom’s powerful technique that turns everyday procedures into engaging learning moments. Instead of lecturing students about expectations, you demonstrate exactly what success looks like—then students practice until behaviors become second nature.
This approach works because it taps into how people actually learn. When you model lining up quietly, transitioning between activities, or even how to participate in review games, students see the standard in action. They notice details you might forget to mention: where hands go, what voices sound like, how materials are handled.
The magic happens in four simple steps: demonstrate the behavior clearly, ask students what they noticed, have them practice immediately, and provide specific feedback. It’s straightforward enough to use daily, yet powerful enough to transform your classroom culture. Whether you’re teaching kindergarteners to use scissors or middle schoolers to collaborate effectively, Interactive Modeling gives you a concrete framework that replaces confusion with confidence.
Ready to replace endless reminders with student ownership? This technique puts engagement at the heart of classroom management—and it works from day one.
What Makes Interactive Modeling Different from Traditional Instruction
Traditional instruction often relies on telling students what to do or quickly demonstrating a task before expecting them to get it right. You know the drill—explain the procedure, maybe show it once, then hope everyone caught on. But here’s the thing: that approach doesn’t always stick, and it certainly doesn’t engage students in meaningful ways.
Interactive modeling flips that script entirely! This approach, rooted in the Responsive Classroom philosophy, transforms instruction into a dynamic, student-centered experience. Instead of just watching you demonstrate once, students become active participants in the learning process from the very start.
Here’s what makes it different: Interactive modeling involves students observing a carefully planned demonstration, noticing specific details, practicing the skill themselves, and receiving immediate feedback. It’s systematic, yes, but also incredibly engaging because students aren’t passive recipients—they’re collaborators in their own learning journey.
Think of it as one of the most powerful student engagement strategies you can use. Rather than assuming students understand expectations after a quick tell-and-show, interactive modeling invites them to notice what success looks like, name the specific behaviors they observed, and then try it themselves in a supportive environment.
The beauty? This method works for everything from lining up quietly to participating respectfully in review games. You’re not just managing behavior—you’re teaching it explicitly while keeping students invested in the process. It’s proactive rather than reactive, building understanding before problems arise.
When students help identify what good practice looks like, they develop ownership over classroom routines. That’s the magic of making instruction interactive rather than simply instructional!
The Core Steps of Interactive Modeling
Step 1: Name What You’ll Model
Start by telling your students exactly what you’re about to show them. Be crystal clear and specific! Instead of saying “I’m going to show you how to behave,” try something like “I’m going to show you exactly how to transition from your desk to the reading corner quietly and safely.”
The key is naming the behavior in positive, concrete terms. Focus on what students *should* do rather than what they shouldn’t. For example, “how to enter the classroom respectfully” works better than “how not to be disruptive.”
Keep your language simple and age-appropriate. Younger students might need “how to use our classroom scissors safely,” while older students could handle “how to organize materials for group projects efficiently.”
This clear naming step sets everyone up for success because students know precisely what to expect and what they’ll be learning to do!
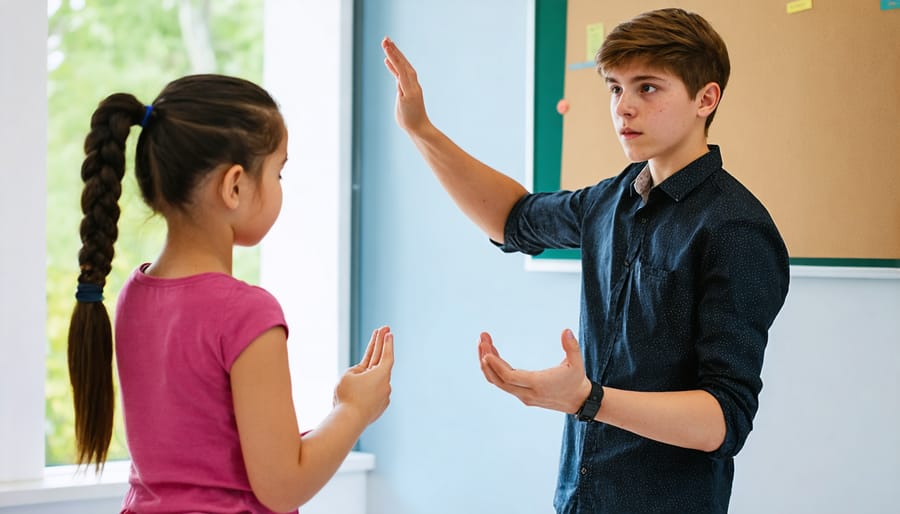
Step 2: Model the Behavior
Now it’s your time to shine! This is where you’ll demonstrate exactly what you want students to do. Think of yourself as the star of a how-to video—every detail matters.
Start by clearly announcing what you’ll model: “Watch how I line up quietly at the door.” Then, perform the behavior slowly and deliberately, emphasizing each important step. Use exaggerated movements if needed so everyone can see the details. For example, show how to push in a chair completely, walk at the appropriate pace, or organize materials in a specific way.
As you model, think aloud to make your actions even clearer: “Notice how I’m keeping my hands at my sides” or “See how I’m placing the marker cap back on first.” This running commentary helps students understand not just what to do, but why each step matters.
Keep your demonstration brief but thorough—typically 30-60 seconds. The goal is to create a crystal-clear picture of success that students can replicate immediately!
Step 3: Ask Students What They Noticed
This is where the magic happens! After modeling the behavior, pause and invite students to share what they observed. Ask open-ended questions like “What did you notice about how I organized my materials?” or “What steps did I take first?”
This reflection step is crucial because it helps students process what they saw and puts them in an active learning role. Listen carefully to their responses and highlight key observations they mention. If they miss important details, gently guide them with follow-up questions like “What did you notice about my voice level?” or “How did I hold the materials?”
Keep this discussion brief and focused—about 2-3 minutes works perfectly. Celebrate their observations with positive reinforcement techniques like specific praise: “Great noticing!” or “You caught that important detail!”
This questioning phase transforms passive watching into active learning, ensuring students truly understand the behavior you’re teaching before they practice it themselves.
Step 4: Let Students Practice
Now comes the exciting part—letting your students shine! After you’ve modeled the behavior, immediately give everyone a chance to practice. This isn’t about testing them; it’s about building confidence and muscle memory.
Start by inviting a few volunteers to demonstrate while the class observes. Keep the atmosphere light and encouraging. As students practice, offer gentle, specific feedback: “I noticed how quietly you pushed in your chair—perfect!” or “Try holding the door with both hands this time.”
Here’s the key: let students practice multiple times. Repetition is your friend! You might have students practice in pairs, small groups, or as a whole class, depending on the behavior. For example, if you’re teaching how to transition to partner work, have them practice the entire sequence two or three times right then and there.
Watch closely during practice sessions and note what’s working and what needs clarification. If you spot common mistakes, pause and model again briefly. Remember, this immediate practice time builds the foundation for success. When students feel capable and supported, they’re much more likely to remember and repeat the desired behavior throughout the year.
When to Use Interactive Modeling in Your Classroom
Interactive modeling works brilliantly in so many classroom moments! The key is knowing when to pull out this powerful tool to get the best results.
**Start Strong at the Beginning of the Year**
Those first few weeks are golden opportunities for interactive modeling. Use it when introducing essential routines like lining up, transitioning between activities, or organizing materials. Students are eager to learn your expectations, and interactive modeling sets a positive, collaborative tone from day one. It’s perfect for teaching classroom rules in a way that sticks because students actively participate rather than just listening to a lecture.
**Introduce New Activities and Materials**
Whenever you’re bringing something new into your classroom, interactive modeling is your friend! Before launching a learning center, science experiment, or group project, take five to ten minutes to model exactly how it works. This prevents confusion and keeps your students focused on learning rather than figuring out procedures.
**Address Ongoing Challenges**
Notice students struggling with a specific routine? Time for a refresher! Interactive modeling isn’t just for new concepts. When hand-washing gets sloppy or dismissal becomes chaotic, revisit the procedure through modeling. The best part? Students often find these quick reviews helpful rather than punitive.
**Before Special Events**
Field trips, assemblies, guest speakers, and other special occasions benefit enormously from interactive modeling. Take a few minutes beforehand to model expectations for these unique situations. Your students will feel confident and prepared, and you’ll enjoy a smoother experience.
**The Sweet Spot for Timing**
Keep your interactive modeling sessions short and focused—typically 5-15 minutes depending on the complexity. Morning meetings or transition times work wonderfully. The goal is to model procedures before students need them, giving everyone the chance to succeed right from the start!
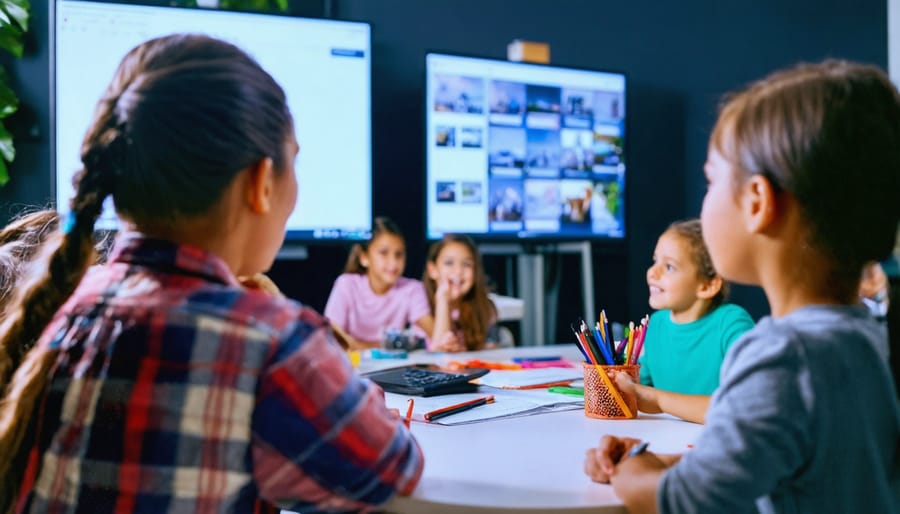
Making Interactive Modeling Work with Your Review Games
Review games become infinitely more enjoyable when students know exactly how to play them. This is where interactive modeling shines! Instead of jumping straight into gameplay and dealing with confusion, take five minutes to model the game procedures first. Your students will thank you, and you’ll actually get to enjoy the learning experience instead of putting out fires.
Start by showing students the game in action. Whether you’re using digital templates or physical materials, demonstrate one complete round yourself. Think aloud as you go: “I’m clicking the answer button here,” or “Now I’m passing the marker to my teammate.” This narration helps students understand not just what to do, but why each step matters.
Next, invite a few students to demonstrate while the class observes. Ask specific questions: “What did you notice about how Maya waited for her turn?” or “How did the team decide who would answer first?” This reinforces the procedures and gives everyone a clear mental picture of success.
Here’s the game-changer: Let students practice the procedures without the academic content first. Use silly or simple questions so everyone focuses on learning the game mechanics rather than stressing about getting answers right. Once the flow is smooth, introduce your actual review content.
The beauty of combining interactive modeling with classroom management games is that you’re setting everyone up for success. Students feel confident because they understand the expectations. You feel relaxed because the game runs smoothly. And the learning? It happens naturally when students aren’t confused about procedures.
Remember to revisit modeling whenever you introduce a new game variation or notice procedures slipping. A quick two-minute refresher keeps the fun rolling and maximizes your instructional time.

Common Mistakes to Avoid
Even the most well-intentioned interactive modeling lessons can go sideways! Let’s look at common stumbles and how to avoid them so your modeling sessions shine.
**Rushing Through the Steps**
The biggest mistake? Moving too quickly! Interactive modeling works because students observe every detail. When you speed through demonstrations, kids miss the nuances that make procedures successful. Take your time showing each step clearly, even if it feels slow. Your patience now saves countless redirections later.
**Skipping Student Practice**
Showing once isn’t enough. Many teachers demonstrate beautifully but forget to let students practice while they’re watching and providing feedback. Always build in time for multiple students to try the procedure with the whole class observing. This repetition cements learning and lets you catch misunderstandings early.
**Being Too Vague**
“Be respectful during partner work” sounds great, but what does respect actually look like? Get specific! Model exact body language, voice levels, and actions you expect. Students can’t read your mind—they need crystal-clear examples of success.
**Forgetting to Revisit**
Interactive modeling isn’t one-and-done! Students need refreshers, especially after breaks or when behaviors slip. Don’t hesitate to re-model procedures throughout the year. Think of it as maintenance, not failure.
**Making It Boring**
Keep the energy positive and encouraging! Use your enthusiasm to make even mundane procedures feel important. When students see you’re excited about organized transitions or proper materials handling, they’ll mirror that attitude.
Quick Wins: Interactive Modeling You Can Try Tomorrow
Ready to put interactive modeling into action? Here are some simple scenarios you can start with tomorrow—no elaborate prep required!
**Morning Entry Routine**
Model exactly how you want students to enter the classroom. Walk through the door with a smile, put your bag in the designated spot, pull out materials, and start the morning activity. Have a student volunteer demonstrate while others watch. Notice the magic when students name what they observed: “You walked quietly,” “You started working right away.” This five-minute investment saves countless reminders throughout the year!
**Transitioning Between Activities**
Show students how to smoothly move from one activity to another. Demonstrate putting away materials in their proper places, pushing in chairs, and gathering what’s needed for the next task—all within a reasonable timeframe. Let students practice while you observe, then gather quick feedback. “What did you notice about how quietly we moved?” When transitions run smoothly, you gain precious learning time every single day.
**Using Classroom Materials Respectfully**
Whether it’s chromebooks, art supplies, or math manipulatives, model the careful handling you expect. Open that laptop gently, arrange markers neatly, or place base-ten blocks back in their container thoughtfully. Students practice, and you reinforce the positive behaviors you see. This prevents so many broken materials and classroom disruptions!
**Participating in Review Games**
Before diving into that exciting review game, model appropriate excitement! Show how to celebrate correctly, wait for turns, and handle both winning and losing gracefully. This keeps the fun in the game while maintaining a respectful learning environment.
The beauty? Each modeling session takes just minutes but creates habits that last all year.
Interactive modeling isn’t just another classroom management strategy—it’s a game-changer that builds a foundation of independence and respect in your learning environment. When students truly understand expectations through clear modeling and practice, you’ll spend less time redirecting behaviors and more time focusing on what matters most: engaging instruction and meaningful connections.
The beauty of this approach is that it creates a ripple effect throughout your entire classroom culture. Students become more confident, responsible, and capable of managing themselves. They learn to reflect on their actions and support one another in meeting classroom expectations.
Ready to get started? Begin with just one routine that’s been giving you trouble. Maybe it’s transitions between activities or how students enter the classroom each morning. Model it carefully, let students practice, and watch the transformation unfold. You don’t need to overhaul everything at once—small, consistent steps build lasting change.
Remember, every expert teacher started somewhere. Give yourself grace as you learn this technique, and celebrate the small wins along the way. Your commitment to teaching procedures with intention will pay dividends in creating the positive, productive classroom environment you’ve always envisioned.