Transform Your Classroom Games Into Sensory-Friendly Experiences Every Student Can Enjoy
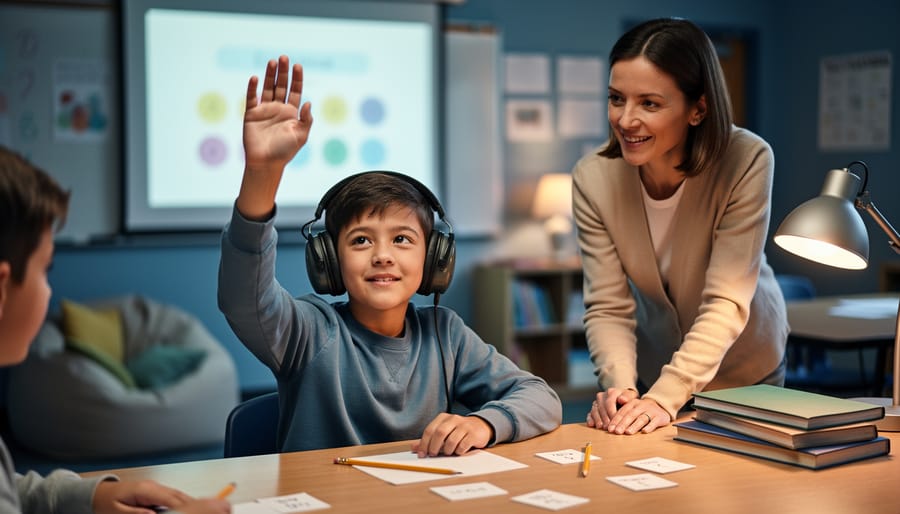
Adjust lighting by dimming overhead lights or offering desk lamps to reduce visual overwhelm during your PowerPoint games. Create predictable game routines by using consistent slide transitions, familiar sound effects, and clearly structured rounds so students know exactly what to expect. Provide noise-reducing headphones as an option and lower volume settings on all audio elements, allowing students to control their auditory input. Offer quiet spaces or “break cards” that let students step away when sensory input becomes too intense without missing the learning objectives.
Sensory-friendly performances transform classroom games into inclusive experiences where every student can participate comfortably. By incorporating Universal Design for Learning principles, you’re not creating separate activities for students with sensory processing differences—you’re designing better experiences for everyone. Students with autism, ADHD, anxiety, or sensory sensitivities often struggle with traditional game elements like flashing slides, sudden sounds, or competitive pressure, but small customizations make your PowerPoint games accessible without sacrificing the fun.
What Makes a Classroom Game Sensory-Friendly?
A sensory-friendly performance in classroom review games means creating an experience that works for all learners, including those who process sensory information differently. Think of it as designing a game where every student can participate comfortably without feeling overwhelmed or understimulated.
Sound is one of the biggest factors to consider. While upbeat music and celebratory sound effects can energize some students, they might cause distress for others with auditory sensitivities. That buzzer sound you love? It could be jarring for students who process sounds more intensely. The good news is that you can easily adjust volume levels or even mute sounds entirely while keeping the visual excitement intact.
Visuals matter just as much. Flashing animations, rapid transitions, and bright color combinations might seem fun and engaging, but they can trigger discomfort or difficulty focusing for students with visual processing differences. Consider using calmer color schemes, smoother transitions, and limiting the number of moving elements on each slide.
Pacing is another crucial element. Games that rush students through questions or impose strict time limits can create anxiety, particularly for learners who need extra processing time. Building in flexible timing and allowing students to work at their own pace makes the game accessible without sacrificing the fun.
Finally, think about interaction styles. Some students thrive with whole-class participation, while others feel more comfortable with partner work or individual response options. Offering multiple ways to engage means every student can join in meaningfully.
The beauty of sensory-friendly design is that it benefits everyone. When you customize games with these considerations in mind, you create an inclusive environment where all students can focus on learning and having fun.
Why Sensory-Friendly Design Helps ALL Students Learn Better
Here’s the great news: when you create a sensory-friendly environment, you’re not just helping a few students—you’re actually boosting learning for everyone in your classroom!
Think about it. When you dim harsh fluorescent lights or reduce background noise during a game, all your students can concentrate better. That fidgety kid in the back row? He’s suddenly more engaged. The student who seems distracted? She’s now tracking the game with full attention. Sensory-friendly design removes the invisible barriers that affect many learners, whether they have a formal diagnosis or not.
Research shows that classrooms designed with UDL principles and sensory considerations reduce overall anxiety levels. When students feel physically comfortable, their brains can focus on actual learning instead of managing environmental stressors. Pretty amazing, right?
The beauty of sensory-friendly performances and activities is that they create a calm, predictable space where every learner can thrive. You’ll notice fewer behavioral disruptions because students aren’t overwhelmed. Participation increases because the experience feels accessible and safe. Even your high-achieving students benefit from reduced visual clutter and clearer instructions.
The best part? These modifications are usually simple tweaks to what you’re already doing. Softer transitions between game rounds, adjustable sound volumes, and flexible participation options don’t require extra planning time. They just require awareness. When you design with all learners in mind from the start, everyone wins—and learning becomes the joyful, engaging experience it should be.
Simple Ways to Customize Your PowerPoint Games for Sensory Needs
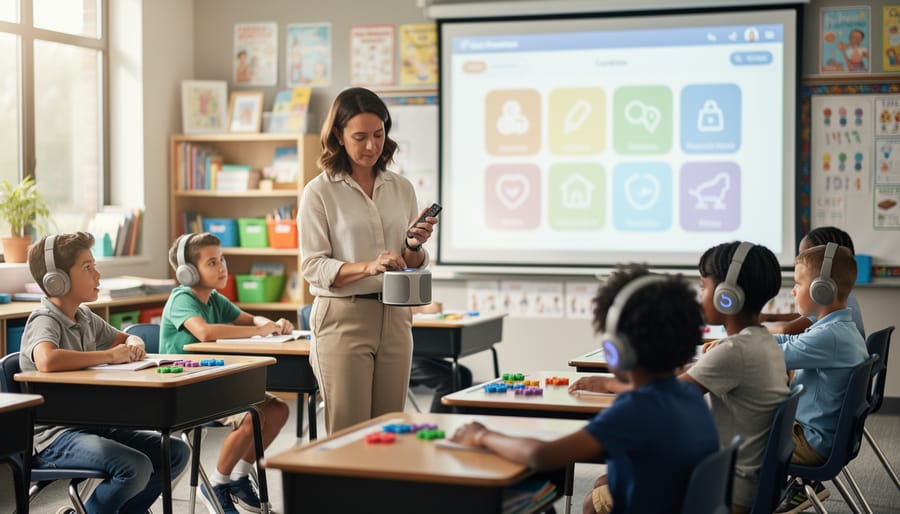
Sound and Volume Controls
Sound can be a wonderful motivator in classroom games, but it can also overwhelm students with sensory sensitivities. The good news? PowerPoint makes it super easy to customize audio elements for every learner!
Start by locating any sound files embedded in your game template. Click on the sound icon (usually appears as a speaker symbol on the slide), then adjust the volume using the playback settings. You can lower it to a gentle background level or mute it entirely. Pro tip: right-click the sound icon and select “Hide During Show” to remove visual distractions while keeping audio functional.
For students who need complete silence, consider creating two versions of your game: one with sound effects and one without. Simply delete all audio elements from the silent version before saving it separately. This takes just minutes and provides instant accommodation!
Want to keep the excitement without the noise? Replace audio cues with visual alternatives. Swap sound-based correct answer alerts with animated checkmarks, confetti effects, or color changes. Use PowerPoint’s animations tab to add motion that celebrates success silently.
Remember to test your adjusted game at different volume levels before class. What sounds perfect on your laptop might be too loud through classroom speakers! This simple preparation ensures every student can participate comfortably and confidently.
Visual Elements and Screen Display
Visual comfort makes all the difference for students with sensory sensitivities! When designing your PowerPoint classroom games, think about how colors and movement affect different learners in your space.
Start by choosing calming color schemes with high contrast between text and backgrounds. Soft blues, greens, and neutral tones work wonderfully, while avoiding overly bright neons or clashing combinations. Make sure text stands out clearly so everyone can read questions and instructions without straining.
Here’s where you can really customize for your students: reduce or eliminate flashing animations and rapidly changing slides. Those exciting transitions might overwhelm some learners! Instead, opt for gentle fade-ins or no transitions at all. If you love animations, stick to slow, predictable movements rather than bouncing or spinning elements.
Keep your slides clean and uncluttered. Use plenty of white space and limit the number of images or text blocks per screen. This helps students focus on what matters most without visual overwhelm.
Consider creating two versions of your game: one with vibrant colors and animations for students who thrive on visual stimulation, and another with minimal effects for those who need a calmer experience. You can even let students choose their preferred version, giving them ownership over their learning environment. This simple adjustment shows students you understand their unique needs!
Pacing and Timing Adjustments
One of the most powerful ways to create sensory-friendly games is by adjusting how fast things happen. Think of it as giving every student the gift of time to process, respond, and succeed at their own pace.
Start by extending countdown timers. Instead of a 5-second rush, try 10 or 15 seconds per question. This simple change reduces anxiety and allows students with different processing speeds to participate fully. Better yet, make timers optional or adjustable so you can customize them based on your class needs.
Slow down transitions between slides too. Quick animations and rapid scene changes can overwhelm some learners. Add a brief pause between questions, giving everyone a moment to reset and prepare for what’s next. This breathing room helps maintain focus without creating stress.
Consider removing time pressure altogether for certain activities. Not every game needs a ticking clock to be engaging. Points-based systems or turn-taking formats work beautifully without the rush, letting students concentrate on learning rather than racing.
The beauty of these adjustments is their flexibility. You can test different timing options with your class and find the sweet spot that keeps everyone engaged without anyone feeling left behind. Remember, the goal is participation and learning, not speed.
Interaction and Participation Options
Every student deserves to shine during classroom performances, and offering flexible participation methods makes this possible! Give your students choices in how they respond during games and activities. Some learners thrive when answering verbally, while others prefer writing responses on whiteboards, using hand signals, or selecting answer cards.
Consider adding movement-based options too. Students can hop to corners representing different answers, point to choices displayed around the room, or use thumbs up/down gestures. This variety keeps everyone engaged while honoring different comfort levels and sensory preferences.
Here’s the game-changer: remove the competitive pressure when needed. Instead of racing against timers, allow self-paced advancement through game levels. Transform individual competitions into team collaborations where students support each other. You can also offer “practice mode” versions of games where points don’t determine winners, just track personal progress.
Mix and match these participation styles within the same activity! One round might use verbal responses while the next uses movement. This customization ensures every student finds their comfortable entry point while building confidence. Remember, the goal is learning and inclusion, not creating stress. When students feel safe participating their way, amazing engagement happens naturally.
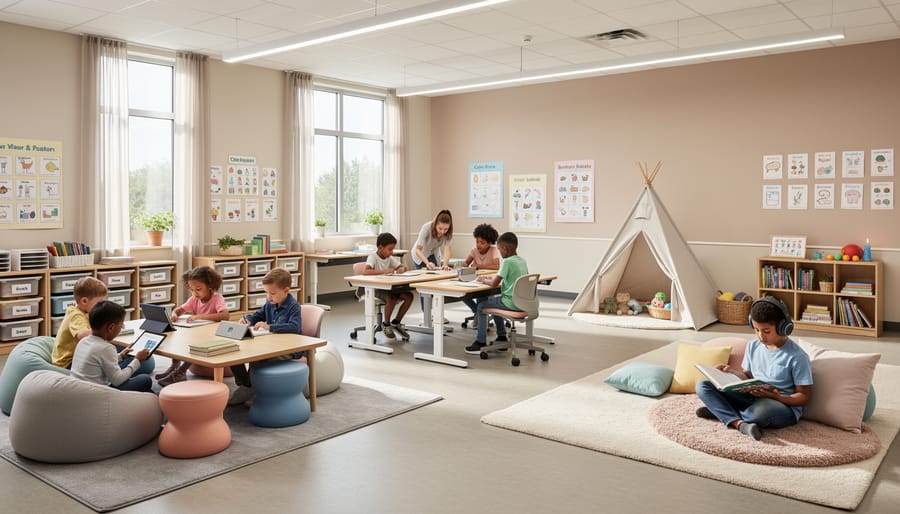
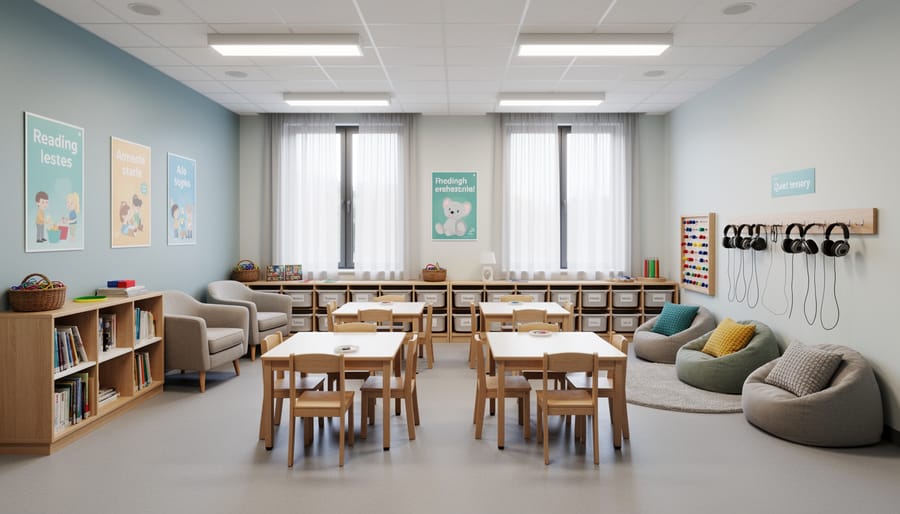
Setting Up Your Classroom Environment for Sensory-Friendly Gaming
Creating a sensory-friendly gaming experience goes far beyond your PowerPoint slides. The physical classroom environment plays a huge role in helping all students feel comfortable and ready to learn through play.
Start with lighting adjustments. Harsh fluorescent lights can be overwhelming for many students. If possible, turn off some overhead lights and use natural light from windows or bring in softer lamps. Consider letting students wear sunglasses or baseball caps if bright lights bother them during gameplay.
Seating arrangements matter too! Give students choices about where they sit during game sessions. Some might prefer bean bags or floor cushions instead of traditional chairs. Others may want to stand or move around. Create different zones in your classroom where students can choose their comfort level, whether that’s right up front in the action or toward the back with a bit more space.
Noise management is essential. Before starting your game, establish a comfortable volume level together as a class. Provide noise-canceling headphones or earplugs for students who need them. You might even designate a quiet corner where students can take breaks if things get too stimulating.
Physical space considerations include clearing pathways so students can move freely without bumping into desks or each other. If your game involves movement, make sure there’s enough room for everyone to participate safely without feeling crowded.
Remember, these small environmental tweaks make gaming accessible and enjoyable for everyone, helping each student bring their best performance to your classroom activities.
Quick Checklist: Before You Press Play
Before you launch your next classroom review game, take a moment to run through this quick sensory-friendly checklist. It only takes a minute and makes a world of difference for all your students!
First, check your volume settings. Are all sound effects set to a comfortable level? Can they be easily muted if needed? Next, review your visual elements. Have you avoided flashing animations or rapidly changing colors? Look for any bright neon backgrounds that might need toning down.
Consider timing next. Do students have enough processing time between questions? Can you pause the game without losing progress? This flexibility is key for different learning paces.
Take stock of your color choices. Is there enough contrast between text and backgrounds? Would color-blind students be able to read everything clearly?
Finally, think about options. Can students participate in different ways beyond just shouting out answers? Have you created alternative response methods like hand signals or written responses?
This quick review ensures every student can join the fun without sensory overload. Your inclusive approach creates a welcoming space where everyone can shine and show what they know!
You’ve got this! Creating sensory-friendly performances in your classroom doesn’t require a complete overhaul or expensive resources. The truth is, small adjustments can make a tremendous difference in how comfortable and engaged your students feel during game-based learning activities.
Start simple. Try dimming the lights for one game session, or reduce background music volume. Notice how your students respond. Maybe experiment with providing noise-canceling headphones as an option, or create a quiet corner where students can participate from a calmer space. Each tiny customization you make shows your students that their needs matter.
Remember, there’s no one-size-fits-all approach. What works beautifully for one class might need tweaking for another, and that’s perfectly okay. The power lies in your willingness to observe, adapt, and try new strategies. By implementing these sensory-friendly adjustments, you’re building inclusive classroom experiences where every learner can thrive.
Your creativity and flexibility transform ordinary PowerPoint games into accessible, enjoyable experiences for all students. Keep experimenting, keep customizing, and watch your classroom community flourish.