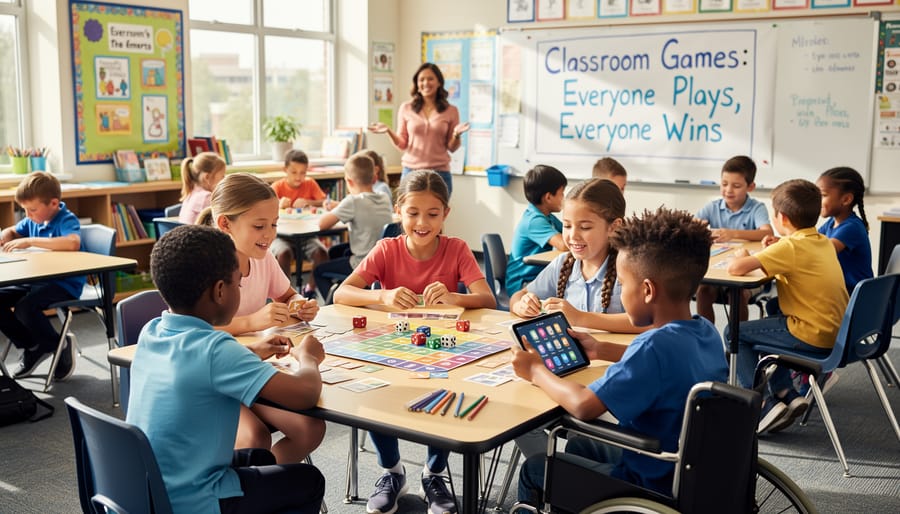
Make Your Classroom Games Work for Every Student
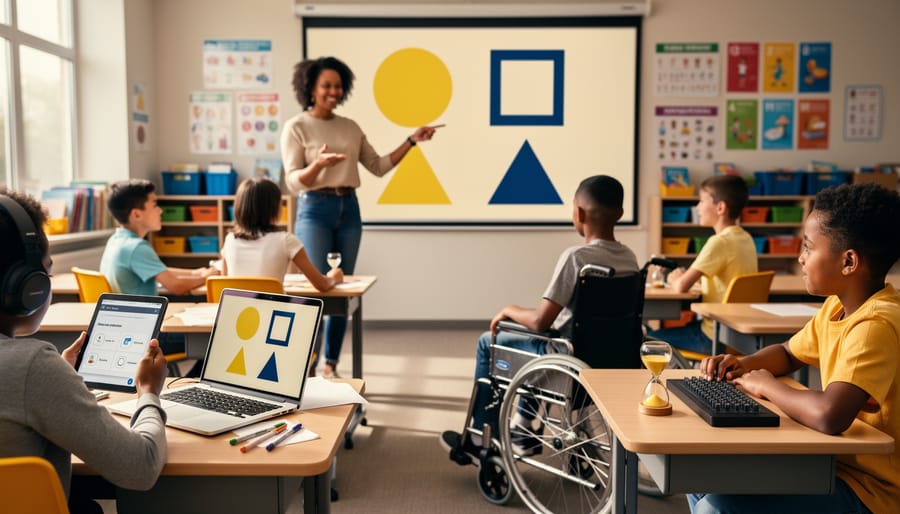
Transform game-based learning into an inclusive experience by adding simple accessibility features to your PowerPoint classroom games. Enable text-to-speech through PowerPoint’s built-in Accessibility Checker, which automatically identifies slides needing alt text for images and suggests proper reading order for screen readers. Customize color schemes with high-contrast options like black text on yellow backgrounds or white text on dark blue, ensuring students with visual processing differences can participate fully. Adjust font sizes to 24-point minimum and choose clean, sans-serif typefaces like Arial or Calibri that support dyslexic learners.
Design flexible game templates that let you modify difficulty levels on the spot. Create multiple versions of question slides with varied complexity, allowing you to differentiate for students with diverse learning needs without disrupting game flow. Add timer options that can be toggled on or off, giving students who need extra processing time the opportunity to engage without pressure.
Incorporate audio cues and visual signals together, never relying on just one sensory input. Record short audio clips for questions and answers, while maintaining clear visual text so every student can access content through their preferred learning channel. These straightforward adaptations ensure your interactive classroom tools work for everyone, making learning fun and accessible simultaneously.
Why Accessibility Matters in Classroom Game Platforms
When we design gamified learning platforms and interactive classroom games, accessibility isn’t just a nice-to-have feature – it’s essential for every student’s success. Here’s the exciting part: when you make games accessible for students with different learning needs, you actually improve the experience for everyone in your classroom.
Think about it this way. A student with visual differences might need larger text or high-contrast colors, but those same adjustments help students sitting at the back of the room see better too. Clear audio instructions support hearing differences while also helping students who are auditory learners or those who might have missed verbal directions the first time.
The beauty of accessible design is that it creates flexibility for all learners. When you include multiple ways to interact with a game – whether through clicking, keyboard navigation, or touch – you’re giving students choices that match their comfort levels and strengths. Students with motor differences benefit from larger clickable areas, and so do younger students still developing fine motor skills.
Cognitive accessibility features like simple instructions, consistent layouts, and adjustable time limits don’t just support students with processing differences – they reduce anxiety and help everyone focus on learning rather than figuring out complex game mechanics.
The best part? Most accessibility features are surprisingly simple to implement. By choosing customizable templates and building in options from the start, you create an inclusive environment where every student can participate, engage, and shine. When students feel included and successful, their motivation soars, making your entire classroom more vibrant and effective.
Essential Accessibility Features for Your Game Templates
Visual Accessibility Tools
Making your interactive classroom tools visually accessible doesn’t have to be complicated! With a few simple tweaks, you can ensure every student can fully participate in your game-based activities.
Start by choosing high-contrast color schemes that make text pop off the screen. Think dark text on light backgrounds or vice versa. This simple change helps students with low vision read content more easily. When customizing your PowerPoint templates, select colors that provide strong contrast ratios – black on white, dark blue on cream, or white on dark gray work wonderfully.
Text size matters more than you might think! Adjustable text sizes give students control over their learning experience. Aim for at least 18-point font as your baseline, and choose clear, simple fonts like Arial, Calibri, or Verdana. Skip the fancy script fonts that can be difficult to decipher, especially for students with dyslexia or visual processing challenges.
Here’s a game-changer: never rely on color alone to communicate information. If you’re using red for incorrect answers and green for correct ones, add symbols too – like an X or checkmark. This ensures students with color blindness can participate fully without missing critical cues.
Customizing your templates is easier than you think! In PowerPoint, use the slide master feature to set up accessible color schemes and fonts across all slides at once. Create a template library with high-contrast options so you’re always ready to go. Your students will thank you for making learning fun and accessible for everyone!
Audio and Sound Alternatives
Sound effects and audio alerts can make classroom games incredibly engaging, but they need to work for everyone in your classroom. The good news? Creating an accessible audio experience is easier than you might think!
Start by adding closed captions or text labels whenever your interactive tool uses sound effects. For example, if a correct answer triggers a cheerful “ding,” pair it with a visual message like “Correct!” displayed on screen. This ensures students with hearing difficulties never miss important feedback.
Visual cues are your best friend when balancing fun sounds with accessibility. Try using animated checkmarks, color changes, or brief text pop-ups alongside audio alerts. Many PowerPoint-based classroom games let you customize these elements with just a few clicks, making them perfect for quick adjustments.
Don’t forget about volume control options! Some students may be sensitive to loud sounds or unexpected noises. Include clear instructions at the start of your activity about how to adjust volume settings. Better yet, test your game at moderate volume levels before presenting it to your class.
The beauty of these adaptations? They often benefit all students, not just those with specific needs. Visual reinforcement alongside audio creates multiple learning pathways, helping information stick better for everyone in your classroom.
Motor Skills and Navigation Support
Making your interactive classroom games work for students with motor challenges doesn’t have to be complicated. Small adjustments can make a huge difference in helping every student participate fully and feel successful.
Start by enlarging clickable areas in your games. Instead of tiny buttons or small answer boxes, create generously sized target zones that are easy to click, even for students who struggle with precise mouse control. Think big and bold – those larger areas benefit everyone, not just students with motor difficulties.
Keyboard navigation is your next best friend. Design games where students can tab through options and press Enter or the spacebar to select answers. This simple feature opens up your activities to students who use adaptive keyboards or switch devices. PowerPoint templates are especially great for this since they naturally support keyboard shortcuts.
Here’s a game-changer: ditch the timer whenever possible. Time pressure can create anxiety and exclude students who need more processing time or physical accommodation. Instead, create self-paced activities where students progress at their own speed. If you absolutely need a timing element for certain skills, always offer an untimed alternative version.
Remember, customization is key. Consider creating multiple versions of popular games with different accessibility features, letting you match the perfect option to each student’s needs. Your inclusive approach means more engagement and more learning wins for everyone.
Cognitive and Learning Support
Making your interactive classroom tools work for every learner starts with thoughtful design choices that support diverse cognitive needs. Clear, step-by-step instructions are your foundation. Break down game rules into simple, numbered steps and display them visually on screen so students can reference them anytime during play.
Predictable patterns help students feel confident and reduce anxiety. When designing your games, keep navigation buttons in the same spot, use consistent color coding for similar actions, and maintain a regular flow from slide to slide. This consistency lets students focus on learning content rather than figuring out how the game works.
Visual clutter can overwhelm many learners, so embrace clean, uncluttered slides. Use plenty of white space, limit the number of elements on each screen, and choose simple fonts that are easy to read. Think less is more!
Here’s where customization really shines: build in difficulty levels that you can adjust on the fly. Create versions with fewer answer choices, longer response times, or additional visual supports. You might have one version with text-only questions and another with pictures and text combined. This flexibility means you can adapt the same game template to meet individual student needs without creating entirely new activities. Your students will appreciate having challenges that match their readiness levels while still participating in the same engaging classroom experience.
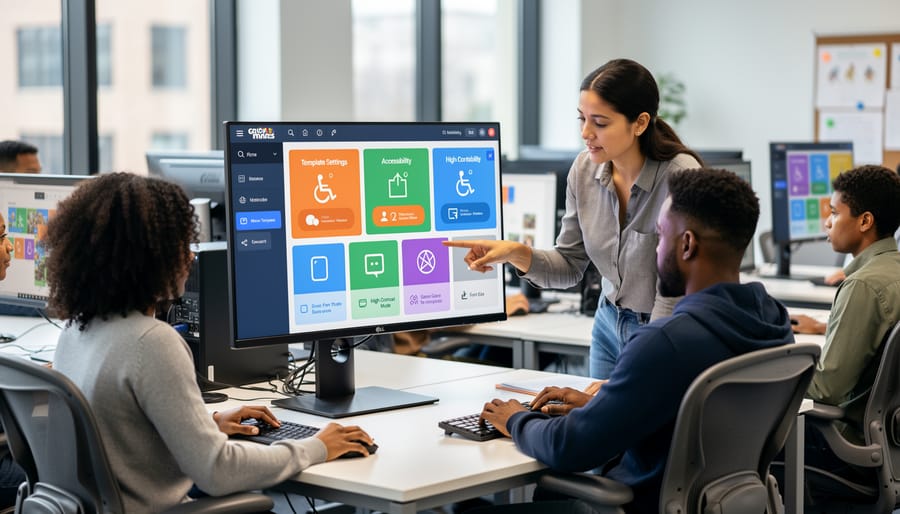
Simple Ways to Customize Your PowerPoint Games for Accessibility
Making your PowerPoint games accessible doesn’t require technical expertise or hours of extra work. With just a few simple adjustments using features already built into PowerPoint, you can create inclusive learning experiences that work for every student in your classroom. Let’s walk through some easy modifications that make a big difference.
Start with color contrast. High contrast between text and background helps students with visual impairments or reading difficulties. PowerPoint’s built-in themes often have accessible color combinations, but you can quickly check by viewing your slides in grayscale mode. If text disappears or becomes hard to read, adjust your colors. Stick with dark text on light backgrounds or light text on dark backgrounds, and avoid color combinations like red and green that can be challenging for colorblind students.
Font choices matter too. When customizing PowerPoint templates, select clean, sans-serif fonts like Arial, Calibri, or Verdana. Keep font sizes at 24 points or larger for body text, and make sure there’s plenty of spacing between lines. You can adjust these settings under the Home tab in just seconds.
Add alternative text to images by right-clicking any picture or graphic and selecting Edit Alt Text. Type a brief description of what the image shows. Screen readers use this information to help visually impaired students participate fully in your game.
Sound can enhance engagement, but always include visual cues alongside audio elements. If your game uses sound effects or music, provide captions or visual indicators so students with hearing impairments don’t miss important information.
Consider timing adjustments for students who need more processing time. PowerPoint lets you control how long slides display and whether transitions happen automatically or with a click. Manual advancement gives all students time to read and respond at their own pace.
Finally, create clear navigation paths. Use consistent button placement and simple language for instructions. Test your game by navigating through it using only the keyboard’s Tab and Enter keys to ensure students with mobility challenges can participate independently.
These small tweaks transform good games into great inclusive tools that celebrate every learner’s abilities.
Quick Accessibility Checks Before Game Day
You’ve customized your game template and it looks amazing! But before students dive in, let’s make sure everyone can participate fully. This quick checklist takes just a few minutes and ensures your game day goes smoothly for all learners.
Start with the visual basics. Can you read all text clearly from the back of your classroom? Check that there’s strong contrast between text and backgrounds—light text needs dark backgrounds and vice versa. Avoid color combinations like red and green that some students may struggle to distinguish.
Next, think about navigation. Can students move through the game without needing quick mouse clicks or precise timing? Consider whether students using keyboards or assistive technology can participate equally. If your game relies heavily on speed, build in alternative scoring methods.
Test the font size and style. Sans-serif fonts like Arial or Calibri work best for screen readability. Make sure text is at least 18-point size for projected games.
Don’t forget about audio elements. If your game includes sound effects or music, ensure they’re optional rather than required. Some students may need quiet environments or use hearing devices.
Finally, prepare backup participation methods. What happens if a student experiences technical setup issues or needs an alternative way to engage? Having paper-based options or partner participation ready shows you’ve thought about everyone’s success.
Run through this checklist before each game, and you’ll build confidence that every student can join the fun!
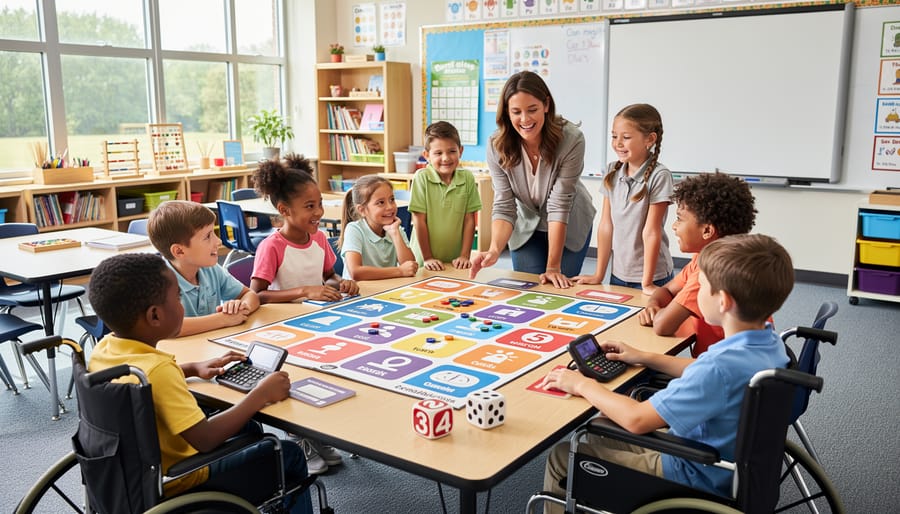
Creating Flexible Participation Options
Not every student thrives with the same type of participation, and that’s perfectly okay! The beauty of interactive classroom games is that you can easily adapt them to fit different learning styles and abilities.
Start by creating partner systems where students can work together. One student might control the mouse or select answers while their partner discusses strategy. This team approach reduces pressure on individual students who might feel anxious about participating alone while building collaborative skills everyone benefits from.
Written response options work wonderfully alongside digital games. Let students jot down their answers on whiteboards or paper before revealing them to the class. This gives processing time to those who need it and allows everyone to participate at their own pace. You can even collect these responses for assessment purposes without putting anyone on the spot.
Consider physical alternatives too! Use hand signals, colored cards, or movement-based responses as supplements to clicking buttons. Students can stand up for “true” and sit down for “false,” or hold up numbered cards to show their choice. These kinesthetic options engage different learners and add energy to your classroom.
The key is offering choices without making accommodations feel like special treatment. Present multiple participation methods from the start, letting all students choose what works best for them on any given day. Some days your confident speaker might prefer writing things down, and that flexibility creates a genuinely inclusive environment where everyone feels comfortable learning and participating.
Here’s the exciting truth: you don’t need to be a tech wizard or accessibility expert to make your classroom games work for everyone. The small changes we’ve explored—adding alt text, choosing clearer fonts, including keyboard navigation—these simple tweaks create ripples of positive impact that reach far beyond the students you initially had in mind.
When you make your interactive tools more accessible, something wonderful happens. Students who struggle with reading benefit from audio options. Kids who process information differently appreciate multiple ways to engage. Even your most confident learners find that clearer instructions and flexible formats make learning more enjoyable.
The best part? You already have everything you need to get started. The templates you’re already using can be customized with these accessibility features in just minutes. You don’t need expensive software or special training. Your willingness to make small adjustments is the most powerful tool in your teaching toolkit.
Remember, inclusive games aren’t just good for some students—they create better learning experiences for everyone. So go ahead and experiment with those color contrasts, add some audio elements, or try that keyboard navigation. Your classroom is about to become an even more welcoming space for learning.