
Make Every Student Feel Welcome in Your Classroom Games
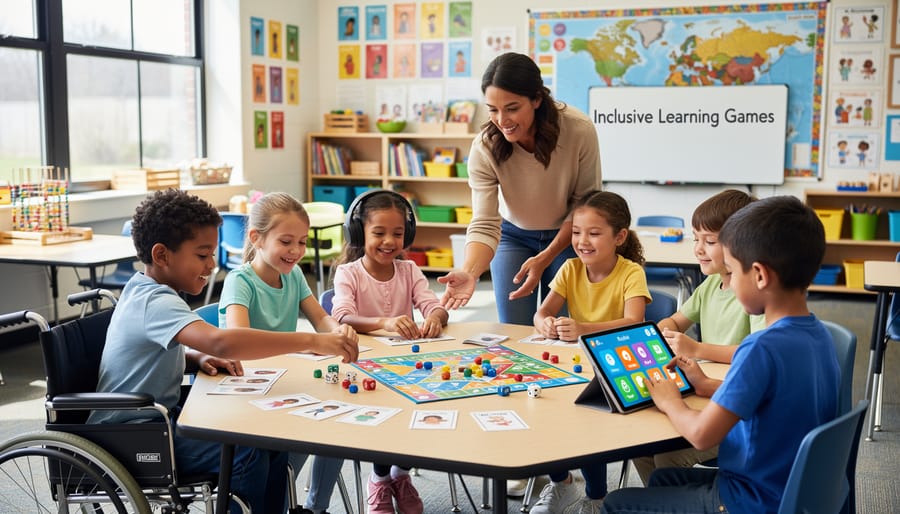
Picture a playground where every child can play—where the kid using a wheelchair races alongside friends, where the quiet observer finds an inviting entry point, and where different abilities become strengths rather than barriers. Now imagine bringing that same inclusive magic into your classroom review games.
Your PowerPoint game templates deserve the same thoughtful design as modern playgrounds. Just as accessible playgrounds feature ramps, multiple entry points, and varied play experiences, your digital games can welcome every learner through strategic customization. The connection isn’t coincidental—both rely on Universal Design for Learning principles that remove barriers before they form.
Too often, teachers download game templates that accidentally exclude students. A timed Jeopardy-style game might stress anxious learners. Text-heavy slides might frustrate struggling readers. Complex navigation might confuse students with processing differences. These aren’t template flaws—they’re customization opportunities.
The seven principles ahead transform any classroom game into an inclusive experience. You’ll discover how to adjust difficulty levels on the fly, offer multiple ways to participate, and build confidence across your entire class. Best of all, these strategies require minimal extra prep time. Small tweaks to your existing templates create massive impact for students who previously sat on the sidelines.
Ready to make every student an active player? Let’s explore how playground design wisdom creates classroom game magic.
What Inclusive Play Really Means in Your Classroom
Think about a playground for a moment. An inclusive playground doesn’t just have ramps alongside stairs—it reimagines the entire space so every child can explore, play, and connect with others. The same thinking applies to your classroom games.
Inclusive play in your classroom means creating review games where every student can participate meaningfully, regardless of their learning style, physical abilities, reading level, or processing speed. It’s not about making separate games for different students. Instead, it’s about designing one flexible game that adapts to meet diverse needs from the start.
This is where UDL principles become your best friend. Just as playground designers consider multiple ways to access equipment, UDL encourages you to offer multiple means of engagement, representation, and expression. A student who struggles with reading can still shine when questions include visual supports. A learner who needs extra processing time benefits when you build in customizable timers or pause options.
The beautiful parallel between playground accessibility and classroom game design is simple: when you remove barriers intentionally, everyone benefits. That quiet student might contribute more when they can write answers instead of shouting them out. Your energetic learners stay engaged when movement is built into gameplay. Your visual learners thrive with color-coded categories.
The best part? Creating inclusive classroom games doesn’t require starting from scratch every time. With thoughtful customization of your game templates—adjusting fonts, adding images, building in choice—you’re essentially installing those playground ramps and sensory panels that make participation possible for everyone. Your classroom becomes a space where all students can play, learn, and succeed together.
Principle 1: Multiple Ways to Enter the Game
Customization Tips for Your Game Templates
Ready to make your game templates work for every student? Here are some quick customization tips to boost inclusivity:
Start by creating multiple entry points into your game. Build in at least three difficulty levels so students can choose challenges that match their confidence. Color-code your question slides by difficulty, making it easy for learners to select their comfort zone.
Add flexible participation options that go beyond verbal responses. Include written answer choices, visual clues, or opportunities for team collaboration. This lets students shine in ways that feel natural to them.
Keep your slides visually clean and organized. Use high-contrast colors, readable fonts sized at 24 points or larger, and plenty of white space. Avoid cluttered backgrounds that might distract or overwhelm.
Build in wait time by adding countdown timers that students can see. This gives everyone time to process questions and formulate responses without feeling rushed.
Finally, incorporate celebration moments for all types of achievements. Recognize effort, improvement, creative thinking, and teamwork alongside correct answers. When students see multiple paths to success, they engage more fully and take meaningful learning risks.
Principle 2: Clear Visual and Audio Pathways
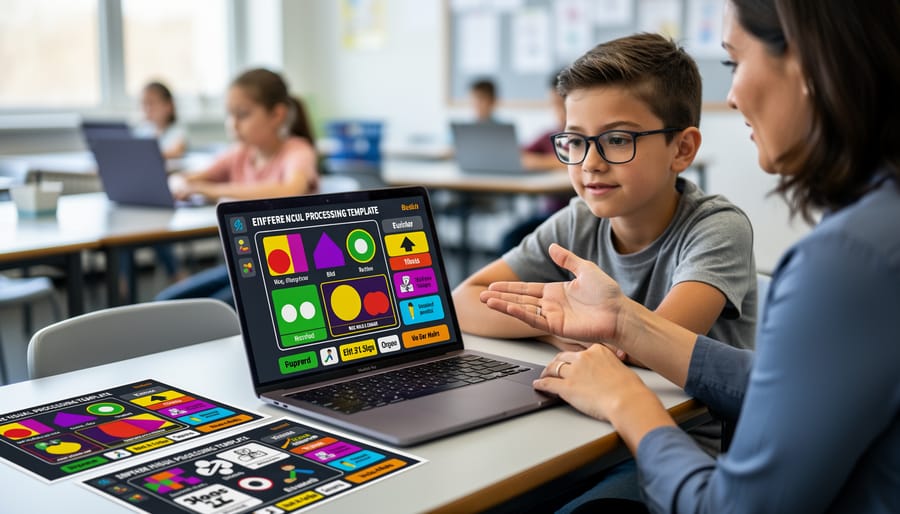
Design Choices That Make a Difference
When customizing your game templates, focus on these key features that truly level the playing field for all learners.
Start with text visibility. Choose fonts like Arial or Verdana in at least 24-point size so students in the back row can read comfortably. High-contrast color schemes work wonders too—think dark text on light backgrounds rather than trendy pastels that strain the eyes.
Sound controls are your friend! Always include mute buttons or volume adjustments. Some students thrive with sound effects while others find them distracting or overwhelming. Giving everyone control over their audio experience shows you’re thinking about diverse needs.
Consider timing flexibility. Build in options to pause or extend countdowns, because not everyone processes information at the same speed. This simple tweak helps anxious learners and students who need extra processing time shine alongside their peers.
Color-coding is fantastic for organization, but never rely on color alone to convey information. Add icons, numbers, or text labels so students with color vision differences never miss important cues. These thoughtful touches transform good games into truly inclusive learning experiences that celebrate every student’s participation.
Principle 3: Flexible Challenge Zones
Think back to the best playground equipment from your childhood. Remember how the monkey bars had different heights? Or how the climbing wall had multiple routes to the top? That’s flexible challenge zones in action, and you can bring this same concept to your classroom games!
Flexible challenge zones mean creating multiple pathways to success within a single activity. Instead of one-size-fits-all questions, you’re offering varying difficulty levels that let every student participate meaningfully. The beauty is that everyone plays together, but each learner engages at their own comfort level.
Here’s how this looks in practice: In your game template, include a mix of easier warm-up questions, moderate challenges, and advanced brain-teasers. You might color-code them or assign different point values. Students can choose their challenge level, or you can strategically assign questions based on individual needs.
The magic happens when a struggling reader tackles a question successfully while their neighbor works through something more complex. Both students are contributing, learning, and staying engaged. Nobody feels singled out or left behind.
Customization tip: Create a tiered question bank for each topic you teach. Store questions by difficulty level so you can quickly adjust your game based on your class needs that day. Maybe Monday needs more scaffolding, while Friday’s review can push boundaries. You’ve got options ready to go!
This approach builds confidence, maintains engagement, and keeps your whole class moving forward together. Everyone’s challenged, and everyone’s supported.
Principle 4: Social Interaction Options
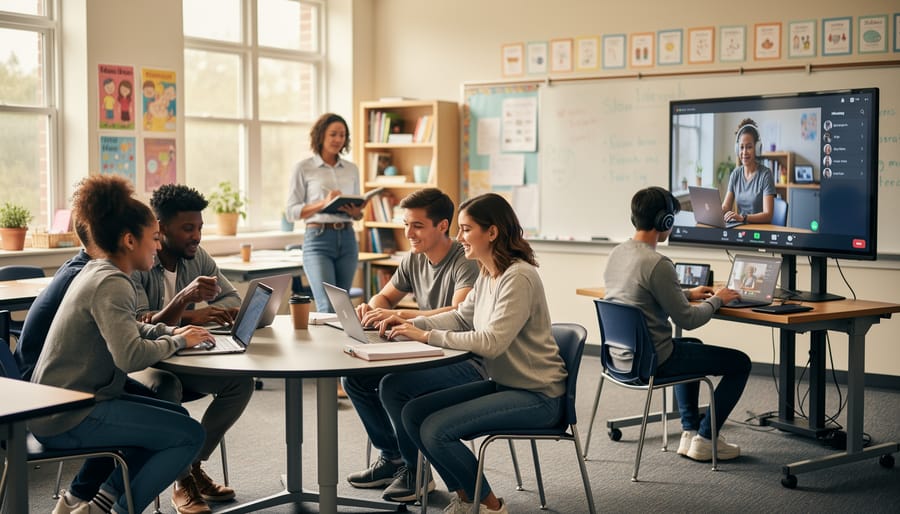
Team Formation Strategies That Work
Creating balanced teams is key to making your classroom games truly inclusive. Start by using mixed-ability grouping rather than letting students self-select. This ensures everyone gets a chance to shine in different ways. Consider pairing students strategically based on complementary strengths—maybe one student excels at quick recall while another is great at explaining concepts to teammates.
Assign specific roles within each team to guarantee participation. Try rotating positions like Team Captain (manages turns), Answer Recorder (writes responses), Strategy Coach (helps think through tough questions), and Cheerleader (keeps energy high). This structure means every student has a job and feels valued.
Keep teams small, typically 3-4 students, so everyone stays engaged and no one can hide in the background. For larger classes, consider running multiple games simultaneously or creating a tournament bracket system.
Don’t forget to switch up team compositions regularly! Fresh groupings prevent cliques and help students develop new friendships while building collaboration skills. When students know they’ll work with different classmates each game, they become more adaptable and inclusive themselves. Remember, the goal is everyone playing together, not just a few students dominating the action.
Principle 5: Sensory-Friendly Features
Just like playgrounds need quiet zones and adjustable equipment, your classroom games should accommodate students with different sensory needs. Some learners thrive with bright colors and energetic sounds, while others find these elements overwhelming. The beauty of digital games is that you can build in choices!
Start by making sound effects optional. Add a simple mute button or volume control so students can adjust audio levels to their comfort. Consider offering different visual themes within the same game – perhaps a high-contrast option alongside your colorful default design. This simple customization respects that what energizes one student might distract another.
Animation is another area where flexibility matters. Quick transitions and bouncing elements can be exciting, but they may also trigger sensory overload. Include settings that let you slow down or disable animations entirely. You might create two versions of your game template – one with full effects and another with minimal movement.
Visual complexity deserves attention too. Cluttered slides with multiple fonts, busy backgrounds, and competing colors can make it difficult for students to focus on the actual content. Stick with clean layouts, plenty of white space, and consistent design elements. Remember, sensory-friendly game design doesn’t mean boring – it means thoughtful and adaptable!
When you give students control over their sensory experience, you’re helping everyone participate comfortably and successfully.
Principle 6: Success Checkpoints for Everyone
Here’s the exciting part: every student should find their moment to shine! When designing play-based learning activities, think beyond traditional point systems that only reward speed or accuracy.
Create multiple pathways to success in your game templates. Award points for teamwork, creativity, improvement from previous rounds, or helping classmates understand concepts. Maybe one student earns recognition for the most thoughtful explanation, while another celebrates answering the most challenging questions. This approach mirrors playground design where children can succeed at climbing, swinging, or imaginative play—each valuable in its own way.
Your scoreboards should motivate rather than discourage. Consider displaying personal bests alongside team scores, or highlighting growth milestones like “Most Improved” or “Best Collaborator.” Add encouraging messages that pop up for all participants, not just top scorers. Simple additions like “Great effort!” or “You’re on a roll!” keep everyone engaged.
Customize your game templates to include achievement badges that celebrate diverse strengths. Visual learners might earn stars for creative answers, while verbal processors shine through detailed explanations. Some students excel under time pressure, others with reflective thinking—both deserve recognition.
Remember, the goal isn’t lowering standards but expanding how we measure success. When students see multiple ways to contribute and win, participation soars and anxiety drops. Everyone leaves feeling accomplished, making your classroom games truly inclusive learning experiences.
Principle 7: Easy Navigation and Clear Rules
Think about the last time you played a board game with confusing rules—frustrating, right? The same principle applies to classroom games. When students spend more time figuring out how to play than actually learning, you’ve lost valuable teaching moments.
Clear navigation is your game’s roadmap. Students should instantly understand where to click, what happens next, and how to move through your activity. Use consistent button placement across all slides so learners know exactly where the “next” or “back” buttons live. Color-code different game elements—maybe blue buttons always advance forward while yellow ones return to the menu. This visual consistency reduces cognitive load and helps students focus on content rather than mechanics.
Instructions matter tremendously. Display game rules right on the opening slide using simple, numbered steps. Avoid paragraphs of text—bullet points work better. Consider adding visual cues like arrows or icons that guide players through the sequence. For younger students or English language learners, pairing written instructions with images creates multiple entry points for understanding.
Templates should follow predictable patterns. If question slides use a specific layout, stick with it throughout the game. When students recognize the format, they can concentrate on answering correctly rather than decoding each new screen. This consistency pairs beautifully with other inclusive classroom tools you might already use.
Remember, intuitive design means less time explaining and more time playing—exactly what makes review games effective learning experiences.
Putting It All Together in Your Next Game
Ready to transform your next game into an inclusive experience that celebrates every learner? Here’s your quick action checklist to get started:
Before downloading your next game template, pause and ask: Can everyone participate fully? Run through these questions: Does it include varied question types? Are visuals clear and text readable? Can students succeed at different levels? Will everyone feel represented?
As you customize, make these simple tweaks: Bump up font sizes to at least 24 points. Choose high-contrast color combinations. Add images alongside text questions. Create multiple pathways to scoring. Include diverse characters and scenarios that reflect your classroom.
During gameplay, stay flexible. Offer different ways to answer—verbally, in writing, or through drawing. Let students choose their challenge level. Allow team collaboration when it helps. Watch how students respond and adjust on the fly.
The beautiful truth? These small changes create ripples far beyond game day. When students see themselves reflected in your games and know they can succeed regardless of how they learn, you’re building a classroom culture where everyone belongs. You’re showing that different isn’t less—it’s just different.
Start with one principle today. Maybe it’s adding more visuals or creating tiered questions. Then add another next time. Before you know it, inclusive design becomes your natural approach, and your students will feel the difference. You’ve got this!
Creating an inclusive classroom game environment isn’t about adding more work to your plate—it’s about making thoughtful choices from the start. When you design with accessibility in mind, you’re not creating special accommodations for a few students. Instead, you’re building better learning experiences that work for everyone in your classroom.
Think of it this way: when you add visual supports, clear navigation, and flexible participation options to your review games, you’re helping all your students engage more deeply with the content. The student who needs extra processing time benefits from the same features that help your English language learners. The visual cues that support students with attention challenges also keep your entire class focused and engaged.
These seven principles work together to transform your game templates into powerful learning tools that welcome every student. The beauty is that most of these strategies take just minutes to implement when you’re customizing your games. A few intentional choices about colors, fonts, and game mechanics can make the difference between a game that works for some students and one that energizes your whole classroom.