How the 3 UDL Principles Transform Every Student Into an Active Game Player
Transform your classroom games into inclusive learning experiences by applying Universal Design for Learning’s three core principles. The first principle, Multiple Means of Engagement, ensures every student finds games motivating by offering choice in themes, difficulty levels, and team structures. The second principle, Multiple Means of Representation, presents game content through varied formats like visual cues, audio instructions, and text-based clues so all learners can access information their way. The third principle, Multiple Means of Action and Expression, lets students demonstrate knowledge through different response methods—whether typing answers, drawing solutions, or working collaboratively.
These principles aren’t just educational theory—they’re practical tools that make your PowerPoint game templates work for students with different learning styles, abilities, and backgrounds. When you customize games with UDL in mind, you’re removing barriers before they appear, creating an environment where struggling readers, visual learners, and advanced students all participate meaningfully. The beauty of UDL-designed games lies in their flexibility: one template becomes accessible to your entire classroom without creating separate activities. Let’s explore how to build these three principles into your game-based learning so every student can play, learn, and succeed together.
What UDL Means for Your Classroom Games
Here’s the good news: Universal Design for Learning isn’t some complicated educational theory you need a PhD to understand. Think of it more like curb cuts on sidewalks—they were designed for wheelchair users, but they help everyone with strollers, bikes, and rolling suitcases too.
When you apply UDL to your classroom games, you’re simply removing barriers so every student can jump in and play. No complicated formulas. No overwhelming checklists. Just thoughtful tweaks that make your games work for different learning styles, abilities, and preferences.
The beauty of UDL in game-based learning is that it actually makes your job easier. Instead of creating separate activities for different learners, you build flexibility right into your games from the start. One student might need to read questions aloud. Another might benefit from visual hints. Someone else might thrive with extra challenge options. UDL means all these needs get met in the same game, at the same time.
Your classroom games become the great equalizer—where struggling readers can shine through oral responses, where shy students find their voice through team play, and where advanced learners stay engaged through bonus challenges. Everyone plays together, learns together, and succeeds together. That’s what UDL is all about, and it’s simpler than you think.
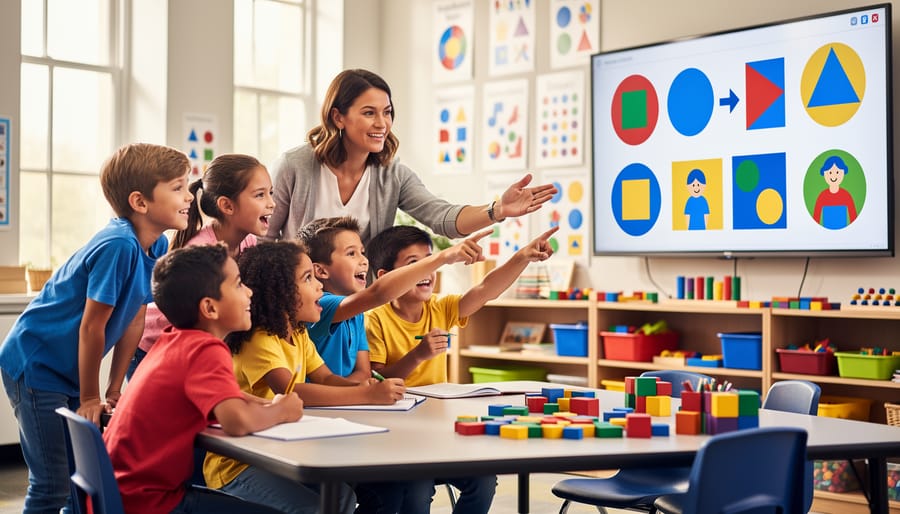
Principle 1: Multiple Means of Representation (Show It Different Ways)
Making Game Questions Work for Every Learner
Making your game-based learning accessible to every student doesn’t have to be complicated! Here are some simple yet powerful ways to customize your PowerPoint game templates so all learners can participate and succeed.
Start by pairing visuals with text throughout your game. Add relevant images, icons, or symbols next to written questions to support students who process information better through pictures. This small change makes a huge difference for visual learners and English language learners.
Audio options are game-changers too! Record yourself reading questions aloud and embed the audio clips directly into your slides. Students can click to hear the question as many times as needed, supporting those with reading challenges or auditory processing preferences.
Don’t overlook font adjustments. Bump up your text size to at least 24-point font for better readability. Choose clean, sans-serif fonts like Arial or Calibri that are easier on the eyes. You can even create different versions of the same game with varying text sizes.
Color coding is another brilliant strategy. Use consistent colors to organize information—maybe blue for questions, green for hints, and yellow for bonus rounds. Just remember to use high-contrast combinations so students with color vision differences can distinguish between elements easily.
The beauty of these customizations is they benefit everyone, not just students with specific needs. When you design with accessibility in mind from the start, you create richer learning experiences that keep all students engaged and motivated to play!
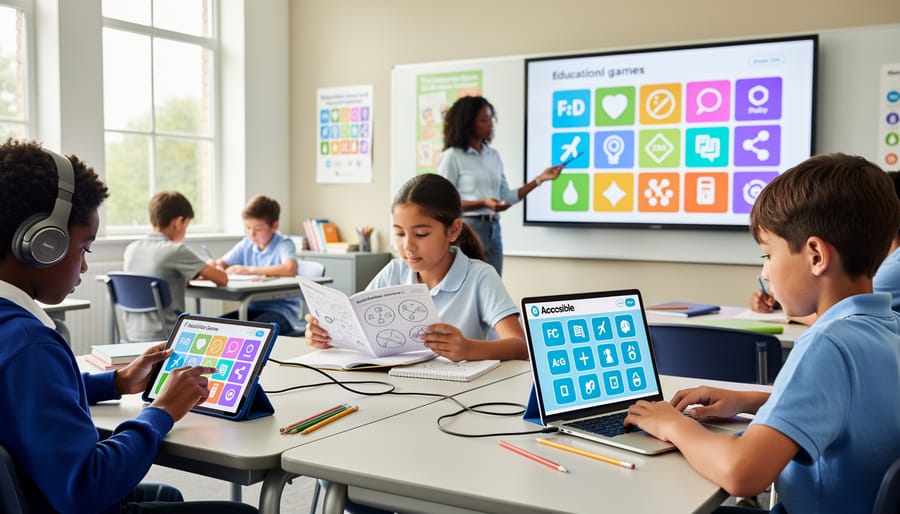
Quick Customization Tips for Your Templates
Ready to make your customizable game templates more inclusive? These quick tips will help you apply all three UDL principles without overwhelming your schedule.
Start by adding visual supports to your game slides. Drop in simple icons, pictures, or color coding alongside text-based questions. This gives students multiple ways to process information without creating entirely new slides. Most templates already have placeholder spots perfect for adding these visual cues.
Next, build in choice wherever possible. Create different point values for questions so students can pick their challenge level. Add bonus rounds where teams choose their category or decide how to demonstrate their answer. These small tweaks engage learners and let them show what they know in ways that work for them.
For audio support, use your computer’s text-to-speech feature to read questions aloud during gameplay. You can also add simple sound effects to signal correct answers or level changes. No fancy recording equipment needed.
Keep a bank of scaffolding options ready to go. Print out vocabulary lists, reference sheets, or graphic organizers that students can access during the game. Having these supports available means every learner can participate confidently.
Finally, remember that perfect is the enemy of done. Start with one or two modifications per game template. As you see what works for your students, you’ll naturally add more inclusive features. The goal is progress, not perfection, and your students will benefit from every small change you make.
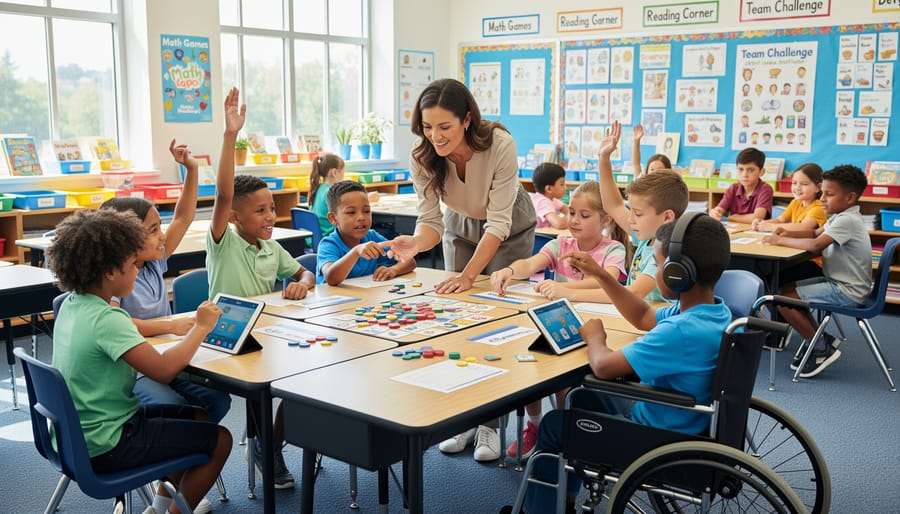
Principle 2: Multiple Means of Action and Expression (Let Them Show What They Know)
Beyond Shouting Out Answers
Not every student feels comfortable shouting out answers in front of the whole class, and that’s completely okay! The beauty of game-based learning is that you can offer multiple ways for students to participate and show what they know.
Consider replacing or supplementing verbal responses with written answers on individual whiteboards. Students can hold up their boards simultaneously, giving everyone a chance to respond without the pressure of being called on first. This approach also lets you quickly scan the room to assess understanding across your entire class.
Drawing is another powerful option, especially for visual learners or students who struggle with written expression. When reviewing vocabulary or concepts, invite students to sketch their answers instead of writing them out. You might be surprised how creative and accurate their illustrations can be!
Physical movement adds energy and engagement to any game. Try incorporating gestures, pointing to corners of the room that represent different answer choices, or using thumbs up and thumbs down for true/false questions. These kinesthetic responses work wonders for students who need to move to learn.
Team consultations give students a moment to discuss answers with a partner or small group before responding. This collaboration reduces anxiety and helps English language learners or shy students feel more confident. You can set a quick 30-second timer for teams to huddle and decide together.
The key is offering choices and rotating through different response methods. Mix things up regularly so every student experiences moments where they shine and feel successful participating in your classroom games.
Adapting Game Templates for Different Response Styles
Making your game templates work for everyone means giving students multiple ways to show what they know! The beauty of digital game templates is their flexibility—you can easily adjust how students participate and respond during competitive play.
Start by building in choice for response formats. Instead of requiring all students to shout out answers verbally, offer alternatives like holding up answer cards, typing responses in a chat box, or drawing on individual whiteboards. Some students might use response clickers or even physical movement like jumping to different corners of the room for multiple-choice questions. The key is letting students pick the method that works best for them while keeping the game energy high.
Consider timing adjustments too. Add pause buttons to your game templates so students who need more processing time aren’t left behind. You might create “quick round” and “extended round” versions of the same game, or simply build in flexible timers that you can adjust on the fly. This keeps everyone engaged without the pressure cooker feeling.
Team-based responses work wonders for inclusivity. When students collaborate before answering, quieter learners contribute without the spotlight, and everyone benefits from peer support. You can designate different team roles—the recorder, the speaker, the strategist—so every student has a meaningful way to participate.
Remember, these adaptations don’t water down the fun or competition. They amplify it by ensuring everyone can genuinely play and succeed!
Principle 3: Multiple Means of Engagement (Hook Every Player)
Creating Game Experiences That Match Student Interests
Here’s the secret to keeping every student hooked on your game-based learning: make it personal! When you tap into what excites your students, engagement skyrockets naturally.
Start by offering meaningful choices within your game templates. Let students pick their character avatars, team names, or even the categories they’ll tackle first. This simple shift gives learners ownership over their experience and taps into their individual interests. For example, when creating a review game, include question categories like sports trivia, pop culture, science facts, and historical events so everyone finds something that speaks to them.
Theme customization works wonders too! Transform a basic quiz template into a space adventure for science lessons or a treasure hunt for history units. When the game context connects to your curriculum and resonates with student interests, you’ve got a winning combination.
Don’t forget about difficulty levels—they’re game-changers for inclusive play. Build in tiered questions where students can choose point values based on challenge level, or create paths with varying complexity. This way, struggling learners won’t feel overwhelmed, and advanced students stay challenged.
Consider adding bonus rounds or optional challenges that let students showcase their unique strengths. Maybe one student excels at visual puzzles while another shines with word problems. By incorporating multiple question types and challenge formats, you’re ensuring everyone has moments to succeed and shine. The goal is creating that sweet spot where every learner feels capable and motivated to participate fully!
Building in Success for Every Skill Level
The beauty of UDL is that it creates pathways for everyone to shine! When you’re designing your game templates, think about layering in success at multiple levels.
Start by differentiating questions across difficulty levels. Color-code your slides so easier questions appear in blue, medium in green, and challenging in red. Let teams choose their difficulty level, with varying point values to keep things exciting. This way, students who need more support can build confidence with foundational questions, while advanced learners tackle tougher challenges.
Team structures make a huge difference too. Mix skill levels intentionally so students can support each other, or create interest-based groups where passion drives engagement. You might even let students choose their grouping strategy, giving them ownership of their learning experience.
Don’t forget bonus options! Add optional challenge rounds, creative response opportunities, or extra-credit pathways. Maybe teams can earn bonus points by explaining their thinking process, creating a related question, or connecting the content to real-world examples. These additions let struggling learners focus on core content while giving advanced students room to stretch.
The goal is simple: every student should finish your game feeling accomplished. When you build in multiple ways to succeed, you’re not just playing a game—you’re creating an inclusive environment where diverse learners recognize their own growth and celebrate their unique strengths.
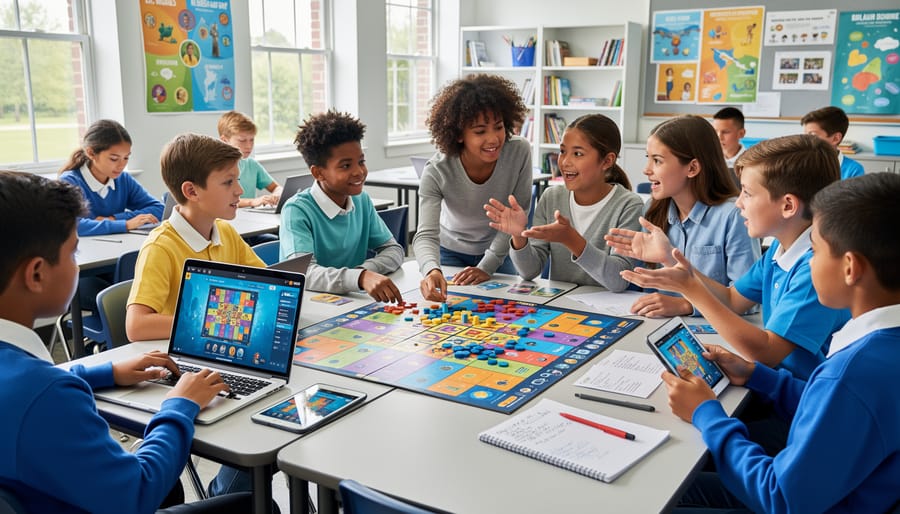
Putting All Three Principles Together
Ready to see how all three UDL principles work together? Let’s walk through setting up a classroom review game that welcomes every learner in your classroom.
Imagine you’re planning a vocabulary review game for next week. Here’s how you’d apply UDL principles simultaneously:
First, think about Multiple Means of Engagement. Offer students choice in how they participate. Maybe some students answer individually using whiteboards, while others work in pairs. Let students choose their difficulty level or pick bonus questions for extra points. This keeps everyone motivated and invested.
Next, consider Multiple Means of Representation. Display vocabulary words with pictures and definitions together. Read questions aloud while they’re visible on screen. Use color coding to organize categories and provide example sentences showing words in context.
Finally, plan for Multiple Means of Action and Expression. Allow students to answer by writing, drawing, acting out words, or giving verbal responses. Some might type answers on devices while others point to correct choices on their worksheet version.
Here’s your quick planning checklist:
Does my game offer student choice in participation style or difficulty?
Have I included both visual and audio elements?
Are materials available in multiple formats?
Can students respond in different ways?
Have I considered timing flexibility for processing?
Are instructions clear with examples provided?
Does everyone have an equal chance to succeed?
When you check off most items on this list, you’ve created an inclusive game experience. The beauty of UDL is that these adjustments benefit everyone, not just students with identified needs. Start small, pick one principle to enhance first, then layer in others as you gain confidence.
Here’s the thing: creating an inclusive classroom through game-based learning doesn’t mean you need to overhaul everything overnight or achieve absolute perfection. Small adjustments truly make a world of difference for your students. Maybe today you add a timer option to give students more flexibility. Next week, you might create visual cues for game instructions. Each little change opens the door wider for more learners to join in and succeed.
Start simple. Pick just one UDL principle that resonates with you and try it out in your next classroom game. Perhaps you’ll offer multiple ways for students to participate, or you’ll add some visual supports alongside your text-based questions. The beauty of using customizable game templates is that you can test these adjustments, see what works for your unique group of learners, and build from there. There’s no pressure to implement everything at once.
Remember, inclusive design isn’t about making things easier—it’s about making them accessible. When you remove barriers through thoughtful game design, you’re not lowering expectations. You’re actually giving every student a fair shot at showing what they know and can do.
So take that first step. Choose one principle, make one small change, and watch what happens. You’ll be amazed at how many more students light up, engage deeply, and truly become part of the learning adventure. Because every student deserves to be part of the fun, and you have the power to make that happen.