Every Student Wins: Making Your Classroom Games Work for All Learners
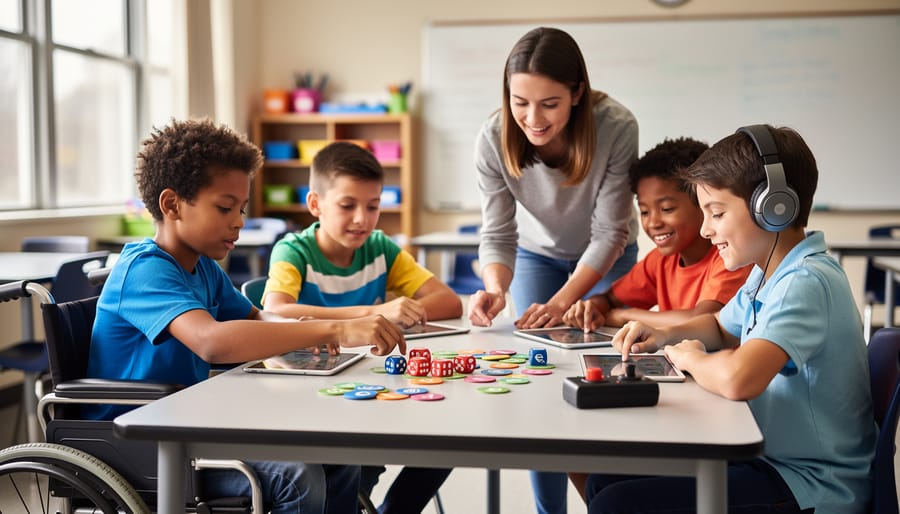
Design game-based activities with multiple ways for students to participate from the start. Include options for visual, auditory, and kinesthetic learners by offering text-to-speech features, adjustable timers, and alternative input methods like clicking versus typing. This ensures every student can jump in without modifications feeling like afterthoughts.
Build flexibility into your game mechanics by allowing students to choose their difficulty level, adjust text sizes, and modify color contrasts. Simple tweaks like increasing font sizes to 16pt minimum, using high-contrast color schemes, and providing pause buttons transform games from frustrating to empowering for students with diverse needs.
Test your classroom games with students who have different abilities before full implementation. Ask specific questions: Can colorblind students distinguish between teams? Can students using screen readers navigate independently? Can students with motor challenges complete tasks within time limits? Real student feedback reveals barriers you might miss.
Create alternative success pathways within each game so students demonstrate learning in ways that match their strengths. If one student struggles with rapid-fire trivia, let them earn points through thoughtful written responses or visual demonstrations instead. Inclusive game design means every player finds their route to victory while meeting the same learning objectives.
Why Classroom Game Accessibility Matters More Than You Think
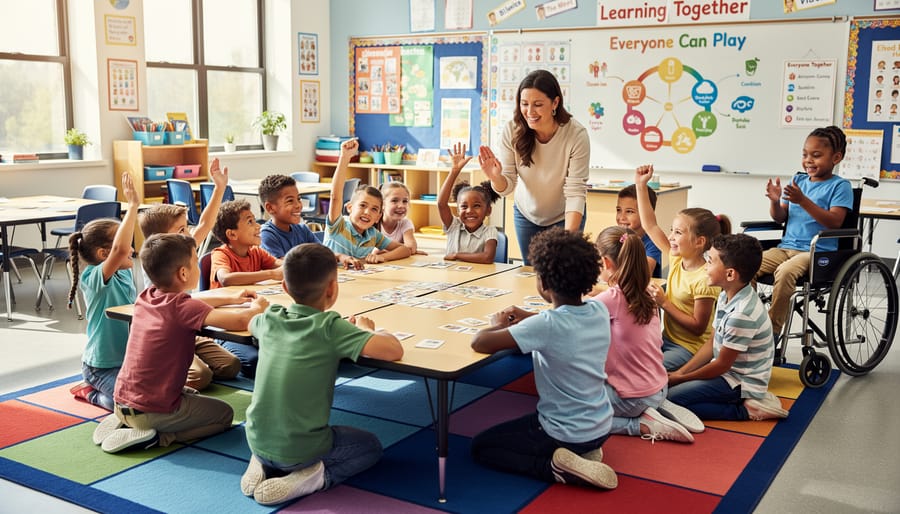
When every student can jump into a classroom game without barriers, something magical happens. Engagement skyrockets, confidence blooms, and learning becomes genuinely fun for everyone. But when games unintentionally exclude students with disabilities or different learning needs, we’re not just missing opportunities—we’re potentially leaving kids behind.
Here’s the thing: accessibility isn’t about creating separate activities for “some” students. It’s about designing games where every learner can participate from the start. Think of it like building ramps into your classroom activities. When you design with accessibility in mind, you’re following the Universal Design for Learning (UDL) framework, which benefits all students, not just those with identified needs. That student who struggles with reading? They’ll thrive with visual supports. The kinesthetic learner who can’t sit still? Movement-based game options keep them engaged.
The benefits go beyond feel-good inclusivity. When students see their classmates fully participating, it builds empathy and community. Plus, legally and ethically, we’re responsible for creating equitable learning environments. Schools must provide equal access to educational opportunities, and yes, that includes the fun, game-based learning activities too.
The best part? Making games accessible doesn’t mean complicated overhauls. Simple tweaks like adjustable timers, multiple input methods, or flexible team formations can transform an exclusive activity into an inclusive experience. When you customize games to welcome diverse learners, you’re not just checking a compliance box—you’re creating richer, more dynamic classroom experiences where every student has the chance to shine, learn, and succeed together.
Common Barriers Students Face During Game-Based Learning
Visual Challenges
Visual challenges can quickly turn an exciting classroom game into a frustrating experience for many students. Tiny text on slides or game boards makes reading exhausting, especially for students with low vision or those sitting farther from the screen. Poor color contrast, like light gray text on white backgrounds, creates barriers that affect not just visually impaired students but anyone in a brightly lit classroom.
Cluttered slides packed with too much information overwhelm students with processing differences or attention challenges. When every inch of screen space is filled, it becomes nearly impossible to focus on what matters most. Similarly, fast-moving elements like rapidly changing slides or quick animations don’t give all students enough time to read, process, and respond.
The good news? These fixes are incredibly simple. Bump up your font sizes to at least 18-24 points. Choose high-contrast color combinations and test them in your actual classroom lighting. Give each slide breathing room by limiting information to key points. Slow down transitions and let students control the pace whenever possible. These small tweaks make your games work better for everyone.
Auditory and Processing Barriers
Games that rely heavily on sound can unintentionally leave students behind. Audio cues that signal right or wrong answers, background music, or sound effects for actions create barriers for students who are deaf or hard of hearing. Similarly, verbal-only instructions without visual support make it tough for students with auditory processing differences to keep up.
Time pressure adds another layer of challenge. When students must process information quickly through listening alone, those who need extra processing time may feel rushed or excluded. The good news? Simple adjustments make a huge difference! Pair every audio element with a visual counterpart like text captions, icons, or color changes. Provide written instructions alongside verbal ones, and let students control the pace whenever possible. These tweaks ensure everyone can participate fully, regardless of how they process information. Remember, accessible games aren’t just inclusive—they often work better for all students by offering multiple ways to engage with content.
Motor Skills and Physical Limitations
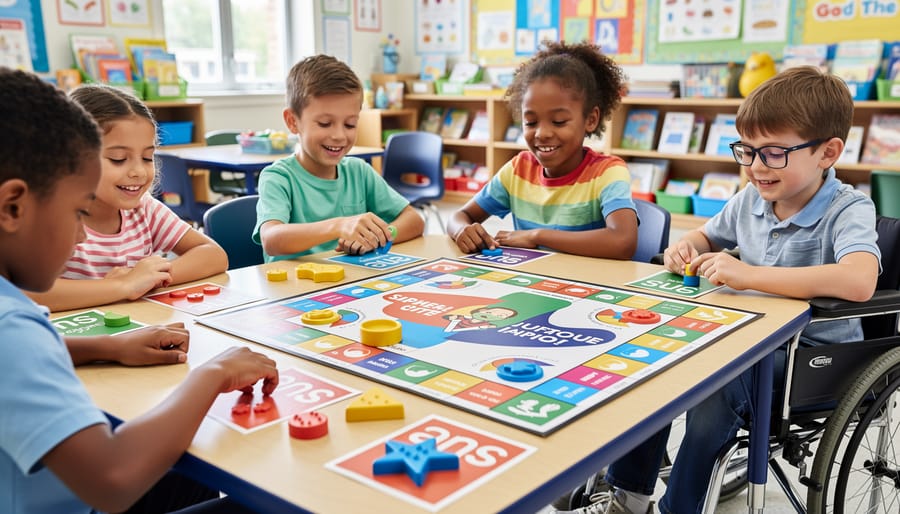
Students with fine motor challenges may struggle with small game pieces, quick buzzer actions, or fast-paced physical responses. The good news? A few simple tweaks make a world of difference!
Consider offering alternative response methods beyond traditional buzzers. Students can use verbal answers, gesture signals, or adaptive switches. For games with physical components like cards or tokens, opt for larger pieces with easy-grip textures. You can even use foam dice or magnetic boards that are easier to manipulate.
Speed-based activities can create unnecessary pressure. Build in flexible timing or allow students to work with partners who can assist with physical tasks while they focus on the content. For writing-heavy games, provide options like typing responses, using word banks, or recording audio answers.
Remember, physical accessibility isn’t about lowering standards—it’s about removing barriers so every student can show what they know. When you customize game mechanics to accommodate different motor abilities, you’re creating an environment where all learners can participate confidently and shine!
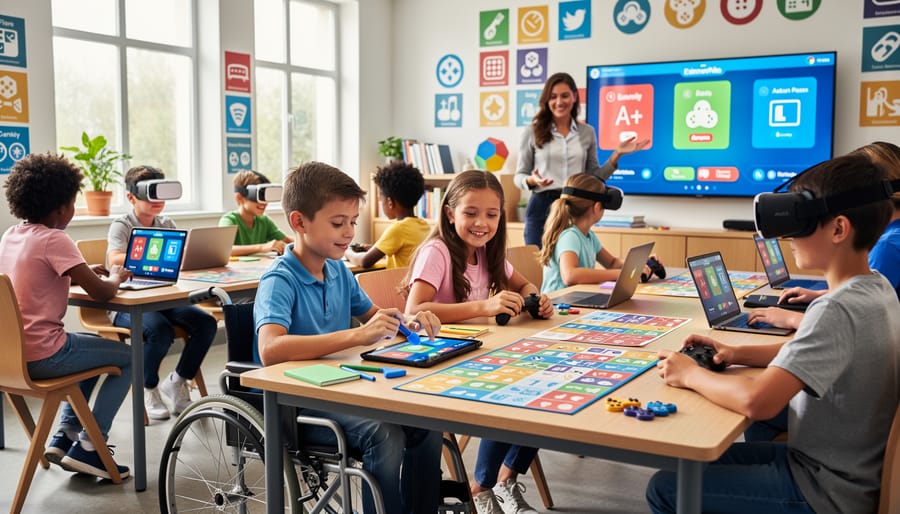
Simple Tweaks That Make Your PowerPoint Games Accessible
Text and Visual Adjustments
Making your game materials visually accessible is simpler than you might think, and the impact is huge! Start by bumping up your font sizes to at least 18-24 point for body text. Trust us, even students without vision challenges will appreciate the clarity. Choose clean, simple fonts like Arial, Verdana, or Comic Sans that are easy to read at a glance.
Color contrast matters more than you’d expect. Use high-contrast combinations like black text on white backgrounds or white text on dark blue. Avoid red-green combinations since many students have difficulty distinguishing these colors. Free online contrast checkers can help you test your choices in seconds.
Simplify your slide designs by limiting text to key points and avoiding cluttered backgrounds. White space is your friend! Each slide should focus on one main idea.
Add visual supports wherever possible. Include icons next to written instructions, use diagrams to explain concepts, and incorporate pictures that reinforce your content. These visual cues help all learners grasp information faster and make your games more engaging. Remember, accessibility improvements benefit everyone in your classroom, creating a more inclusive and effective learning environment for all students!
Sound and Timing Modifications
Sound and timing elements can create barriers for students with hearing differences, auditory processing challenges, or those who need more time to process information. The great news? A few simple tweaks make your games work for everyone!
Start by making sound effects completely optional. Add a mute button or volume control so students can adjust audio to their comfort level. Even better, pair every sound cue with a visual alternative. Think flashing borders when time is running low, or color changes when an answer is correct instead of relying solely on beeps and chimes.
Time limits can stress students who process information differently. Consider adding adjustable timers or removing time pressure altogether for certain activities. When timing matters for game mechanics, give students control. A pause button is your best friend, allowing learners to take breaks when they need to regroup without losing progress.
Remember, these modifications don’t water down the learning experience. They actually expand access so more students can participate fully. Test your games with these features enabled and you’ll likely find they benefit far more learners than you initially expected. Customization is key to creating truly inclusive classroom experiences!
Response and Participation Options
Every student has their own best way to shine! Give your learners multiple pathways to participate and show what they know. Instead of only accepting spoken answers, let students respond through written cards, thumbs up or down gestures, digital devices, or even drawings. This simple shift opens doors for shy students, English language learners, and those with communication differences.
Team support structures work wonders too. Pair students strategically so they can collaborate and support each other’s strengths. Allow teams to huddle and discuss before answering, giving processing time for everyone. Consider appointing team roles like “spokesperson,” “writer,” or “encourager” so each member contributes in meaningful ways.
Watch out for competitive elements that might discourage participation. While friendly competition energizes some learners, it overwhelms others. Offer cooperative game modes where the whole class works together toward a shared goal. You can also use personal best tracking, where students compete against their own previous scores rather than classmates. Create low-stakes practice rounds where points don’t count, letting everyone experiment without pressure.
Mix things up throughout your game by rotating response methods. Round one might use verbal answers, round two uses whiteboards, and round three uses movement-based responses. This variety keeps everyone engaged and ensures no single communication style dominates. Remember, flexibility is your superpower! The more options you provide, the more students can access the learning and truly participate.
The Universal Design for Learning (UDL) Approach to Game Design
Universal Design for Learning (UDL) might sound like fancy education-speak, but it’s really just a smart way of thinking: design your classroom games so everyone can jump in and succeed from the start. Instead of creating one-size-fits-all activities and then scrambling to accommodate students who struggle, UDL flips the script. You build flexibility right into your game design, making it naturally welcoming for all learners.
Think of it like building a ramp into a building instead of stairs with a side entrance. Everyone benefits from that thoughtful design. UDL rests on three simple pillars that transform how you create review games.
First up is multiple means of representation. This means presenting information in different ways so every student can access it. In your classroom games, this could mean displaying questions both visually on screen and reading them aloud. Include images alongside text. Use color coding, but also add symbols or patterns so students who are colorblind aren’t left guessing.
Next is multiple means of engagement. Students get motivated differently, so offer choices that spark interest across your classroom. Let teams pick their game avatars or themes. Build in different difficulty levels. Some students thrive on competition while others prefer cooperative challenges, so mix up your game formats throughout the week.
Finally, there’s multiple means of expression. This is about letting students show what they know in various ways. Instead of only verbal answers, allow students to draw, act out responses, type them, or use sentence starters. In team games, let students choose different roles like recorder, speaker, or strategist based on their strengths.
The beauty of UDL is that these accommodations help everyone, not just students with identified learning differences. When you design with flexibility from the beginning, you’re creating an inclusive classroom where every student can shine.
Creating Your Accessibility Toolkit: What to Prepare Before Game Day
Getting your accessibility toolkit ready ahead of time makes game day smooth and stress-free for everyone! Think of this as your game-day prep checklist that ensures no student gets left on the sidelines.
Start by creating a materials station with essentials you can grab quickly. Keep large-print question cards, markers in various colors, index cards for alternative response methods, and fidget tools handy. Having these ready means you won’t scramble mid-game when a student needs support.
Before introducing any game, send out a quick student preference survey. Ask simple questions: Do you prefer reading silently or hearing questions aloud? Do you like moving around or staying seated? Would you rather write answers or speak them? This takes five minutes but gives you golden insights into your students’ needs.
Pre-game modifications are your secret weapon. Look at your chosen game and identify potential barriers before you play. Can non-readers participate? What if someone has limited mobility? Could a student with anxiety feel overwhelmed by time pressure? Jot down two or three modification options for each potential challenge.
Your backup plan toolkit should include alternative versions of game materials. Create a digital version of physical games, prepare visual aids for auditory content, and have simplified rule sheets ready. Keep a “plan B” list of quick adjustments, like extending time limits, allowing partner play, or offering take-home versions.
Finally, designate a quiet corner as your accessibility hub where students can access alternative materials or take breaks without drawing attention. Stock it with noise-canceling headphones, sensory tools, and modified game materials.
Remember, preparation isn’t about having everything perfect. It’s about having options ready so you can respond quickly and keep the fun flowing for all learners!
Here’s the truth: accessible classroom games aren’t more complicated—they’re just more thoughtful. And the best part? You’ve already taken the first step by being here and caring enough to learn.
Remember, you don’t need to overhaul everything overnight. Start small. Add one visual support. Offer one flexible rule option. Give students one extra way to participate. These tiny tweaks create ripples of inclusion that reach every corner of your classroom.
The beauty of accessible game design is that it doesn’t just help students with specific needs—it makes learning better for everyone. When you add visual timers, you’re helping the student with ADHD and the one who just likes knowing what’s coming next. When you offer movement breaks, you’re supporting sensory needs while giving all kids a chance to recharge.
So take a deep breath and dive in. Experiment with different approaches. Ask your students what works. Celebrate the wins, learn from the hiccups, and keep going. Because when you make your classroom games accessible, you’re not just teaching content—you’re showing every student they belong, they matter, and they can succeed.