Create Game Design Documents That Actually Work in Your Classroom
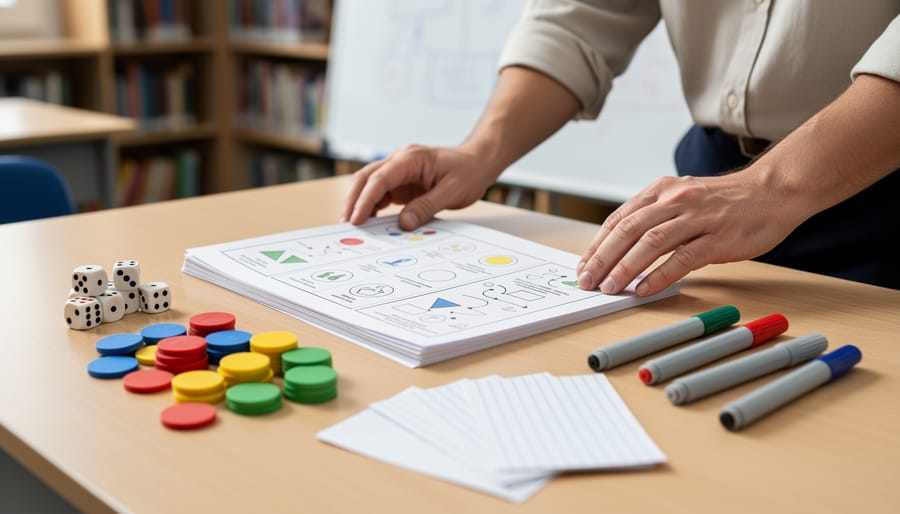
Download a free Word template designed specifically for classroom games to organize your ideas in minutes rather than hours. A solid game design document keeps your educational objectives, rules, and materials list in one convenient place, making it simple to share with colleagues or reuse across different classes.
Start by choosing a template with pre-built sections for game title, learning objectives, player count, required materials, and step-by-step instructions. This structure prevents you from forgetting critical details when you’re excited about a creative new activity. Look for templates with visual space for diagrams or setup illustrations, which help you remember spatial arrangements or game boards you’ll need to recreate.
Customize your template to match your teaching style by adding fields that matter most to your classroom: differentiation notes for various skill levels, time estimates for each game phase, assessment criteria, or connection points to curriculum standards. Save your personalized version as a master file you can duplicate for every new game idea.
Use Word’s commenting and track changes features to collaborate with fellow teachers, gathering feedback before rolling out new activities. Your completed documents become a growing library of tested, classroom-ready games you can pull out whenever lessons need an engaging boost or students need a brain break that still supports learning goals.
What Makes a Game Design Document Essential for Teachers
The Teacher’s Version: Simplified and Practical
Here’s the good news: you don’t need a 50-page industry document to create engaging classroom games! Professional game design documents can be overwhelming, filled with technical specs about programming and market analysis. Your teacher-friendly version should be simple, practical, and focused on what truly matters in your classroom.
Strip away the complex jargon and concentrate on elements that directly impact student learning. Instead of detailed graphics pipelines, think about how the game reinforces your learning objectives. Replace monetization strategies with considerations about classroom time and student engagement levels.
Your simplified template should answer essential questions: What skills will students practice? How long will gameplay take? What materials do you need? How will you assess learning? These practical considerations matter far more than industry terminology.
The beauty of creating your own template in Word is complete customization. Add sections that match your teaching style and remove anything that feels unnecessary. Maybe you need a spot for differentiation notes or a quick reference for classroom management during gameplay. Make it work for you, not the other way around. Remember, the best game design document is one you’ll actually use and update as your students play and learn.
Time-Saving Benefits You’ll Notice Immediately
You’ll love how much time a template gives back to your busy schedule! Instead of staring at a blank page wondering where to start, you’ll have ready-made sections that guide you through each step. Think of it as your game-planning shortcut—simply fill in the blanks rather than creating everything from scratch.
Templates eliminate those “what am I forgetting?” moments by including all essential elements like objectives, rules, materials needed, and timing. You won’t waste precious minutes second-guessing your plan or reorganizing your thoughts multiple times. Plus, when you need to modify a game for different grade levels or subjects, you can quickly duplicate your template and make targeted tweaks rather than reinventing the wheel. This means more energy for the fun part—bringing your creative game ideas to life and watching your students get excited about learning!
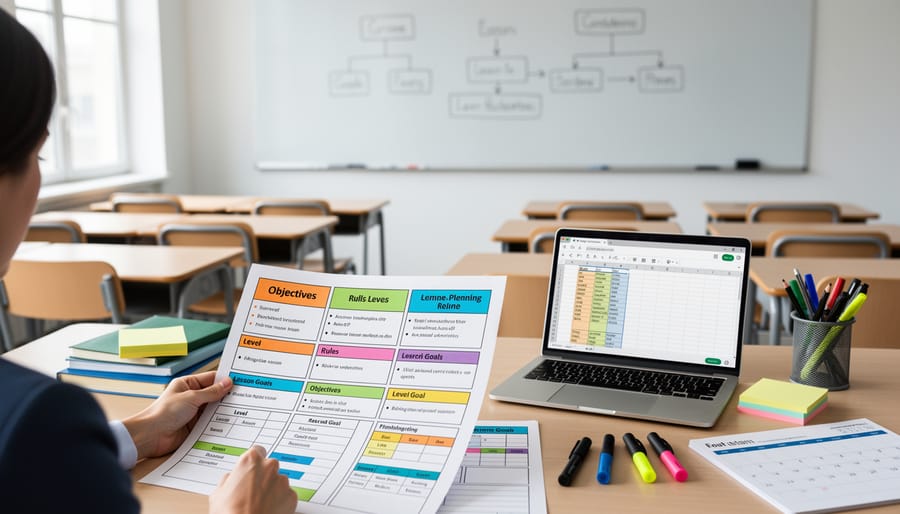
Key Components Every Classroom Game Template Needs
Game Basics and Learning Objectives
Starting with the basics sets your game up for success! Begin by giving your game a catchy title that captures students’ attention and hints at what they’ll learn. Next, clearly identify your subject area, whether it’s math, language arts, science, or social studies. This helps you stay focused during the design process.
Grade level specification is crucial because it ensures your game matches your students’ developmental stage. A third-grade vocabulary game looks very different from a high school physics challenge! Be specific about the age range you’re targeting.
Now for the exciting part: defining your learning objectives. What skills or knowledge should students gain? Write 2-4 clear, measurable goals. For example, “Students will identify 20 sight words” or “Students will calculate percentages accurately.” Aligning your game mechanics with these objectives transforms playtime into powerful learning. When objectives are crystal clear from the start, every game element you design can support meaningful educational outcomes that you can actually measure and celebrate!
Rules and Instructions (Student-Friendly)
Think of your rules section as the instruction manual that makes or breaks the game experience! Start by writing step-by-step instructions that read like a friendly conversation, not a textbook. Use numbered lists to break down gameplay into bite-sized chunks that students can easily follow.
Keep your language simple and direct. Instead of saying “Players must calculate the aggregate sum,” try “Add up all your points.” Test your rules by reading them aloud—if you stumble, your students definitely will!
Include plenty of examples to show rules in action. Visual learners especially benefit from seeing “If this happens, then do that” scenarios. Consider adding a quick-reference box with the most important rules highlighted for easy access during gameplay.
Don’t forget to explain what winning looks like! Clear victory conditions keep everyone motivated and focused. You might also want to add a troubleshooting section for common questions—think of it as your game’s FAQ.
Remember to customize the complexity level based on your students’ ages and abilities. Younger learners need shorter sentences and more illustrations, while older students can handle slightly more detailed explanations. The goal is making every student feel confident jumping right into the fun!
Scoring and Timer Settings
Keep your students engaged and motivated by setting up scoring systems and time limits that match your learning goals! Your game design template should include flexible options for points-based rewards, level progression, or team competitions. Think about what drives your students – some love earning individual points, while others thrive in collaborative challenges where everyone contributes to a group score.
Time management features are equally important for classroom success. Add sections to your template for round durations, question timers, or overall game length. This helps you plan activities that fit perfectly into your class period while maintaining excitement. Consider including countdown timers for quick-fire rounds or extended time blocks for thoughtful problem-solving.
The beauty of customization means you can adjust these elements for different subjects and grade levels. A fast-paced math game might award points for speed and accuracy, while a reading comprehension activity could focus on thoughtful responses without time pressure. Your template should remind you to align scoring with educational objectives – rewarding effort, improvement, and collaboration alongside correct answers.
Accessibility Features Checklist
Making your classroom games accessible to all students is essential, and your game design document should include a dedicated checklist to ensure no one gets left behind. Start by considering visual accessibility: specify font sizes (at least 14-point for younger students), ensure high color contrast between text and backgrounds, and avoid relying solely on color to convey information. If your game uses red and green indicators, for example, add shapes or symbols too.
Don’t forget audio options! Include whether your game needs sound, and if so, plan for visual alternatives like captions or on-screen text prompts. This helps students with hearing differences and those in noisy classroom environments.
Think about diverse learners when documenting your game mechanics. Note if instructions can be simplified, if there are multiple difficulty levels, or if students can use alternative input methods. Consider physical accessibility too – can students participate while seated? Are materials easy to manipulate?
Your template should prompt you to ask: Can students with different reading levels participate? Are there options for non-verbal responses? Can the pace be adjusted? By building these considerations into your planning document from the start, you’ll create naturally inclusive games that celebrate every learner’s unique strengths and abilities.

Using Word Templates for Your Game Design Documents
Why Word Works Best for Teachers
Word is your teaching superpower when it comes to game planning, and here’s why! You already know how to use it, which means no learning curve or frustrating new software to figure out. Just open, type, and customize to your heart’s content. Even better, Word files work seamlessly across your school’s computer system, whether you’re on a desktop in your classroom or a laptop at home.
The shareability factor is huge too. Need to collaborate with your teaching team? Simply email your game design document or save it to your shared drive, and colleagues can jump right in with edits and suggestions. No special apps or subscriptions required! Plus, Word’s commenting and track changes features make collaboration even smoother. You can keep different versions of your game templates for various grade levels or subjects, all neatly organized in familiar folders. It’s the practical, no-fuss solution that fits perfectly into your existing workflow.
Quick Customization Tips
Ready to make that template truly yours? Here are some quick tricks to customize your game design document in Word without spending hours formatting!
Start by using tables to organize game mechanics, scoring systems, and player roles. Tables keep everything neat and scannable—perfect for quick reference during class. Simply click “Insert” then “Table” and choose your grid size. You can even add color to different rows to highlight important sections!
Text boxes are fantastic for adding special notes or side tips that don’t fit in your main flow. Think of them as sticky notes within your document. They’re especially handy for reminding yourself about classroom management considerations or student grouping suggestions.
Save time with Word’s built-in styles! Apply heading styles consistently so you can easily navigate through sections using the Navigation Pane. This is a lifesaver when you’re updating multiple game documents.
Create reusable sections by saving favorite chunks as Quick Parts. Design a perfect “Materials Needed” section once, save it, and drop it into future templates with just a click.
Finally, use bullet points and numbered lists generously—they make your document classroom-ready and easy to follow during the excitement of game time!
From Document to PowerPoint Game
Once your game design document is complete, you’re ready to bring your game to life! Your Word document becomes your roadmap for building an engaging PowerPoint game that your students will love.
Start by opening PowerPoint and creating a new presentation. Use your document’s structure section to determine how many slides you’ll need. If you planned a quiz-style game with ten questions, create slides for your title, instructions, each question, and a final results page.
Next, reference your mechanics section to add interactive elements. PowerPoint’s hyperlinks let you create clickable buttons that navigate between slides, perfect for choice-based games or navigation menus. Insert shapes, format them as buttons, and link them to specific slides based on your planned game flow.
Your visual design notes guide your color scheme, fonts, and graphics choices. Keep it simple and consistent across all slides so students focus on learning, not distractions. Add the scoring system you outlined, whether it’s point counters or progress trackers.
Remember, your document is flexible! As you build, you might discover better ways to implement certain features. That’s perfectly fine. The document gave you a solid foundation, and now you’re customizing the actual game to make it shine in your classroom.
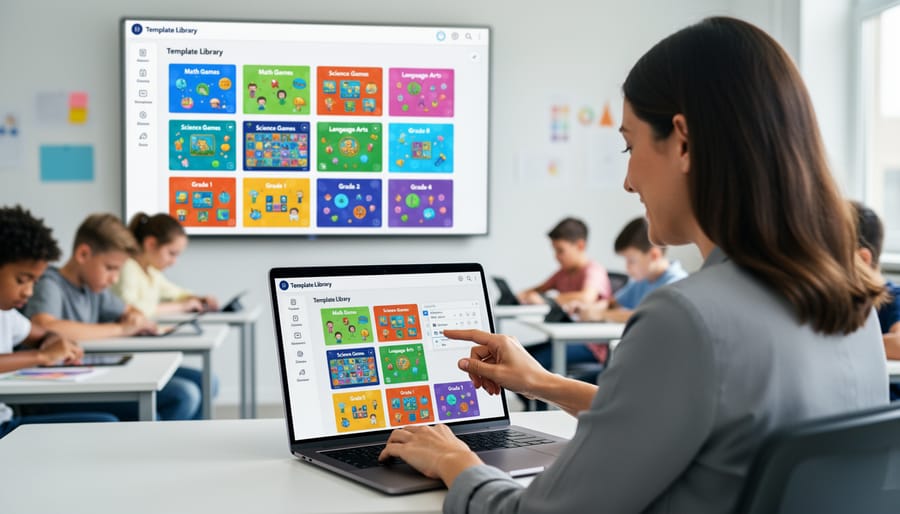
Building Your Game Template Catalog with Accessibility in Mind
Organizing Your Template Library
Once you’ve created a few game design templates, keeping them organized saves precious time and keeps your creative momentum going! Think of your template library as your personal teaching toolkit that grows with you.
Start by creating simple folders on your computer that match how you think. You might organize by subject area like Math Games, Reading Adventures, or Science Explorers. Or sort by grade level if you teach multiple classes. Game type works great too—separate your Bingo templates from Scavenger Hunts and Review Games.
Name your files clearly so you can spot them instantly. Instead of “Template1,” try “5th-Grade-Math-Bingo” or “Vocabulary-Memory-Game-Template.” Your future self will thank you when lesson planning gets hectic!
Consider keeping a master folder called “My Favorites” for templates you use repeatedly. This becomes your go-to spot when you need something quick and reliable. You can even add quick notes in a simple Word document listing which templates work best for different learning objectives or student energy levels.
Making Templates Shareable with Colleagues
When you create a template that really works, why keep it to yourself? Share the game design goodness with your teaching team! Start by adding brief notes directly in your template explaining each section’s purpose. For example, under “Learning Objectives,” include a quick note like “List 2-3 specific skills students will practice.” These gentle reminders help colleagues understand your thinking without needing a lengthy explanation.
Consider adding a “Teacher Notes” section at the top with adaptation ideas for different grade levels or subjects. You might suggest, “This works great for math facts, but swap numbers for vocabulary words!” Color-coding sections by importance or difficulty helps other teachers quickly identify what needs customization versus what can stay as-is.
Save your template with a clear, descriptive filename like “GDD-Template-Elementary-Math-Games.docx” so colleagues know exactly what they’re getting. Finally, encourage feedback! Your template becomes even stronger when other educators share what worked in their classrooms.
Accessibility-Ready Means Student-Ready
Here’s the wonderful thing about building accessibility into your game design from the start: it makes learning better for everyone! When you include features like clear instructions, visual and audio cues, adjustable difficulty levels, and multiple ways to interact with content, you’re not just supporting students with specific needs. You’re creating a more engaging, flexible learning environment that helps all your students succeed.
Think about it. That student who learns better by listening benefits from audio instructions. Your visual learner appreciates clear graphics and color coding. The kid who needs a little extra time to process information? They’ll thrive with adjustable pacing. When you design games with accessibility in mind, you’re essentially offering multiple pathways to the same learning goal. Your game design document should include a dedicated accessibility checklist to ensure you’re thinking about diverse learners from day one. The result? A classroom where every student feels included, confident, and ready to learn through play.
Quick-Start: Your First Game Design Document
Five Minutes to Your First Template
Ready to create your first game design document? Let’s get started with a simple checklist that takes just five minutes!
First, open a new Word document and jot down your game’s name at the top. Something catchy that captures your students’ attention works best!
Next, write a one-sentence description of what players do in your game. Keep it simple: “Students race to answer math facts” or “Teams collaborate to solve historical mysteries.”
Then, list your learning objectives. What will students learn or practice? Be specific but brief.
Now for the fun part: describe how to play in 3-5 bullet points. Think setup, turns, and how someone wins.
Add a materials list. Include everything from dice to worksheets so you’re prepared when game day arrives.
Finally, note any variations or modifications for different skill levels. This customization step ensures every student can participate successfully.
That’s it! You now have a working game design document. As you use it in class, you can always return to add notes about what worked well or what you’d change next time. This living document grows with your teaching experience.
Common Mistakes to Skip
Even the most enthusiastic game designers can stumble into a few traps. Here’s what to watch out for so your game design document stays helpful instead of overwhelming.
First, don’t try to plan everything down to the last detail before you’ve tested anything. Your document should be flexible, not set in stone. Students will surprise you, and that’s a good thing! Leave room to adjust based on what actually works in your classroom.
Avoid vague descriptions like “make it fun” or “students learn stuff.” Be specific about learning objectives and gameplay mechanics. What exactly will students do? What skills are they practicing?
Don’t overcomplicate things with fancy formatting or unnecessary sections. A simple, clear template beats a beautiful but confusing one every time. Remember, this document is your tool, not a masterpiece for display.
Skip the temptation to design overly complex games right away. Start small and build from there. A simple game that works beats an ambitious one that never gets finished.
Finally, don’t forget to actually use your template! The best document in the world won’t help if it sits untouched on your computer. Make it part of your regular planning routine.
You’ve taken an important step toward transforming your classroom into an engaging, game-based learning environment. Game design documents might seem like extra work at first, but they’re your secret weapon for creating organized, effective learning games that students actually get excited about.
Start small and build confidence. Pick one simple game idea this week and fill out a basic template. You don’t need to create elaborate documents right away. Even a single page with clear objectives and game mechanics will make a huge difference in how smoothly your activity runs.
As you create more templates, you’ll build a personalized collection that reflects your teaching style and your students’ needs. Customize freely, experiment boldly, and watch what works. Before long, you’ll have a library of ready-to-use game plans that save precious planning time.
The real magic happens when you see your students leaning forward in their seats, completely absorbed in learning through play. That spark of engagement makes every minute of planning worthwhile. Your creativity combined with structured templates creates unforgettable learning experiences that stick with students long after the lesson ends.